Ah, the air fryer—a modern marvel promising all the crunch of deep-frying with a fraction of the oil. It’s no wonder this appliance has become a staple in kitchens everywhere, including mine. I’ve had my fair share of “aha” moments and head-scratching frustrations with it. From soggy fries to burnt chicken, every mistake has led to a lesson. Don’t panic; we can fix this. Let’s dive deep into these common air fryer pitfalls and see how you can achieve those perfectly crispy, evenly cooked results you signed up for.
Why Air Fryers Encounter Issues: Understanding the Basics
So, why do air fryers sometimes let us down? Like most kitchen appliances, it’s all about understanding their ins and outs. Most of the issues stem from improper maintenance, incorrect usage habits, and misunderstanding temperature controls. Here’s the secret: It’s not as daunting as it seems once you know the underlying causes. I’ve seen it all—overcrowded baskets, unpreheated ovens, and mismatched cooking times. Let’s break it down and get to the root of these problems.
Problem 1: Food Cooking Unevenly or Not Getting Crispy
Causes:
- Overcrowding the basket
- Not shaking or flipping food
- Inconsistent food sizing
- Insufficient preheating
Solutions:
- Cook in a single layer or smaller batches
- Shake or flip contents halfway through cooking
- Cut ingredients into uniform sizes
- Preheat the air fryer for 3-5 minutes before adding food
When I first started using an air fryer, I was excited to cook everything at once. The result? Some parts were crispy, while others were barely cooked. Here’s the lesson: Airflow is crucial. Food needs space to cook evenly, so resist the urge to pile it all in. Preheating is another substantial improvement. Think of it like starting an engine—your food will thank you for it.
A former restaurant chef turned home cooking advocate who specializes in making complex techniques accessible to everyday cooks. Marcus has a knack for troubleshooting kitchen disasters and turning them into learning opportunities.
Problem 2: Food Turning Out Dry or Burnt
Causes:
- Cooking at too high a temperature
- Cooking for too long
- Lack of oil
Solutions:
- Adjust cooking time and temperature (often lower temp, shorter time than conventional oven)
- Lightly brush or spray food with a small amount of oil to retain moisture and aid crisping
- Use a meat thermometer to check doneness, especially for proteins
I’ve experimented with temperatures and times more than I can count. One of my early attempts at chicken turned into something resembling jerky. Each attempt teaches something, right? The key is to adjust your settings based on what you’re cooking. Lower the heat and cut the time compared to your oven, and always have a trusty meat thermometer handy to avoid overcooking.
Problem 3: Smoking or Unpleasant Burning Smells
Causes:
- Grease or fat dripping and burning at the bottom
- Food bits stuck to the heating element
- Plastic residue from packaging (new air fryers)
- Using oils with low smoke points
Solutions:
- Thoroughly clean the air fryer basket and heating elements after each use
- Add a bit of water to the air fryer drawer when cooking high-fat foods
- Check for any missed plastic packaging in new air fryers; run empty at 400°F (200°C) for 20 minutes to dissipate new plastic smell
- Use oils with high smoke points like avocado or grapeseed oil
Smoking issues? Been there, done that. The smell of burnt grease is one you don’t forget quickly. Here’s the secret: Cleaning is paramount. A little maintenance goes a long way in preventing those clouds of smoke. Always keep a close eye on the oil you’re using. Opt for high smoke point varieties to keep things smelling fresh and smoky-free.
Problem 4: Food Sticking to the Air Fryer Basket
Causes:
- No oil or insufficient oil on food/basket
- Damaged non-stick coating
- Removing food too soon
Solutions:
- Rub a little oil in the basket before adding food
- Line the basket with parchment paper or silicone mats (with holes for airflow)
- Avoid abrasive non-stick sprays that can damage the coating
- Allow food to cool slightly before attempting to remove it
Stuck food can turn a pleasant meal into a frustrating ordeal. I learned the hard way that a light coating of oil is all it takes to make food release with ease. If your non-stick coating looks worse for wear, consider lining your basket with parchment paper or silicone mats. But remember, patience is key—let the food rest a bit before trying to lift it out.
Problem 5: Air Fryer Not Turning On or Heating Up
Causes:
- Power connection issues (unplugged, faulty outlet)
- Basket not properly inserted or door not fully closed
- Internal fuse or circuit breaker tripped
- Damaged heating element or fan
Solutions:
- Check if the air fryer is securely plugged into a working outlet
- Ensure the basket is fully inserted and the door is completely closed
- Look for a reset button (if available) or check your home’s circuit breaker
- Inspect the power cord for damage; clean the heating element gently with a soft brush and damp cloth (after unplugging and cooling)
There’s nothing more disappointing than an air fryer that refuses to start. Here’s a tip: Before you panic, check the basics. Is it plugged in? Is the basket inserted correctly? I’ve had moments where simply closing the door properly solved the issue. If it’s a persistent problem, give it a thorough inspection or consider professional help.
General Maintenance for a Long-Lasting Air Fryer
- Clean the air fryer basket with soap and water after every use (avoid dishwasher to protect nonstick coating).
- Wipe down the interior and exterior regularly.
- Ensure air vents are clean and unobstructed for proper airflow.
- Unplug the air fryer when not in use and give it its own outlet during use to prevent electrical issues.
Maintenance might not be glamorous, but it’s an essential part of keeping your air fryer in top shape. I always remind myself that a few minutes of cleaning can save hours of troubleshooting down the road. Keep those vents clear, and your appliance will reward you with years of crispy delights.
Conclusion: Mastering Your Air Fryer for Delicious Results
By understanding these common issues and learning how to troubleshoot them, you can turn any air fryer disaster into a delicious success story. Remember, every mistake is a lesson, and with these techniques, you’ll be serving up crispy, evenly cooked meals in no time. Here’s to mastering your air fryer and enjoying every bite!
By: Marcus Chen
{“@context”:”https://schema.org”,”@type”:”Article”,”headline”:”Troubleshooting Your Air Fryer: Get Crispy, Evenly Cooked Food”,”description”:”Master your air fryer! Learn to troubleshoot common problems like uneven cooking, dry food, and smoking. Get expert tips for perfectly crispy, delicious results every time.”,”author”:{“@type”:”Person”,”name”:”Marcus Chen”},”publisher”:{“@type”:”Organization”,”name”:”Cookingzone”},”image”:[“https://cookingzone.org/wp-content/uploads/2025/09/a-closeup-shot-of-crispy-goldenbrown-chi-1757383589009.jpg”],”inLanguage”:”en”}
Air Fryer vs Oven vs Deep Fryer: A Complete Comparison
Understanding how an air fryer stacks up against traditional cooking methods helps you choose the right tool for each meal. Each method has strengths and weaknesses depending on what you are cooking, how much time you have, and your health priorities.
| Feature | Air Fryer | Conventional Oven | Deep Fryer |
|---|---|---|---|
| Cooking Method | Rapidly circulating superheated air | Radiant heat from top/bottom elements | Full submersion in hot oil |
| Preheat Time | 2-5 minutes | 10-20 minutes | 10-15 minutes |
| Cooking Speed | 20-30% faster than oven | Standard baseline | Fastest for fried foods |
| Oil Required | 0-1 tablespoon | Varies by recipe | 4-16 cups depending on fryer size |
| Calorie Reduction | Up to 70-80% less fat vs deep frying | Moderate (depends on recipe) | Highest calorie method |
| Capacity | Small (2-8 quart baskets) | Large (fits multiple trays) | Medium (varies by model) |
| Best For | Small batches, frozen foods, reheating | Large batches, baking, roasting | Authentic fried texture (donuts, tempura) |
| Texture Result | Crispy outside, moist inside (not identical to deep fried) | Even browning, less crispy | Maximum crispiness, golden batter |
| Cleanup | Easy (small removable basket) | Moderate (larger surface area) | Difficult (oil disposal, grease buildup) |
| Energy Use | Low (smaller heating element) | High (large cavity to heat) | Moderate to high |
| Kitchen Heat | Minimal | Significant (heats entire kitchen) | Moderate with oil vapors |
When to Choose Each Method
Use your air fryer when cooking for one to three people, when you want crispy results with minimal oil, or when reheating leftovers (especially pizza, which comes out far better than microwave reheating). Choose your oven for large batches, baking, or any recipe that requires even heat distribution over a long cooking time. Reserve the deep fryer for foods where authentic deep-fried texture is non-negotiable, such as tempura, donuts, or traditional fried chicken with a battered coating.
Best Foods for Air Frying
Not everything belongs in an air fryer. Some foods produce exceptional results while others come out disappointing. Knowing which foods work best saves you time and prevents frustrating outcomes.
Foods That Excel in an Air Fryer
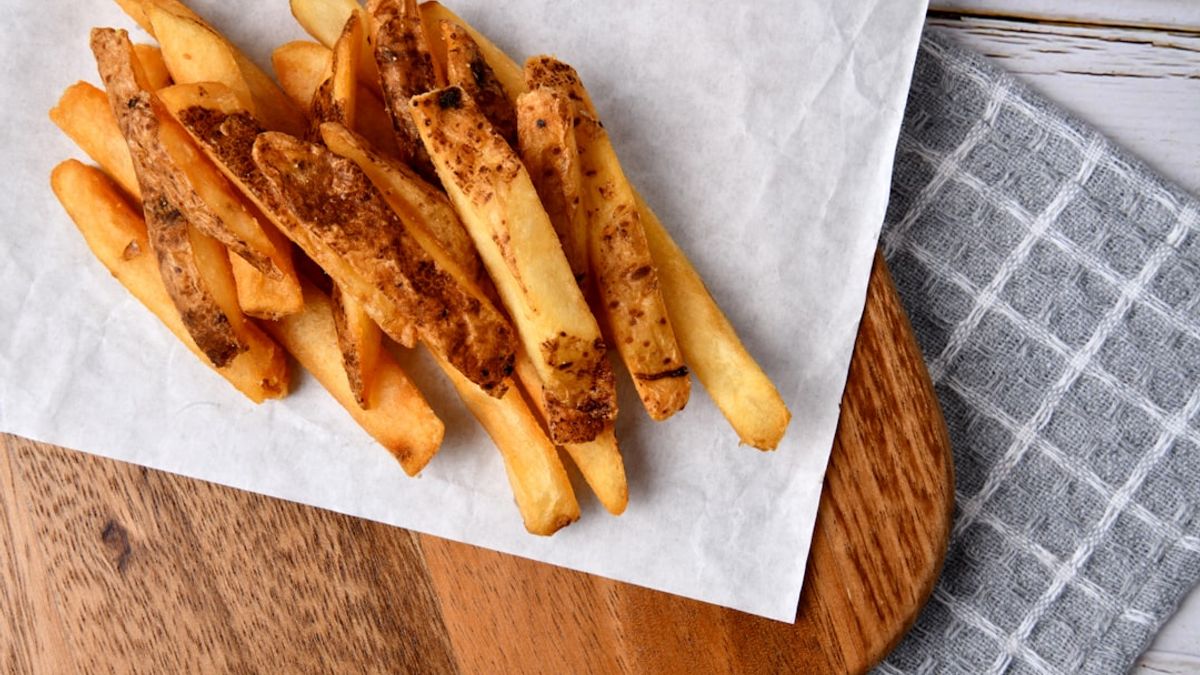
- Frozen french fries and tater tots: These are arguably the air fryer’s greatest strength. The circulating air crisps the exterior perfectly while the inside stays fluffy. Cook at 400F for 15-20 minutes, shaking the basket halfway through.
- Chicken wings: The high heat renders fat from the skin while keeping the meat juicy. Season dry wings with your favorite rub and cook at 380F for 25 minutes, flipping once. The result rivals deep-fried wings.
- Vegetables: Brussels sprouts, broccoli, cauliflower, and sweet potato cubes all develop beautiful caramelization in an air fryer. Toss with a small amount of oil and cook at 375-400F for 10-15 minutes.
- Bacon: Lay strips in a single layer and cook at 350F for 8-10 minutes. The fat renders away while the bacon gets uniformly crispy without the mess of stovetop splattering.
- Reheated pizza: Place leftover slices directly in the basket at 350F for 3-4 minutes. The crust becomes crispy again while the cheese melts properly, unlike microwave reheating which produces rubbery results.
- Salmon fillets: Skin-on fillets cooked at 390F for 8-10 minutes develop wonderfully crispy skin while the flesh stays moist and flaky.
Foods to Avoid in an Air Fryer
- Wet battered foods: Liquid batters drip through the basket before they can set. Use breaded coatings (flour, egg wash, breadcrumbs) instead for a crispy coating that stays in place.
- Leafy greens: Lightweight items like spinach or kale chips can get sucked into the heating element by the powerful fan. If you want kale chips, weigh them down with a small metal rack.
- Large roasts: Items that barely fit restrict airflow and cook unevenly. If it fills more than two-thirds of the basket, use your conventional oven instead.
- Cheese: Melted cheese drips through the basket and creates a cleaning nightmare. Use parchment paper or a small oven-safe dish if cheese is involved.
- Popcorn: Air fryers do not reach the sustained dry heat that kernels need to pop. Use a stovetop or microwave for popcorn.
Air Fryer Temperature and Time Quick Reference
| Food | Temperature | Time | Tips |
|---|---|---|---|
| Frozen fries | 400F | 15-20 min | Shake basket halfway; do not overcrowd |
| Chicken wings | 380F | 22-28 min | Pat dry first; flip once at halfway point |
| Chicken breast | 370F | 18-22 min | Pound to even thickness; check internal temp 165F |
| Salmon fillet | 390F | 8-10 min | Skin-side down; no flipping needed |
| Brussels sprouts | 375F | 12-15 min | Halve and toss with oil; shake once |
| Bacon | 350F | 8-10 min | Single layer; drain on paper towels |
| Reheated pizza | 350F | 3-4 min | No oil needed; check at 3 minutes |
| Steak (1-inch thick) | 400F | 10-14 min | Flip once; rest 5 minutes after cooking |
Frequently Asked Questions
Do I need to preheat my air fryer before cooking?
Yes, preheating for 3 to 5 minutes at the cooking temperature produces noticeably better results. Preheating ensures that food starts crisping immediately when placed in the basket, rather than spending the first few minutes warming up. Some newer models have built-in preheat cycles that automate this step.
Can I use aluminum foil or parchment paper in an air fryer?
Both aluminum foil and parchment paper are safe to use in an air fryer, but they must be weighed down by food to prevent them from blowing into the heating element. Never place foil or parchment in the basket during preheating without food on top. Use perforated parchment paper specifically designed for air fryers to maintain proper airflow.
Why does my air fryer smell like plastic when new?
New air fryers often have a plastic smell from manufacturing residues and protective coatings. Run the empty air fryer at 400F for 15 to 20 minutes before cooking your first meal. This burns off any residues and eliminates the smell. Washing the basket and tray with warm soapy water before first use also helps.
How do I prevent food from sticking to the air fryer basket?
Lightly coat the basket with cooking oil or use a silicone brush to apply a thin layer of oil before adding food. Alternatively, use perforated parchment liners. Avoid aerosol cooking sprays containing propellants like soy lecithin, as these can damage the non-stick coating over time. A light mist of pure oil from a refillable spray bottle works best.
Sources & References
Understanding How Air Fryers Work
Successful troubleshooting requires understanding air fryer mechanics. Air fryers are compact convection ovens that circulate superheated air at high speed around food. A heating element at the top generates heat while a powerful fan distributes it rapidly. The perforated basket allows air to reach food from all sides, creating crispy exterior without deep frying.
Solving Uneven Cooking Problems
Uneven cooking typically results from overcrowding or poor food arrangement. Air fryers need at least 20% empty space for proper circulation. When food is piled on top of itself, the bottom layer steams while the top crisps. Single layers produce best results, even if it means cooking in batches. Shaking or flipping food midway through cooking ensures all surfaces get exposed to hot air.
Why Food Is Not Getting Crispy
Lack of crispiness comes down to moisture, temperature, or oil. Wet foods create steam that prevents crisping. Always pat foods dry before cooking. A light coating of oil makes significant difference for browning through the Maillard reaction. Use high-smoke-point oils like avocado or vegetable oil. If food reaches safe temperature but lacks crispiness, continue cooking at 400F for 2-3 minutes.
Addressing Smoke and Maintenance
Smoke during air frying usually indicates excess fat dripping onto the heating element. Add a tablespoon of water to the bottom of the drawer to catch drippings. Regular cleaning prevents many problems. Wash the basket after every use. Periodically check the heating element for grease buildup and wipe with a damp cloth when cool. Never use abrasive cleaners that can damage non-stick coatings.
Pro Tips for Better Results
Preparation matters to success in the kitchen. Read the entire recipe before starting and gather all ingredients. This mise en place approach prevents surprises mid-cooking.
Taste as you cook and adjust seasonings throughout the process. Your palate is the best guide to creating delicious food.
Do not be afraid to make mistakes. Every attempt teaches something valuable about technique and flavor.
Quality ingredients make a noticeable difference. When possible, choose fresh, seasonal produce and high-quality proteins for the best results.

Rachel Summers
Rachel grew up in a Pacific Northwest kitchen, learning Sunday roasts from her mother and pie crust from a grandmother who never wrote a recipe down. CookingZone began as a way to save her family's cooking before it was forgotten, and grew when her cousins started sending in their own. Her work covers foundational American, Italian, French, and Mexican recipes, with an emphasis on weekend baking, comfort food, and the techniques that span both European and American home kitchens.
Please note: Nutritional estimates in our recipes are derived from the USDA FoodData Central database and may vary based on specific brands and ingredient sizes. If you have food allergies, dietary restrictions, or medical conditions, consult a registered dietitian or healthcare provider before preparing this recipe. Always follow safe food-handling guidelines, including proper cooking temperatures for meat, poultry, fish, and eggs. Nothing in this article should be interpreted as medical, nutritional, or dietary advice.