There is a particular sound that a properly roasted chicken makes when the knife touches the skin. A sharp papery crack, like breaking thin sugar work. Underneath, the meat is juicy and tender, the fat has rendered into the pan, the cavity smells of lemon and thyme. This is what every home cook is chasing when they roast a chicken on a Sunday afternoon and what most miss because they do not know the one technique that separates the result from a wet-skinned, slightly-flabby, perfectly-fine bird. The technique is dehydration. It takes twenty-four hours of doing nothing.
Salted, uncovered, on a wire rack over a sheet pan, refrigerated for 18 to 24 hours: the air-dry method is what restaurants do and what most home cooks skip. The salt acts as a dry brine, pulling moisture out of the skin and seasoning the meat from the surface inward. The cold dry air of the refrigerator evaporates that surface moisture over hours. By the time the chicken hits the hot oven the next day, the skin is already half-cooked toward crispness. It needs only heat to finish.
This article is the air-dry method as practiced by Thomas Keller (who wrote about it in the French Laundry cookbook), Samin Nosrat (who teaches it in Salt Fat Acid Heat), and J. Kenji López-Alt (who tested it across dozens of variables for Serious Eats). The rest covers exactly why it works, the equipment that matters, and how to cook the chicken once you have done the prep.
Choosing the Right Chicken
The quality of your final dish starts with the quality of your bird. Not all chickens are created equal, and understanding your options will help you make the best choice for your table.
Size Matters
For most families, a 3.5 to 4.5 pound chicken is ideal. It feeds 4 to 6 people with some leftovers. Larger birds over 5 pounds take longer to cook and the breast meat often dries out before the legs are done. If you need to feed a crowd, roast two smaller chickens instead of one large one.
Air-Chilled vs. Water-Chilled
Most supermarket chickens are water-chilled after processing, which adds moisture weight and dilutes flavor. Air-chilled chickens cost more but have better flavor and crisper skin because they absorb less water. If you can find them, they are worth the extra cost.
Free-Range and Organic
These labels indicate welfare standards but do not necessarily mean better flavor. What matters most is the breed and diet of the chicken. Heritage breeds or chickens raised by local farms often have more flavor than industrial birds regardless of organic certification.
The Key to Crispy Skin: Drying
The single most important step for crispy skin is removing moisture from the surface. Water is the enemy of crispness because it steams before it can brown. Here are three methods to dry your chicken:
Air Drying in the Refrigerator
This is the best method. Place the chicken on a rack over a baking sheet, uncovered, in your refrigerator for 12 to 24 hours. The cold air circulating in the fridge will dry the skin while the salt you applied seasons the meat. The skin will look noticeably drier and slightly tighter when it is ready.
Quick Dry Method
If you do not have time to air-dry overnight, pat the chicken very thoroughly with paper towels, inside and out. Use multiple paper towels until they come away dry. This takes a few minutes but makes a significant difference.
Baking Powder Trick
Mix a teaspoon of baking powder with your salt rub. Baking powder raises the pH of the skin, which helps it brown faster and become crispier. Use only a small amount because too much leaves a chemical taste.
Seasoning Your Chicken
Simple seasoning is usually best for roast chicken. The bird has enough flavor on its own when properly cooked.
Salt and Pepper
Kosher salt and freshly ground black pepper are really all you need. Be generous with both, including inside the cavity. Season under the skin too if you have separated it from the breast meat.
Compound Butter
Mixing softened butter with herbs like thyme, rosemary, and garlic creates a flavorful baste. Rub it under the skin directly on the breast meat, then spread the remainder over the outside of the bird.
Aromatics
Stuff the cavity with aromatics like lemon halves, garlic heads cut crosswise, onion quarters, and fresh herbs. These do not penetrate the meat but perfume the steam that keeps the interior moist.
To Truss or Not to Truss
Trussing means tying the legs together and securing the wings against the body. It makes the bird more compact and cook more evenly. However, it also slows the cooking of the thighs, which need more time than the breast.
My preferred method is a compromise: tuck the wing tips under the back to prevent burning, but leave the legs untied so they cook faster and the thigh skin crisps up.
Roasting Temperature and Time
There are two main approaches to roasting temperature, and both produce excellent results.
High Heat Method (425-450F)
Roast at high heat the entire time. This creates crispy skin quickly and the shorter cooking time keeps the meat juicy. A 4-pound chicken takes about 45 to 55 minutes. The risk is that the skin can burn before the thighs are done if you are not careful.
Low and Slow with a Blast (325F to 425F)
Start at lower heat to cook the chicken gently, then blast at high heat at the end to crisp the skin. This is more forgiving and produces very moist meat. Total time is about 1 hour 15 minutes for a 4-pound bird.
My Preferred Method
I use high heat throughout at 425F. Place the chicken breast-side up on a rack in a roasting pan. Roast for about 50 to 60 minutes for a 4-pound bird. The chicken is done when a thermometer inserted into the thickest part of the thigh reads 165F, or 160F if you are going to let it rest for at least 10 minutes.
The Complete Recipe
Ingredients
- 1 whole chicken, 3.5 to 4.5 pounds
- 2 tablespoons kosher salt
- 1 teaspoon freshly ground black pepper
- 4 tablespoons unsalted butter, softened
- 2 tablespoons fresh herbs (thyme, rosemary, sage), chopped
- 4 garlic cloves, minced
- 1 lemon, halved
- 1 head of garlic, cut crosswise
- 1 small onion, quartered
Instructions
Day before (or at least 4 hours ahead): Remove the chicken from its packaging and pat dry inside and out. Season generously all over with salt and pepper, including inside the cavity. Place on a rack over a baking sheet, uncovered, in the refrigerator.
One hour before cooking: Remove the chicken from the refrigerator. Mix the softened butter with herbs and minced garlic. Gently separate the skin from the breast meat using your fingers and spread half the butter directly on the meat. Rub the remaining butter all over the skin. Stuff the cavity with lemon halves, garlic head, and onion.
To roast: Preheat oven to 425F. Place the chicken breast-side up on a rack in a roasting pan or oven-safe skillet. Roast for 50 to 60 minutes until the thigh reaches 165F on an instant-read thermometer and the juices run clear when you pierce the thigh.
To rest: Transfer the chicken to a cutting board and let it rest for 10 to 15 minutes. This allows the juices to redistribute so they stay in the meat when you carve.
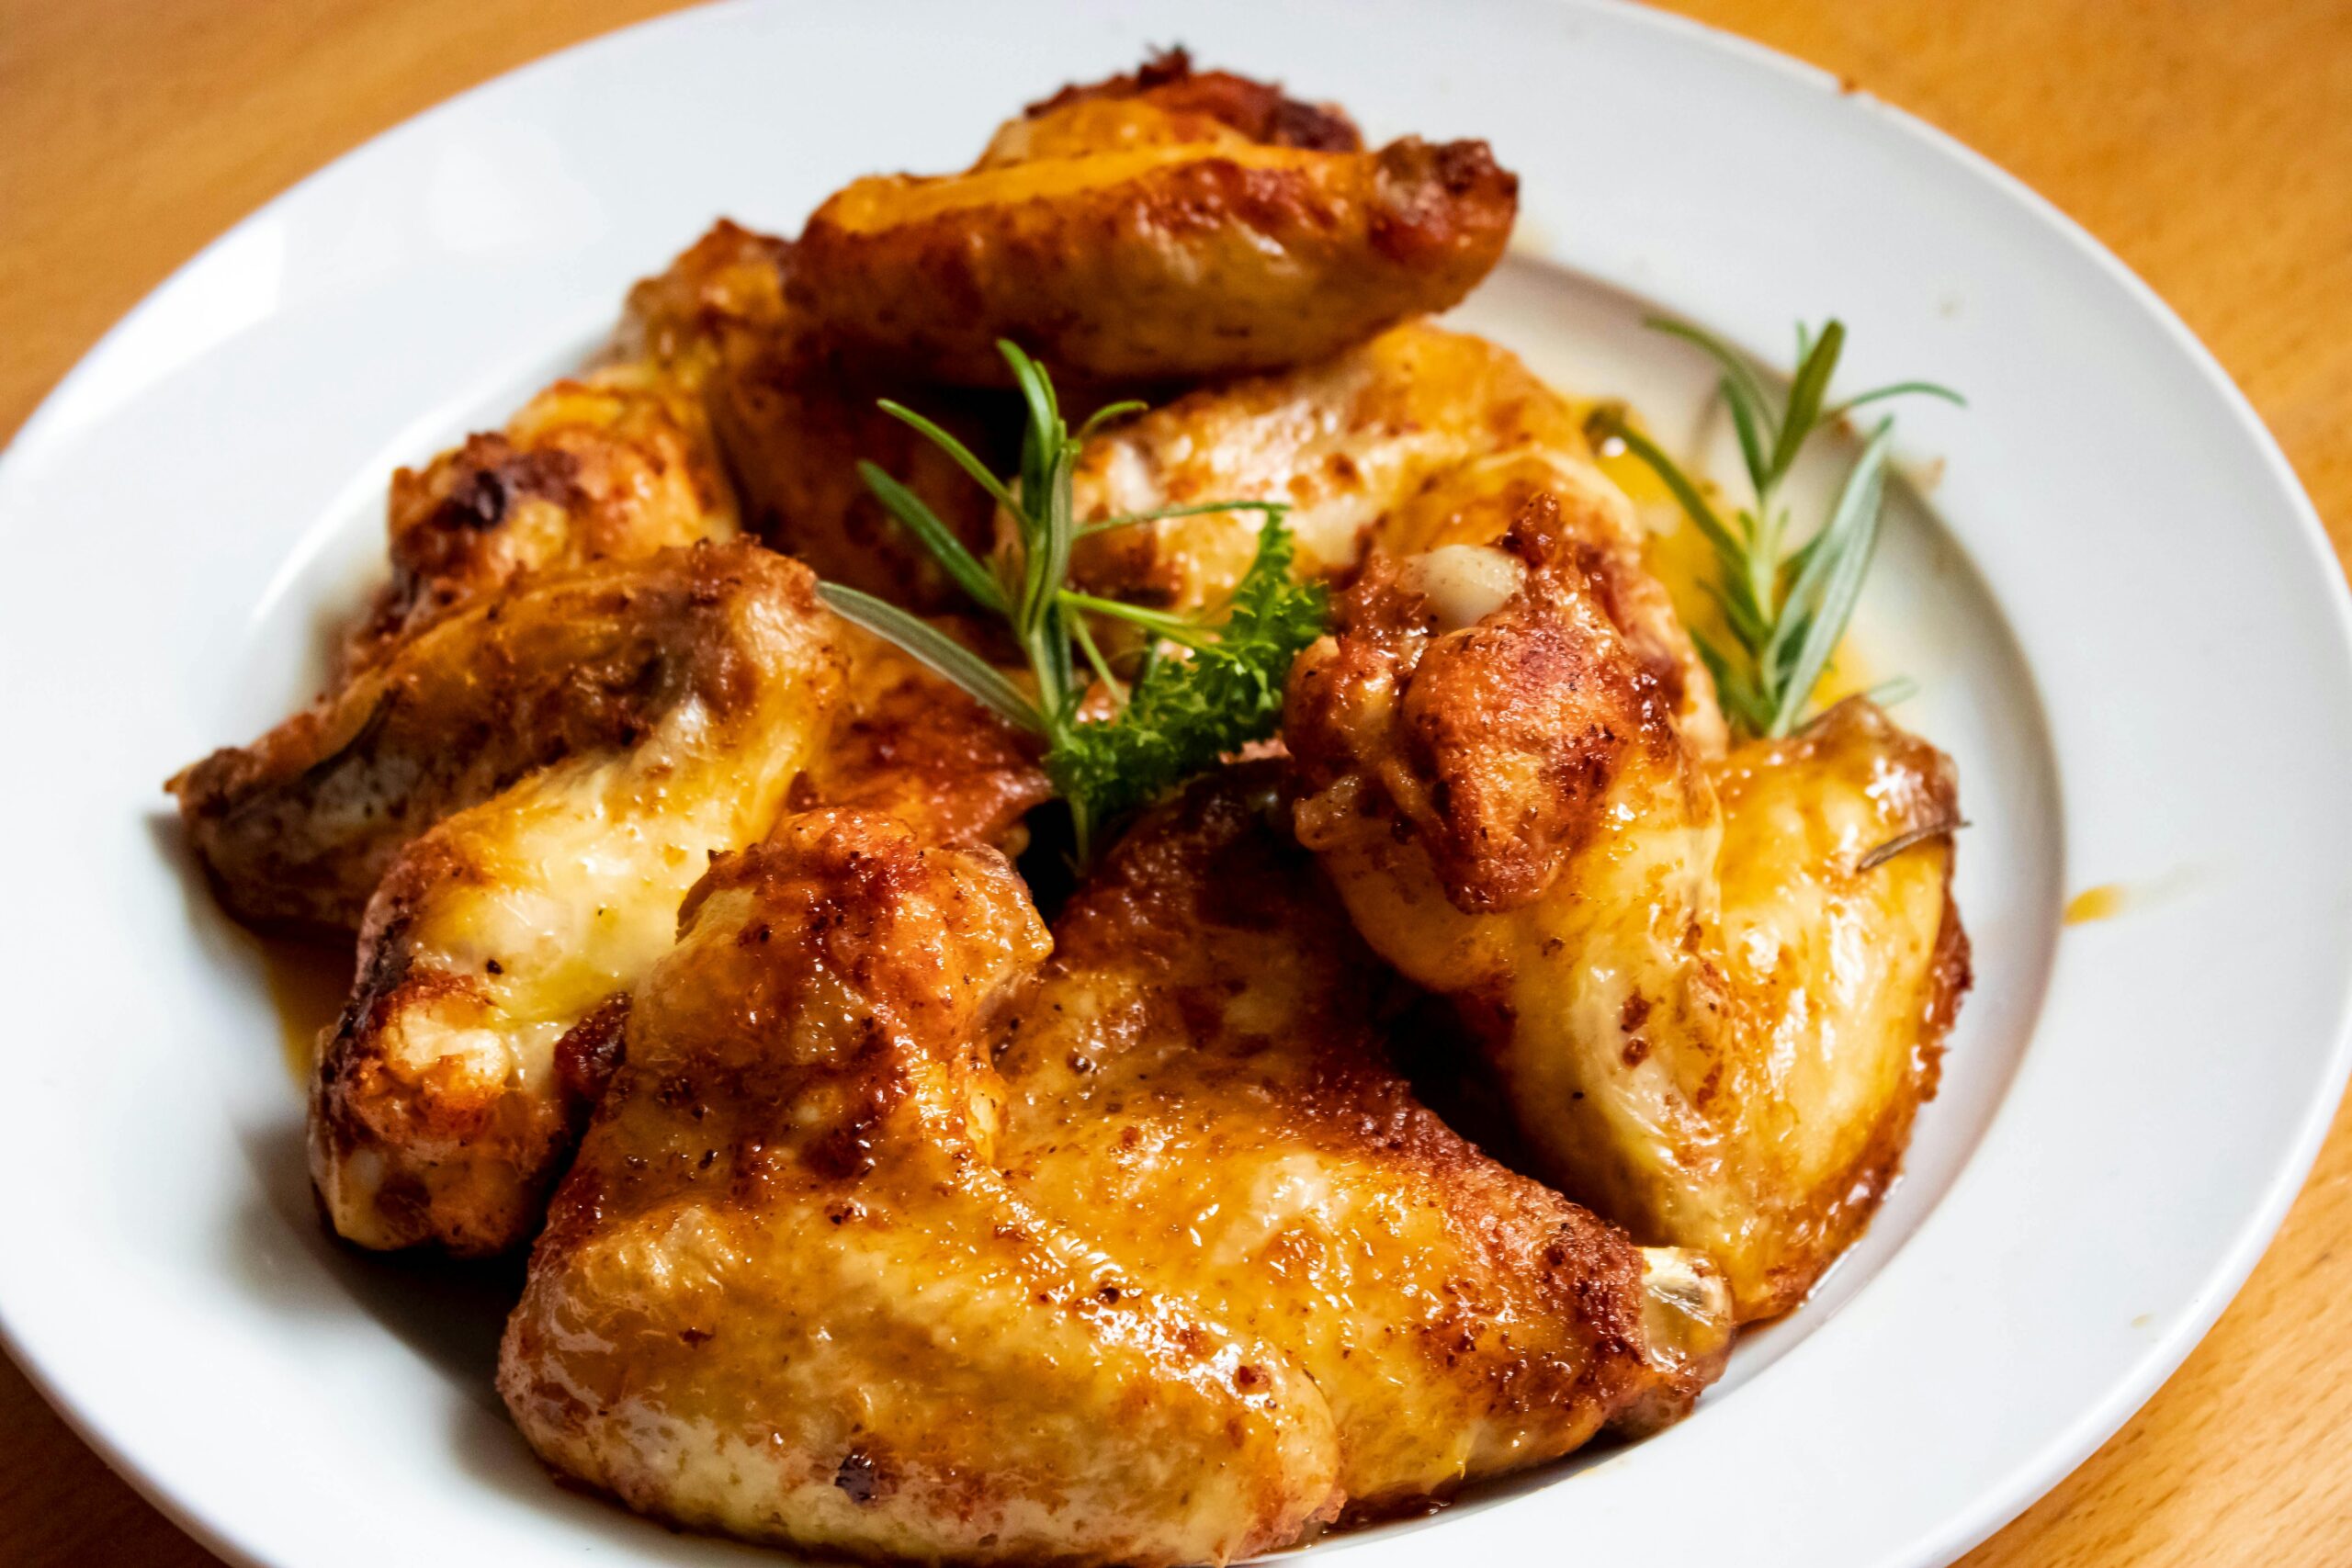
To carve: Cut through the skin between the thigh and breast. Pop the leg joint out of its socket and cut through to remove the whole leg. Separate the drumstick from the thigh. Slice the breast meat off the bone in one piece, then slice crosswise. Remove the wings.
Making Pan Sauce
The drippings in the roasting pan are liquid gold. Here is how to turn them into a simple sauce:
- Pour off excess fat, leaving the brown bits in the pan
- Place the pan over medium heat on the stovetop
- Add 1/2 cup white wine or chicken stock and scrape up the browned bits
- Simmer until reduced by half
- Add 1 cup chicken stock and simmer until saucy
- Season with salt and pepper, strain if desired
- Finish with a tablespoon of cold butter for richness
Common Mistakes and How to Avoid Them
Dry Breast Meat
The breast meat cooks faster than the thighs because it is leaner. Solutions: Do not overcook. Remove the chicken when the breast reaches 155F and the thigh reaches 165F. The breast will coast to 165F while resting. Using compound butter under the skin also helps keep the breast moist.
Flabby Skin
This happens when the skin is wet or the oven is not hot enough. Solution: Air-dry the chicken overnight and use a hot oven (425F or higher). Make sure the rack allows air circulation so the skin does not steam.
Unevenly Cooked Bird
The breast is done but the thighs are still pink. This happens because thighs need more heat. Solutions: Do not truss the legs tightly. Start the chicken breast-side down for the first 20 minutes to shield the breast from direct heat. Or spatchcock the chicken (remove the backbone and flatten it) for the most even cooking.
Sticking to the Pan
Use a rack so the chicken does not sit in its drippings. If you do not have a rack, place the chicken on a bed of vegetables which serve the same purpose.
Variations
Spatchcocked Chicken
Remove the backbone with kitchen shears, flip the chicken over, and press down to flatten. This exposes more skin to the heat and cooks the bird in about 30 to 40 minutes with incredibly crispy skin.
Lemon Herb Chicken
Marinate the chicken in lemon juice, olive oil, and fresh herbs for 4 to 24 hours before roasting.
Peruvian Style
Rub with a paste of cumin, paprika, oregano, garlic, vinegar, and oil. Serve with creamy green sauce.
What to Serve with Roast Chicken
Roast chicken is versatile and pairs well with almost any side dish. My favorites include roasted root vegetables cooked in the pan with the chicken, mashed potatoes with the pan sauce spooned over, simple green salad with vinaigrette, crusty bread to soak up the juices, or sauteed green beans with garlic.
Using the Leftovers
A whole roasted chicken yields plenty for multiple meals. Shred the leftover meat for chicken salad, tacos, or soup. Save the carcass for making homemade stock. The possibilities are endless.
Frequently Asked Questions
What is the best way to ensure crispy skin on roast chicken?
To achieve crispy skin, make sure the chicken is thoroughly dried before roasting. Air-drying in the refrigerator and using techniques like baking powder can help. High roasting temperatures also aid in creating that desirable crunch.
How long should I let the chicken rest after cooking?
Allow the chicken to rest for at least 15-20 minutes after roasting. This resting period helps the juices redistribute, resulting in juicier meat when you carve it.
Can I cook a frozen chicken?
It’s not recommended to roast a frozen chicken as it can lead to uneven cooking. Thaw the chicken in the refrigerator for 24 hours prior to roasting for best results.
What are some good side dishes to serve with roast chicken?
Roast chicken pairs well with a variety of sides such as roasted vegetables, mashed potatoes, or a fresh salad. Grain-based sides like quinoa or rice also complement the flavors beautifully.
Final Thoughts
Roast chicken is a fundamental technique that every home cook should master. Once you understand the principles of drying the skin, seasoning properly, and roasting at the right temperature, you can achieve restaurant-quality results in your own kitchen. It is one of those dishes that seems simple but rewards attention to detail with incredible flavor.
What makes roast chicken is its versatility. It works for a casual weeknight dinner or a special occasion. The leftovers are just as useful as the main meal. And the technique of roasting translates to other meats and poultry. Master this and you will have a skill that serves you well forever.
Explore more poultry recipes to expand your repertoire.
Sources & References

Rachel Summers
Rachel grew up in a Pacific Northwest kitchen, learning Sunday roasts from her mother and pie crust from a grandmother who never wrote a recipe down. CookingZone began as a way to save her family's cooking before it was forgotten, and grew when her cousins started sending in their own. Her work covers foundational American, Italian, French, and Mexican recipes, with an emphasis on weekend baking, comfort food, and the techniques that span both European and American home kitchens.
Please note: Nutritional estimates in our recipes are derived from the USDA FoodData Central database and may vary based on specific brands and ingredient sizes. If you have food allergies, dietary restrictions, or medical conditions, consult a registered dietitian or healthcare provider before preparing this recipe. Always follow safe food-handling guidelines, including proper cooking temperatures for meat, poultry, fish, and eggs. Nothing in this article should be interpreted as medical, nutritional, or dietary advice.