The cone on a tagine is not styling. It is a still. Steam rises off the food, hits the sloping walls where they are coolest, condenses into droplets, and runs back down the inside of the cone to the rim, where it drips onto the food at the edge of the dish. The same half cup of water can make that trip dozens of times over three hours.
That is why a traditional recipe asks for so little liquid and still produces meat that falls off the bone in a sauce that has not been diluted. The pot is recycling moisture instead of losing it, and the food is effectively being steamed and braised at once in a very small amount of concentrated liquid.
A Dutch oven can be made to do most of this. It has more thermal mass and a tighter lid, which helps, and far less headspace above the food, which does not. What follows is the procedure with the three compensations that matter, timings by cut, and an honest account of what the substitution costs.
- Liquid: half to three-quarters of a cup total, against two or three cups in a standard braise
- Temperature: 300F in the oven, not a burner
- Lid: as tight as you have; a parchment round on the surface makes up the difference
- Layering: onions on the bottom, meat above the liquid line, vegetables on top
- Chicken thighs: about 60 minutes; lamb shoulder, 2.5 to 3 hours
- What you lose: the very top layer of vegetables stays firmer in a real tagine
- What you gain: even heat, no thermal shock risk, and a pot you already own
The cone is a condenser, not a decoration
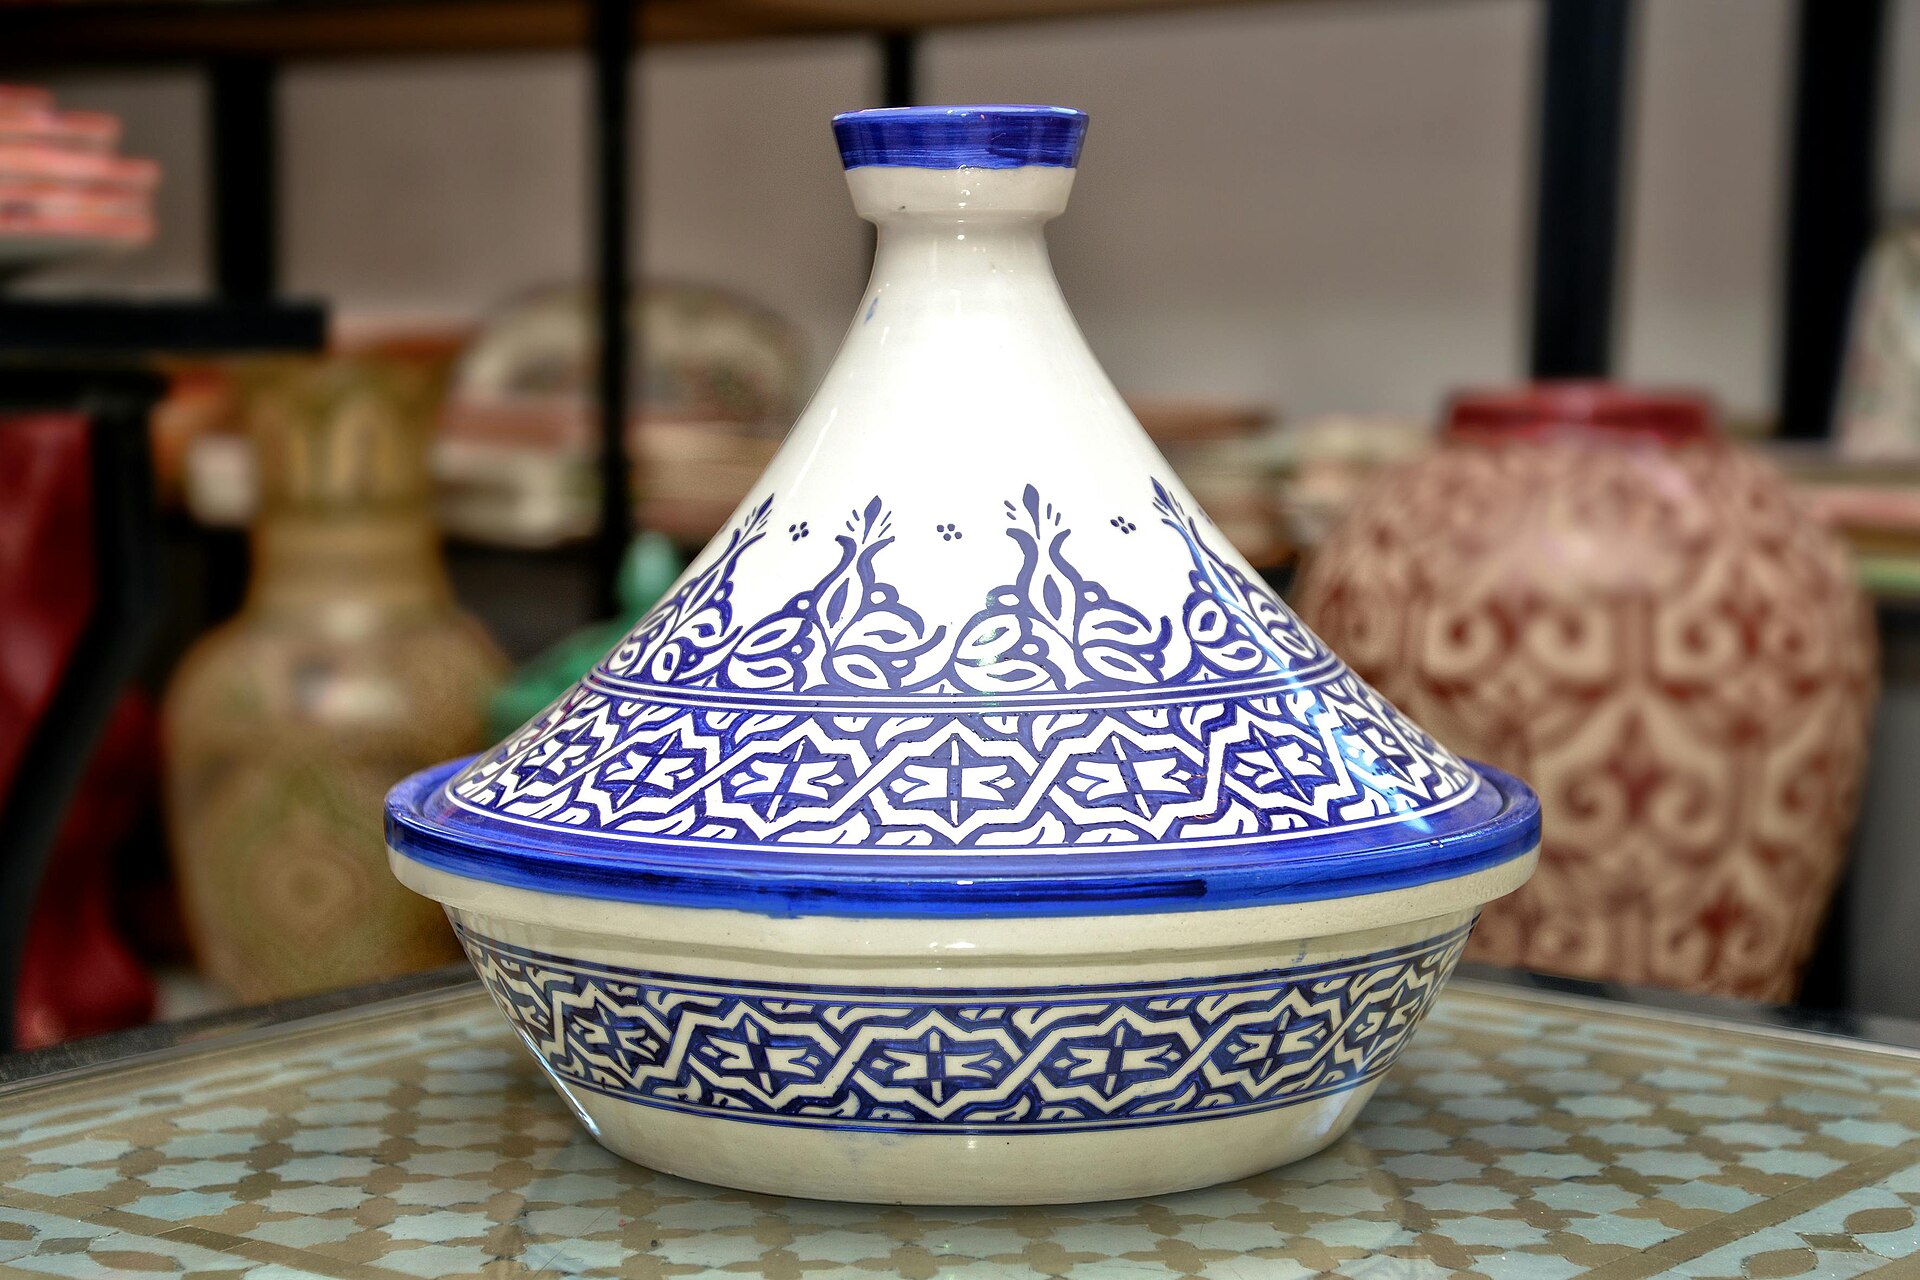
A tagine is two pieces: a shallow round base and a tall conical lid that sits in a groove around its rim. The base holds the food in a thin layer, which matters, and the cone provides eight to twelve inches of vertical space above it, which matters more.
That height is what creates the temperature gradient. The tip of the cone sits well away from the heat source and stays comparatively cool, so steam reaching it condenses rather than escaping. Unglazed earthenware helps further, since it loses heat through its surface faster than cast iron does.
The condensate runs down the slope and collects in the groove at the base of the cone, then drips inward onto the food. The cycle is continuous and almost nothing leaves the pot. A tagine that has been cooking for two hours has usually lost less liquid than a covered Dutch oven loses in forty minutes.
What the cycle does to the liquid and to the meat
Three things follow from the recycling. The first is concentration without reduction: because water is not leaving, the flavors do not get diluted the way they do when you add two cups of stock to a braise and then have to boil it down.
The second is a gentle, even cook. The temperature inside the pot is pinned near the boiling point of the liquid, and the constant drip of condensate onto the top layer keeps the exposed pieces moist rather than drying out. Nothing is submerged, and nothing is bare.
The third is texture. Vegetables placed on top cook in the steam and hold their shape far better than the same pieces would sitting in liquid, while the meat below spends hours in a small volume of very concentrated sauce. That two-level result is what a Dutch oven has to be persuaded to reproduce.
Where a Dutch oven differs, measured
| Traditional tagine | Dutch oven | What to change | |
|---|---|---|---|
| Headspace above food | 8 to 12 inches | 2 to 4 inches | use a wide pot and a shallow layer |
| Condensing surface | large, sloped, cool at the tip | small, flat, hot | lower the oven temperature |
| Where condensate lands | ring around the outer edge | straight down the middle | rotate the pot once mid-cook |
| Liquid loss over 2 hours | very little | noticeable | parchment round under the lid |
| Heat distribution | uneven, needs a diffuser | very even | nothing; this is an advantage |
| Thermal shock risk | real, clay cracks | none | nothing; also an advantage |
| Typical added liquid | 1/4 to 1/2 cup | 2 to 3 cups in a normal braise | cut to 1/2 to 3/4 cup |
Read the last column and three changes carry most of the weight: less liquid, a lower oven, and a physical barrier at the surface. Everything else is refinement.
Cooking tagine in a dutch oven, step by step
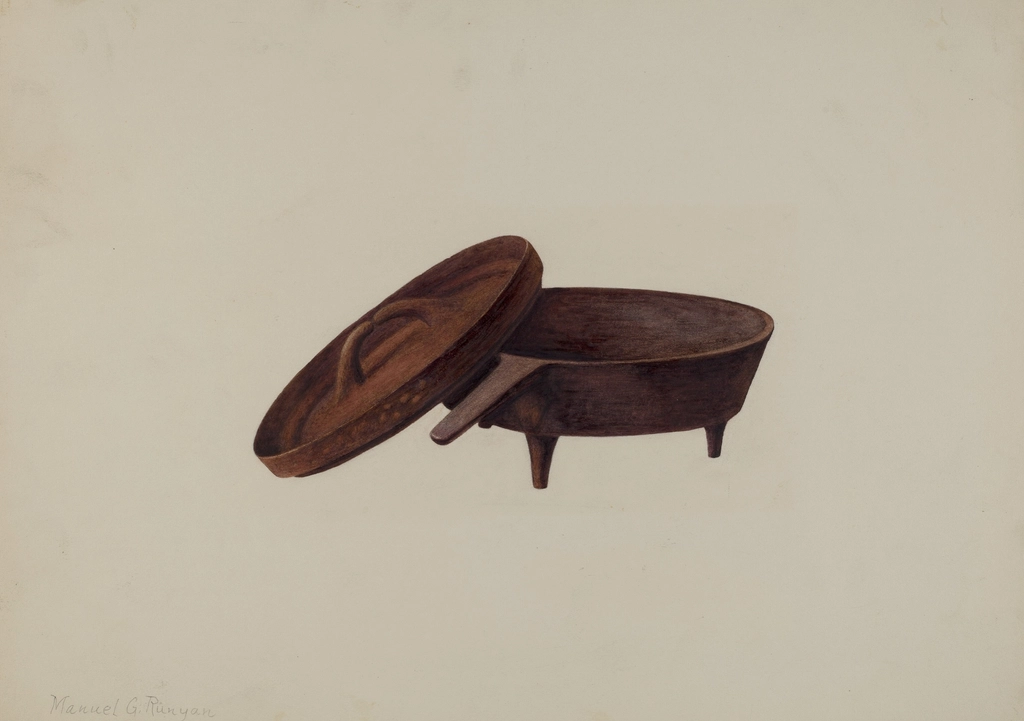
- Choose the widest, shallowest pot you own. A 5 to 7 quart round Dutch oven works; a braiser with a low domed lid is better still, because the food sits in a thinner layer.
- Heat the oven to 300F with a rack in the lower third. Everything from here happens in the oven, not on a burner. A burner heats one spot and drives evaporation from the bottom up.
- Brown the meat in two batches, then set it aside. Three tablespoons of oil, medium-high heat, no crowding. This is the only stovetop step and it is worth the ten minutes.
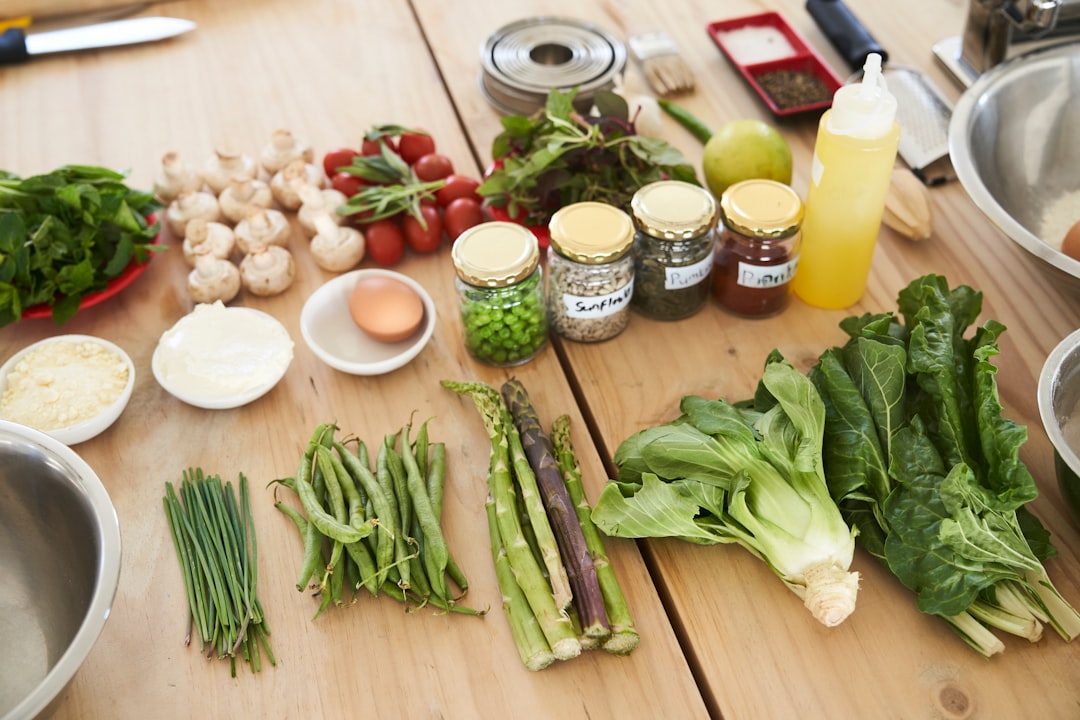
- Build a bed of sliced onions in the fat, 8 to 10 minutes. Two large onions for a pot serving four. They should soften and start to color, and they will end up as the base of the sauce.
- Bloom the spices in the onions for 60 seconds. Ground ginger, cumin, coriander, cinnamon, turmeric, a pinch of saffron soaked in a spoon of warm water. Heat opens them up; adding them to liquid does not.
- Add only half a cup of liquid. Water or light stock. It will look far too little. It is not, and this is the step people override and then wonder why the sauce is thin.
- Return the meat, sitting on the onions rather than in the liquid. The pieces should be above the liquid line, touching each other but not stacked.
- Arrange vegetables on top in a single overlapping layer. Carrots, turnips, squash, potatoes, cut into pieces large enough to survive the full cook.
- Press a round of parchment directly onto the surface, then put the lid on. Cut it to the diameter of the pot with a small hole in the center. This is the closest home equivalent of the cone’s return cycle.
- Cook covered for the time in the table below, rotating the pot once at the halfway mark. Do not open it otherwise; every look costs steam and heat.
- Uncover for the last 15 to 20 minutes if the sauce is loose. Add olives, preserved lemon, dried fruit or fresh herbs at this point, since all four turn dull with long cooking.
- Rest the covered pot off the heat for 10 minutes before serving. The sauce settles and the top layer stops steaming itself soft.
Liquid volume: the number that changes most
This is the single adjustment that decides whether the result reads as a tagine or as a stew. A standard braise recipe calls for liquid coming halfway up the meat, which in a 6-quart pot means two to three cups. Here it is half a cup, occasionally three-quarters for a very long cook with lean meat.
The rest of the liquid comes from the food. Two large onions release a remarkable amount, and so do carrots, squash, tomatoes and the meat itself. By the halfway mark a pot that looked dry at the start has an inch of sauce in the bottom, and none of it is water you added.
If you are nervous, start at half a cup and check once at the midpoint. Adding liquid later is easy; removing it means boiling the sauce down and cooking the vegetables past where you wanted them. A conventional stew is built the other way round, and the two methods should not be blended.
Oven temperature, and why 300F beats a burner
A burner puts all the heat into a small disc at the bottom of the pot. The sauce there boils while the top of the pot is much cooler, which drives evaporation, scorches the onions and pushes steam out past the lid.
An oven at 300 degrees surrounds the pot. The contents come to a bare simmer and stay there, the lid stays hot enough that condensation forms on it evenly rather than in one cold spot, and nothing on the bottom catches. It also removes the need to stir, which in this method is actively unhelpful.
Three hundred is the working figure. At 325 the cook is faster and the vegetables on top soften more. At 275 you get a slightly better texture and an extra forty minutes. Below 250 the pot spends too long climbing to temperature, which is worth avoiding for the same reason no braise should sit lukewarm for an hour.
The lid, the seal, and the parchment round
Cast iron lids sit reasonably tight and still leak steam, which you can see as a plume once the pot is up to temperature. That plume is exactly what a tagine does not do.
A round of parchment cut to the diameter of the pot and pressed onto the food is the practical fix. It sits close to the surface, condensation forms on its underside within an inch of the food and drips straight back, and it slows the exchange with the airspace above. A small hole in the center keeps pressure from building.
Some cooks seal the lid to the pot with a rope of flour-and-water dough or a band of foil. It works, and it means you cannot look inside without breaking the seal. The parchment gets you most of the benefit with none of the commitment. A damp towel wrapped around the lid handle is a different trick for a different problem and is a fire risk near a heating element, so leave it alone.
Layering: aromatics low, meat above the liquid
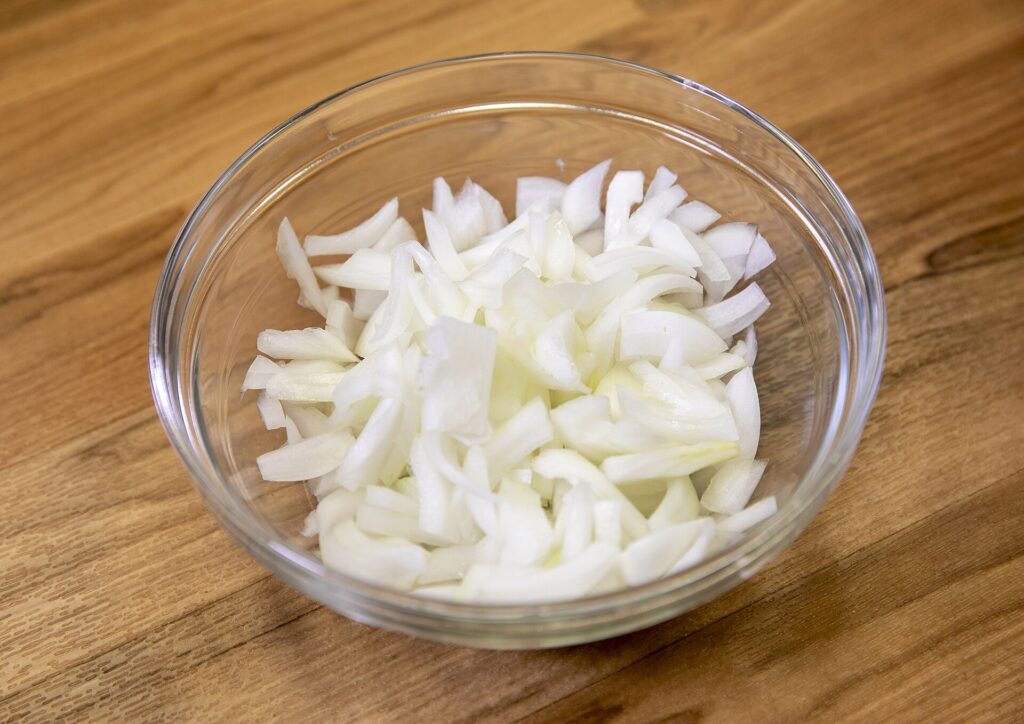
The order in the pot is doing real work. Onions on the bottom raise the meat above the liquid line and stop it from sticking, and they dissolve into the sauce over the course of the cook.
Meat sits on the onions in a single layer. Pieces stacked two deep cook unevenly and the lower ones effectively boil. If the pot is not wide enough for one layer, use a bigger pot or cook less meat, because there is no version of this method that works with a crowded pot.
Vegetables go on top, arranged rather than dumped, cut large. This is where the difference from a stew is most visible: they are being steamed above the sauce rather than simmered in it, so they arrive intact and taste of themselves. Chickpeas, dried apricots and olives are the exceptions and go in later, since they need less time and some of them get sour or salty with three hours in a hot pot.
Timings by cut
| Main ingredient | Oven | Covered | Uncovered | Liquid to start |
|---|---|---|---|---|
| Chicken thighs, bone in | 300F | 55 to 65 min | 10 min | 1/2 cup |
| Chicken, whole jointed | 300F | 70 min | 10 to 15 min | 1/2 cup |
| Lamb shoulder, 2 inch pieces | 300F | 2.5 to 3 hours | 20 min | 3/4 cup |
| Lamb shanks | 300F | 3 to 3.5 hours | 20 min | 3/4 cup |
| Beef shin or chuck | 300F | 3 to 3.5 hours | 20 min | 3/4 cup |
| Meatballs | 300F | 40 min | 10 min | 1/2 cup |
| Vegetables and chickpeas only | 325F | 45 to 55 min | none | 1/2 cup |
| Fish, thick fillets | 325F | 18 to 22 min | none | 1/3 cup, on a bed of vegetables |
Chicken should reach 165 degrees at the thickest part of the thigh, and fish should flake and read about 145 in the center. The lamb and beef rows are not doneness targets at all; they are cooked until the connective tissue has converted, which is well past any safety figure. Lamb cooked as a roast works on completely different numbers.
Where the substitution shows, honestly
The top layer of vegetables is where the difference is visible. In a real tagine the pieces at the top of the mound sit in the coolest part of the pot and get dripped on rather than steamed hard, so they stay distinctly firmer. In a Dutch oven they are only two inches below a hot lid, and they soften more.
Cut the top vegetables larger than you would for a stew, add the softest ones such as squash or courgette in the last forty minutes rather than at the start, and accept that a Dutch oven version reads slightly more melded. That is not a failure; it is a different pot.
The other difference is the sauce, which comes out marginally thinner because more moisture escaped. The uncovered final twenty minutes closes most of that gap. What does not differ noticeably is the flavor, because the flavor comes from the spice bloom, the onions and the concentration, all of which transfer intact. The spice work is the part that carries.
Buying a real tagine, and the glaze warning
If you decide to buy one, there are two categories and only one of them is cookware. Glazed decorative tagines, sold as souvenirs and as serving pieces, are not made to be cooked in and are not always made to food-safe standards.
The specific concern is lead. Regulators including the United States food safety authority have repeatedly warned that some traditional and imported glazed ceramics can leach lead into food, particularly acidic food cooked or stored in them for long periods, and tagine cooking is long and often acidic. Buy from a retailer that states the piece is lead-free and intended for cooking, and treat anything unmarked, hand-painted, secondhand or bought as a decoration as a serving dish at most.
Unglazed clay tagines need seasoning before first use, usually a long soak in water followed by an oiling and a slow bake, and they crack from thermal shock, so no cold pot on a hot burner and no cold water in a hot pot. Most of them also need a heat diffuser on a domestic hob. None of that applies to the pot already in your cupboard, which is the strongest argument for the substitution.
Six adjustments for the usual failures
Sauce too thin. Too much liquid at the start, or the lid was opened repeatedly. Finish uncovered for twenty minutes and start with less next time.
Vegetables collapsed. Cut too small, or added at the beginning when they belonged in the last hour. Larger pieces, later entry.
Meat tough after three hours. Almost always a lean cut. Shoulder, shin and shank convert; loin and leg never will, however long you give them.
Scorched bottom. The pot was on a burner rather than in the oven, or the oven was too hot. Move it to 300 degrees and let the oven do the work.
Flat, dusty spices. They went in with the liquid instead of into the hot fat. One minute of blooming is the difference.
Salty or sour finish. Preserved lemon and olives went in at the start. Both belong in the last twenty minutes, and both should be rinsed first. Meatball versions are especially prone to this because the cook is short.
Wide pot, half a cup of water, a sheet of parchment, and three hours at 300 degrees. Not the same object, and close enough that nobody at the table will be doing the comparison.
Frequently Asked Questions
Can I use a slow cooker instead?
You can, and it fights you on two points. The lid traps every bit of moisture, so the sauce ends up watery, and there is no way to brown or to reduce at the end. If it is what you have, cut the liquid to a quarter cup, brown the meat and bloom the spices in a pan first, and finish the sauce separately on the stove.
Do I need a heat diffuser?
Not for a Dutch oven in the oven, which is the whole point of the method. A diffuser is for unglazed clay on a direct flame, where it spreads the heat and lowers the risk of cracking. If you are cooking in earthenware on a hob, buy one; if you are cooking in cast iron in an oven, you do not need one.
What goes in the spice mix?
The common backbone is ginger, cumin, sweet paprika, turmeric, cinnamon, black pepper and saffron, in varying proportions. Blends sold ready-made can run to dozens of ingredients and vary enormously between shops. Start with the seven above, bloom them in fat, and adjust from there rather than buying a jar and hoping.
How long do leftovers keep?
Three to four days refrigerated, and it genuinely improves on the second day. Cool it quickly by transferring it to shallow containers rather than leaving the covered pot on the stove, get it into the refrigerator within two hours, and reheat it to a full simmer rather than to merely warm.
Can I make it without any meat?
Easily, and it is faster. Chickpeas, carrots, turnips, squash and dried apricots on a bed of onions, 325 degrees, about fifty minutes, with the same half cup of liquid. Add the chickpeas cooked rather than dried, keep the pieces large, and finish with preserved lemon and coriander leaf off the heat.