Two identical pots of beef chuck, same three pounds cut into two-inch pieces, same cup and a half of stock, same onions underneath. One goes on the smallest burner turned as low as it will go. The other goes into a 300 degree oven. Three hours later they are not the same dish.
The burner pot has a scorched ring where the flame sat, meat at the bottom that has gone stringy, and pieces on top that are still firm. The oven pot is uniform from edge to center. Probe it in four places and the readings fall within a couple of degrees of each other; do the same in the burner pot and the spread runs to twenty or more.
That spread is the whole argument. What follows is where it comes from, what it does to collagen and to texture, the cases where a burner is still the right answer, and the specific settings that make an oven braise repeatable.
- Oven temperature: 300F, rack in the lower third, lid on
- Liquid: one to one and a half cups for three pounds of chuck, never covering the meat
- Time: 3 to 3.5 hours for two-inch pieces, longer for a whole shoulder roast
- Target: a texture, reached somewhere around 200 to 205F, not a number you pull at
- Burner equivalent: lowest setting plus a diffuser, stirred, and still less even
- Where the burner wins: short braises, thin cuts, and the searing and reducing at either end
- Cool it fast: shallow containers, refrigerated inside two hours
A burner heats a disc, an oven heats a box
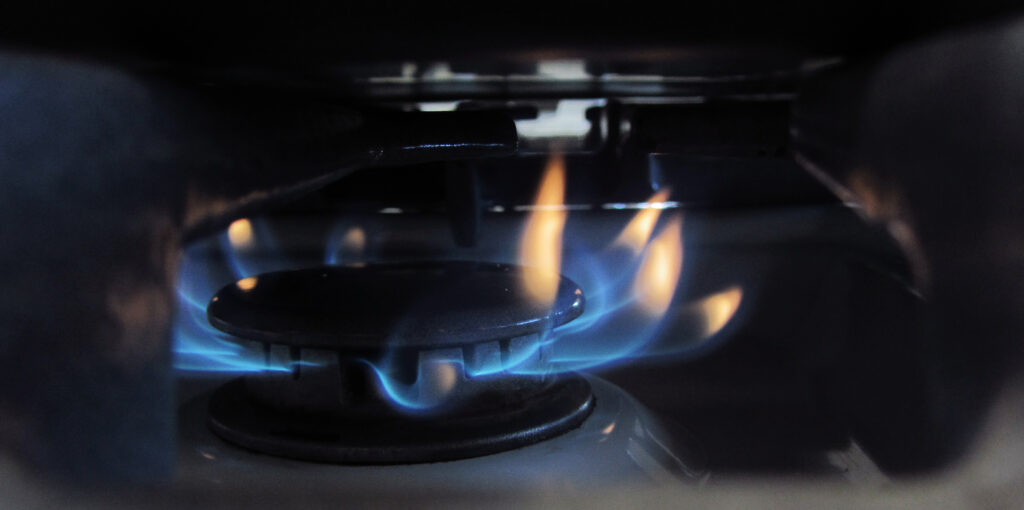
A gas ring or an electric element delivers all of its energy into a circle at the bottom of the pot, often smaller than the pot’s base. Cast iron spreads that heat sideways better than thin steel does, and it does not spread it far enough. There is a hot zone directly over the element and a cooler ring outside it.
Liquid moves heat around by convection, which helps, and the food is in the way. A pot packed with meat and vegetables has very little free circulation, so the bottom layer sits against the hottest metal in the pot for the whole cook while the top layer relies on steam.
An oven surrounds the pot on all sides. Heat arrives through the walls, the lid and the base at roughly the same rate, and the contents come to a uniform temperature and stay there. The oven is also thermostatically controlled, which a burner knob is not.
Oven braising vs stovetop, measured in the same pot
| 300F oven | Lowest burner setting | |
|---|---|---|
| Temperature spread across the pot | a few degrees | 15 to 25 degrees |
| Where the liquid boils | nowhere; it barely moves | directly over the element |
| Scorching risk | very low | real, and worse with sugar or dairy |
| Stirring required | none | every 20 to 30 minutes |
| Evaporation over 3 hours | modest | higher; lid lifts more often |
| Meat texture at the bottom | same as the top | stringier, more shredded |
| Vegetables added late | hold their shape | collapse near the base |
| Attention needed | set a timer and leave | checked and adjusted |
| Best use | anything over 90 minutes | short braises, searing, reducing |
The row that decides it is the second one. A braise is not supposed to boil, and on a burner some part of it always is. Even a pot that shows no visible movement at the surface has liquid at a rolling boil against the metal above the flame.
Why boiling is the wrong process for chuck
Chuck is worth cooking because it is full of connective tissue, and connective tissue converts to gelatin given enough time in the right range. That conversion runs well from about 160 degrees upward and it accelerates with heat, so more heat is not obviously bad.
The problem is the muscle fiber alongside it. Fibers contract and squeeze out moisture as temperature climbs, and they keep squeezing. At a bare simmer, the collagen conversion outruns the moisture loss and the meat ends up tender and juicy. At a rolling boil, the fibers wring themselves dry faster than the gelatin can compensate, and you get meat that shreds into dry threads.
That is exactly what the bottom layer of a burner braise experiences. It is not undercooked or overcooked in the usual sense; it has been cooked by a different process from the pieces four inches above it. A stew built for speed makes this trade deliberately and compensates with cut size.
Three hundred degrees, and why not 250 or 350
Three hundred puts the contents of a covered pot at just under boiling and holds them there. The pot takes about forty minutes to get up to temperature from cold, then coasts. It is high enough that the cook finishes in a reasonable afternoon and low enough that nothing at the edges hardens.
At 250 the results are marginally better and the clock stretches by a third, which is worth it for a large piece of meat left alone all day and not worth it for a Tuesday. Below about 225 the pot spends too long climbing, and food sitting for hours in the lukewarm range is exactly the condition to avoid on safety grounds.
At 350 the liquid in the pot reaches a genuine simmer and evaporation picks up sharply. The braise still works and it is closer to what a burner does, including the drawbacks. Use 325 if you are short on time and accept a slightly firmer, drier result.
Chuck, and what the cut is made of
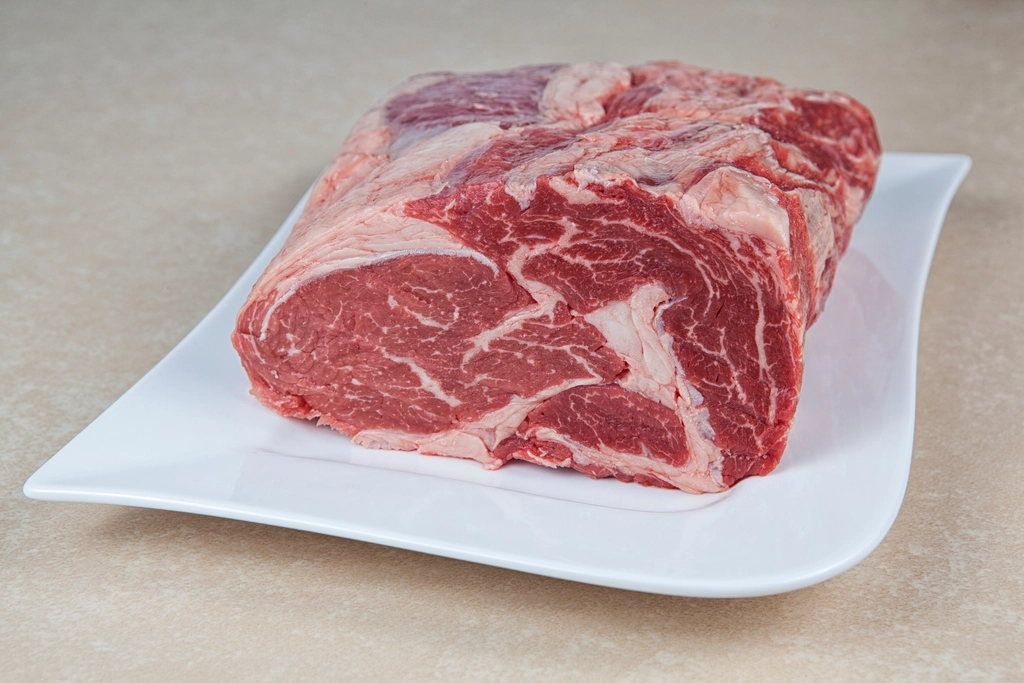
Chuck comes from the shoulder, which does a great deal of work and is laced with connective tissue and intramuscular fat. It is several muscles rather than one, and they do not all cook at the same rate, which is another argument for even heat.
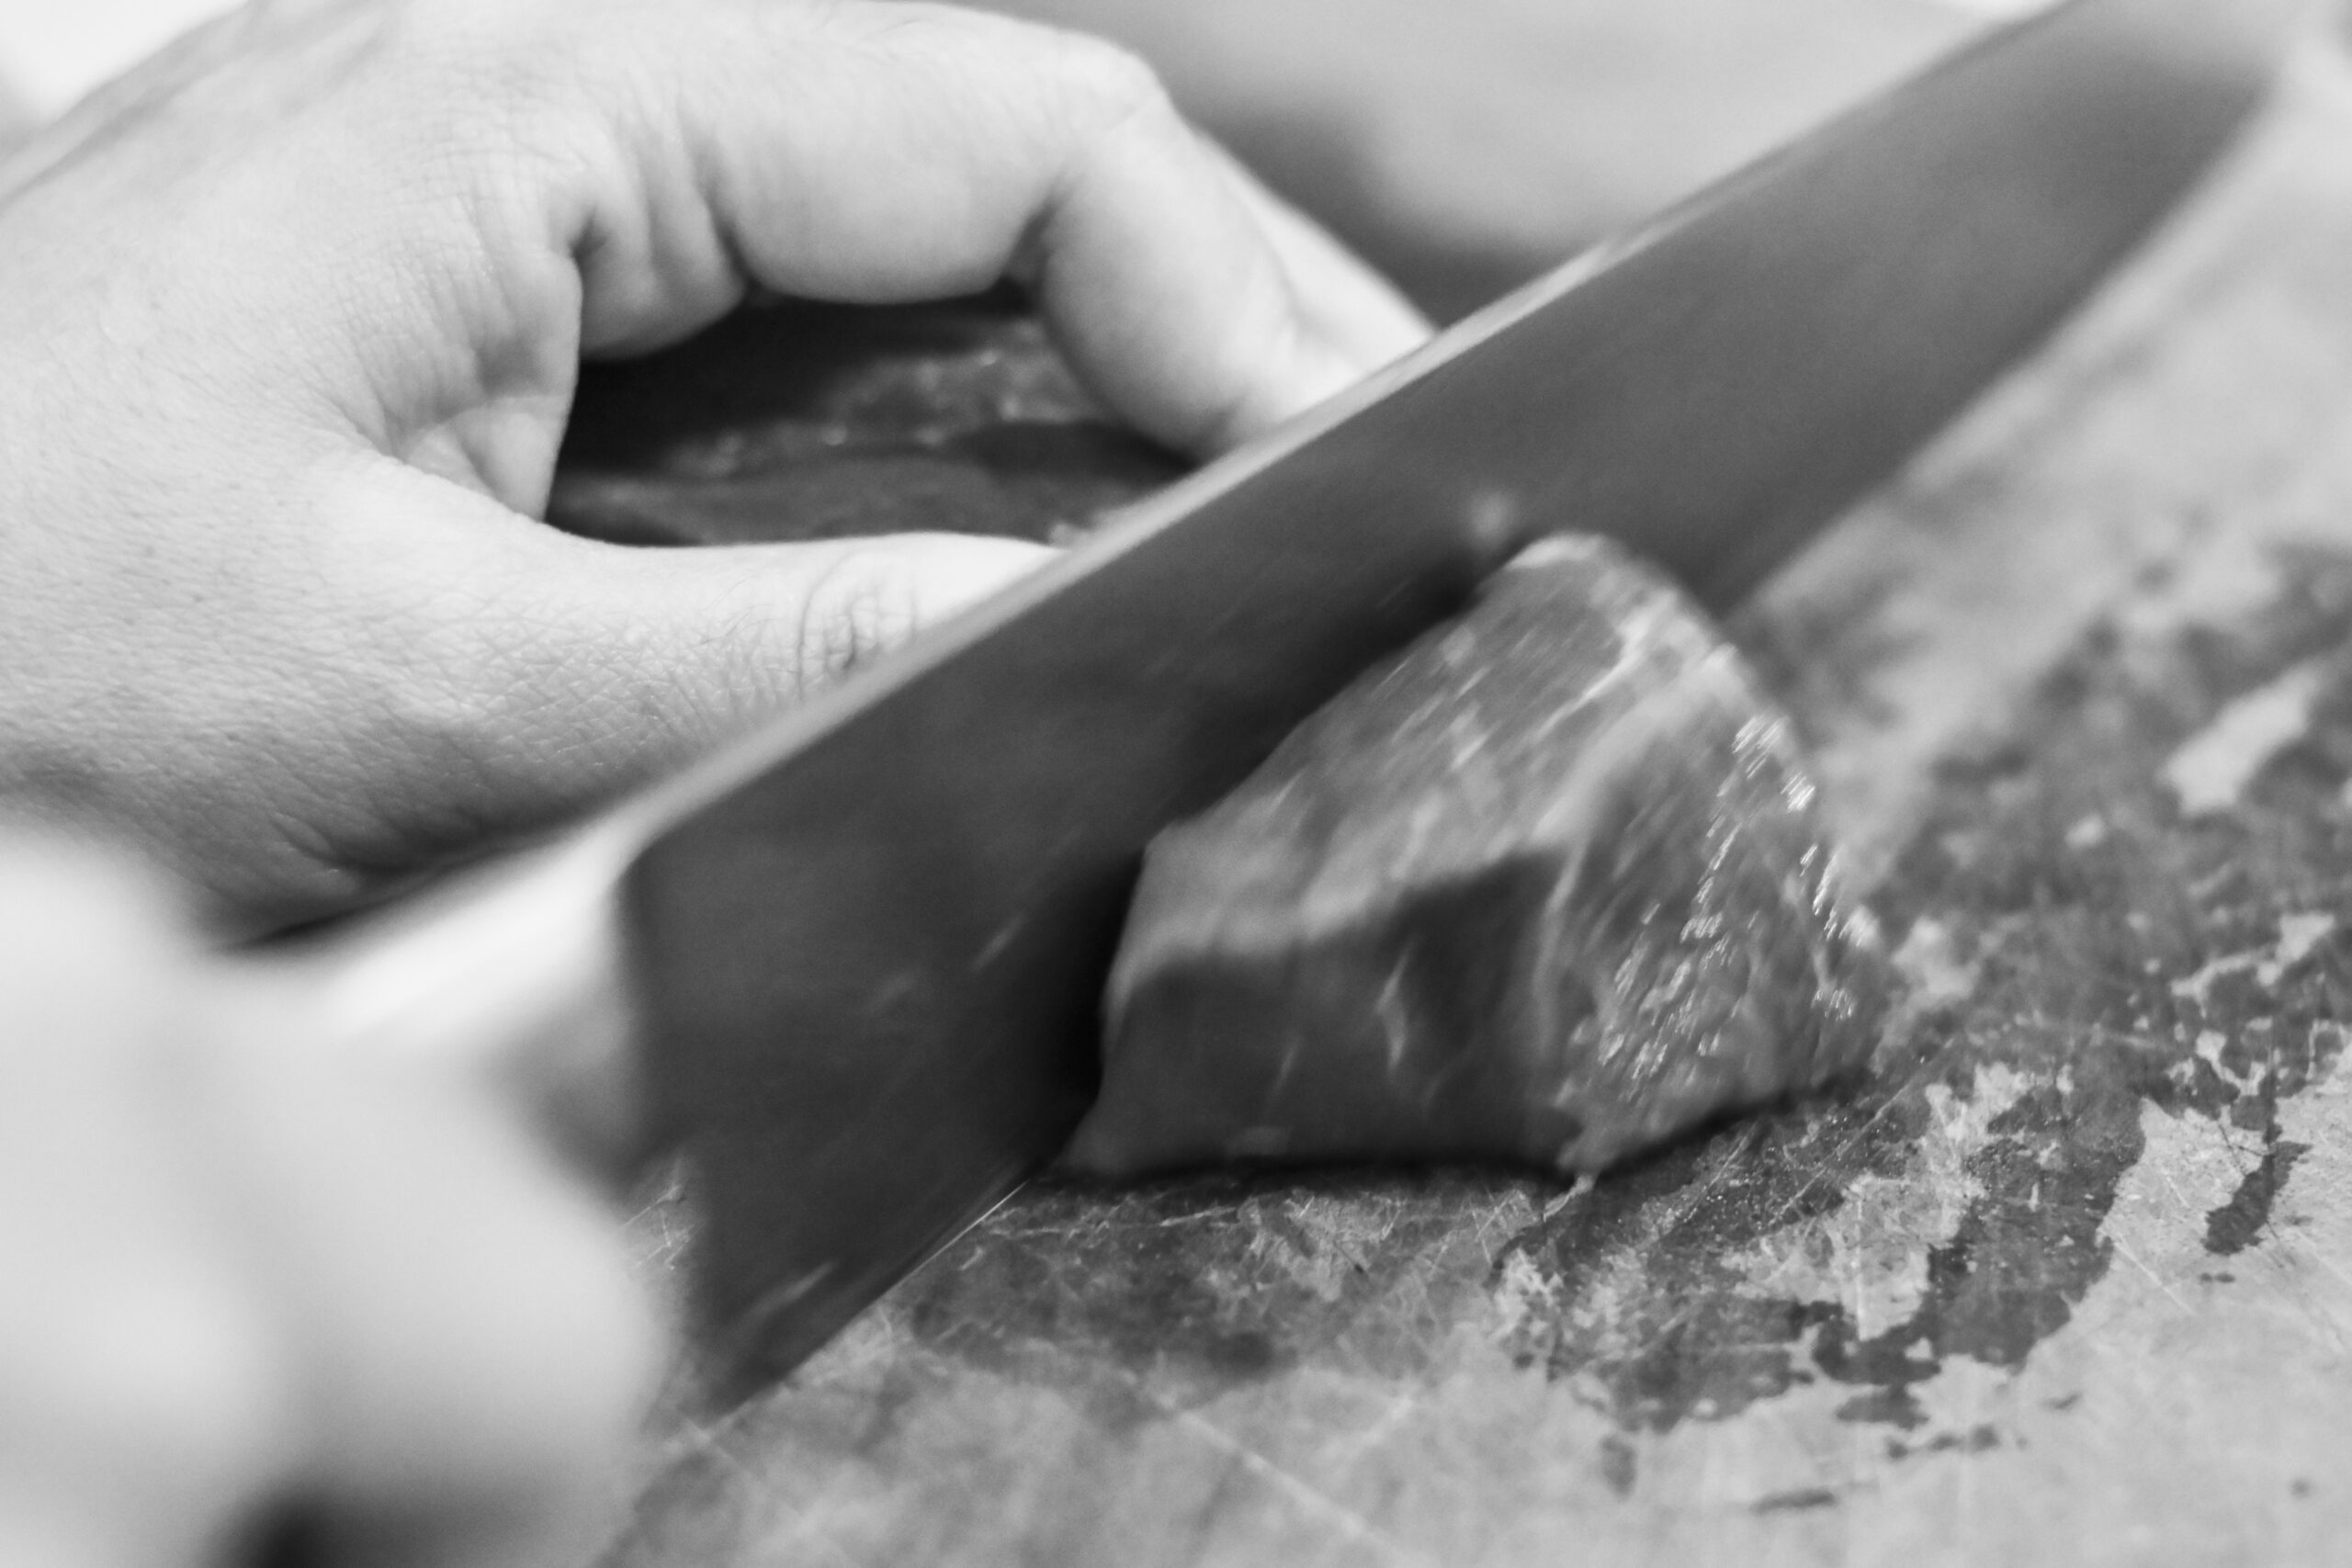
Buy it in a single piece and cut it yourself rather than taking pre-cut stewing beef, which is usually trimmed to look tidy and comes from wherever the butcher had offcuts. Two-inch pieces are the working size. Anything smaller cooks through before the collagen has converted and ends up dry.
Leave the fat and the silvery seams on. The seams are the collagen you are paying for, and they dissolve. The only thing worth cutting away is hard external fat thicker than about a quarter inch, which will not render fully and floats.
The method, cold pot to cold fat cap
- Heat the oven to 300F with a rack in the lower third. Do this first; the pot goes in hot rather than waiting.
- Dry the beef and salt it, then sear in two batches. A crowded pan steams. Two batches of a pound and a half each, four minutes a side, high heat, in a dry-ish film of oil.
- Set the meat aside and soften two sliced onions in the fat. Eight to ten minutes. Scrape as they release liquid; the brown film on the base is flavor and it should end up in the sauce.
- Deglaze with wine or stock and reduce it by half. This is the last thing the burner does. It also confirms the base of the pot is clean.
- Return the meat with one to one and a half cups of liquid total. The pieces should sit in liquid, not under it. Roughly two-thirds submerged is right.
- Bring it to a bare simmer, then lid on and into the oven. Starting hot saves the pot forty minutes of climbing.
- Leave it alone for two hours. No stirring, no looking. Every lid lift costs heat and steam and buys nothing.
- Check at two hours, then every thirty minutes. The test is a fork twisting free without resistance, not a temperature reading.
- Add hardy vegetables for the last 45 minutes if you want them. Carrots, potatoes and turnips added at the start will be paste.
- Rest the covered pot out of the oven for 20 minutes. The meat reabsorbs some liquid and stops falling apart when you move it.
- Chill overnight, lift the fat cap, reheat to a full simmer. Optional and better. The flavor settles and the fat comes off in one sheet.
Liquid level: the mistake that survives the oven
Moving to the oven fixes the heat distribution and does nothing about too much liquid. A pot with the meat submerged is a pot of boiled beef with a dilute sauce, whichever heat source is doing the work.
Aim for liquid coming two-thirds of the way up the pieces, with the top third exposed. The exposed surface stays in steam rather than water, browns very slightly, and contributes flavor the submerged parts cannot. The pot generates more liquid as it goes, so what looks sparse at the start rarely is.
If the finished sauce is thin, lift the meat out and reduce the liquid on a burner, which is one of the jobs a burner does better than an oven. The classic Burgundy version ends the same way, with the sauce finished separately from the meat.
Where a burner is still the right tool
Searing, obviously. No oven produces the surface heat needed for a hard crust, and the fond that forms during that sear is the base of everything afterward.
Short braises too. Chicken thighs in forty-five minutes, fish in twenty, greens in half an hour: at those durations the unevenness has less time to do damage and the convenience of a burner wins. The break-even point is somewhere around ninety minutes.
And reducing at the end. Boiling a sauce down is precisely the situation where you want concentrated heat at the base of a wide pot. The sensible arrangement is a burner at both ends and an oven in the middle, which is how most professional kitchens run a braise and why a slow cooker produces a different, softer result: it has neither end.
The spread between top and bottom, hour by hour
| Elapsed | Oven pot, top and bottom | Burner pot, top and bottom | Meat |
|---|---|---|---|
| 0:20 | 150F / 155F | 130F / 190F | fibers contracting, tightening |
| 0:45 | 190F / 193F | 165F / 208F | at its toughest, in both pots |
| 1:30 | 198F / 200F | 180F / 210F | collagen converting, still firm |
| 2:15 | 200F / 202F | 188F / 212F | fork meets resistance |
| 3:00 | 201F / 203F | 192F / 212F | oven pot done; burner pot uneven |
| 3:30 | 202F / 203F | 195F / 212F | burner pot: top ready, bottom past it |
The figures above are the shape of what a probe finds rather than a specification, and the shape is the point: the oven columns stay within two or three degrees of each other the whole way, while the burner columns never converge. The bottom of the burner pot pins at the boiling point from twenty minutes in and stays there.
Notice the hour around the 45-minute mark, where the meat is tougher than it was raw. That stage exists in both pots and it is the reason people give up on a braise early and conclude the cut was bad.
Six ways it still goes wrong in an oven
Scorched despite the oven. The fond from the sear was left dry and burnt before the liquid went in. Deglaze while the pan is still hot and the film still brown.
Watery, pale sauce. Too much liquid at the start, or the meat went in wet and never seared. Reduce at the end and use less next time.
Meat tender, vegetables gone. They went in with everything else. Carrots and potatoes belong in the last forty-five minutes, and a second batch added late is worth the trouble.
Greasy. Chuck renders a lot of fat and it floats. Chilling overnight and lifting the cap solves it completely; skimming with a spoon solves it partly.
Flat flavor. No sear, or the onions were not taken far enough. Both stages are on the burner and both get rushed.
Dry and stringy anyway. The oven was above 350, or the pieces were cut too small for the time given. Whatever it is served over will not rescue that.
Safety, cooling, and the reheat
A finished braise has been well past any pathogen-killing temperature for hours, so the risk is not in the cooking. It is in what happens afterward. A six-quart pot of hot stew left on the stove to cool will sit in the range where bacteria multiply for several hours, because the mass of it holds heat far longer than people expect.
Divide it into shallow containers no more than two inches deep, and get it into the refrigerator within two hours of coming out of the oven. Reheat to a full simmer rather than to warm, and only reheat the portion you are eating. Three to four days refrigerated is the working limit, and it freezes well for three months.
One temperature note that runs the other way: do not hold a braise at a low oven setting for hours before serving. Anything held for service needs to stay above 140 degrees, which a 170 degree oven will manage and a warming drawer may not. If dinner is delayed, chill it and reheat it rather than parking it.
Same cut, same liquid, same three hours. The oven’s only contribution is that every piece in the pot has the same experience, and on a cut like chuck that turns out to be most of the difference.
Frequently Asked Questions
Can I do this on an induction hob instead?
Induction controls power far better than gas or a coil, and it still heats only the base of the pot. It reduces the scorching risk substantially and does not fix the temperature spread between the bottom layer and the top. For a long braise the oven is still the better choice; for a forty-minute one, induction is fine.
Does the pot need to be cast iron?
No. Enameled cast iron is popular because it is heavy, holds heat and goes from burner to oven, but any heavy lidded pot that is oven-safe will do. Thin stainless works in an oven, since the oven is supplying the even heat that thin metal cannot. It is on the burner that the thin pot fails.
Why is my chuck still tough after three hours?
Usually it needs longer, and toughness at that stage is a sign the collagen has not finished converting rather than a sign it is overdone. Give it another thirty to forty-five minutes and test again. If it is tough and dry rather than tough and moist, the pot was too hot or the pieces were cut too small.
Should I flour the meat before searing?
It thickens the sauce and it interferes with the crust, so pick one. Searing clean and thickening the finished sauce separately gives a better result, and dusting with flour is faster. Do not do both by flouring and then also reducing hard, or the sauce turns gluey.
Can I braise from frozen?
Not well. Frozen meat will not sear, it dumps a great deal of water into the pot, and the timing becomes guesswork. Thaw it in the refrigerator, which for three pounds of chuck takes about a day, and pat it dry before it meets the pan.