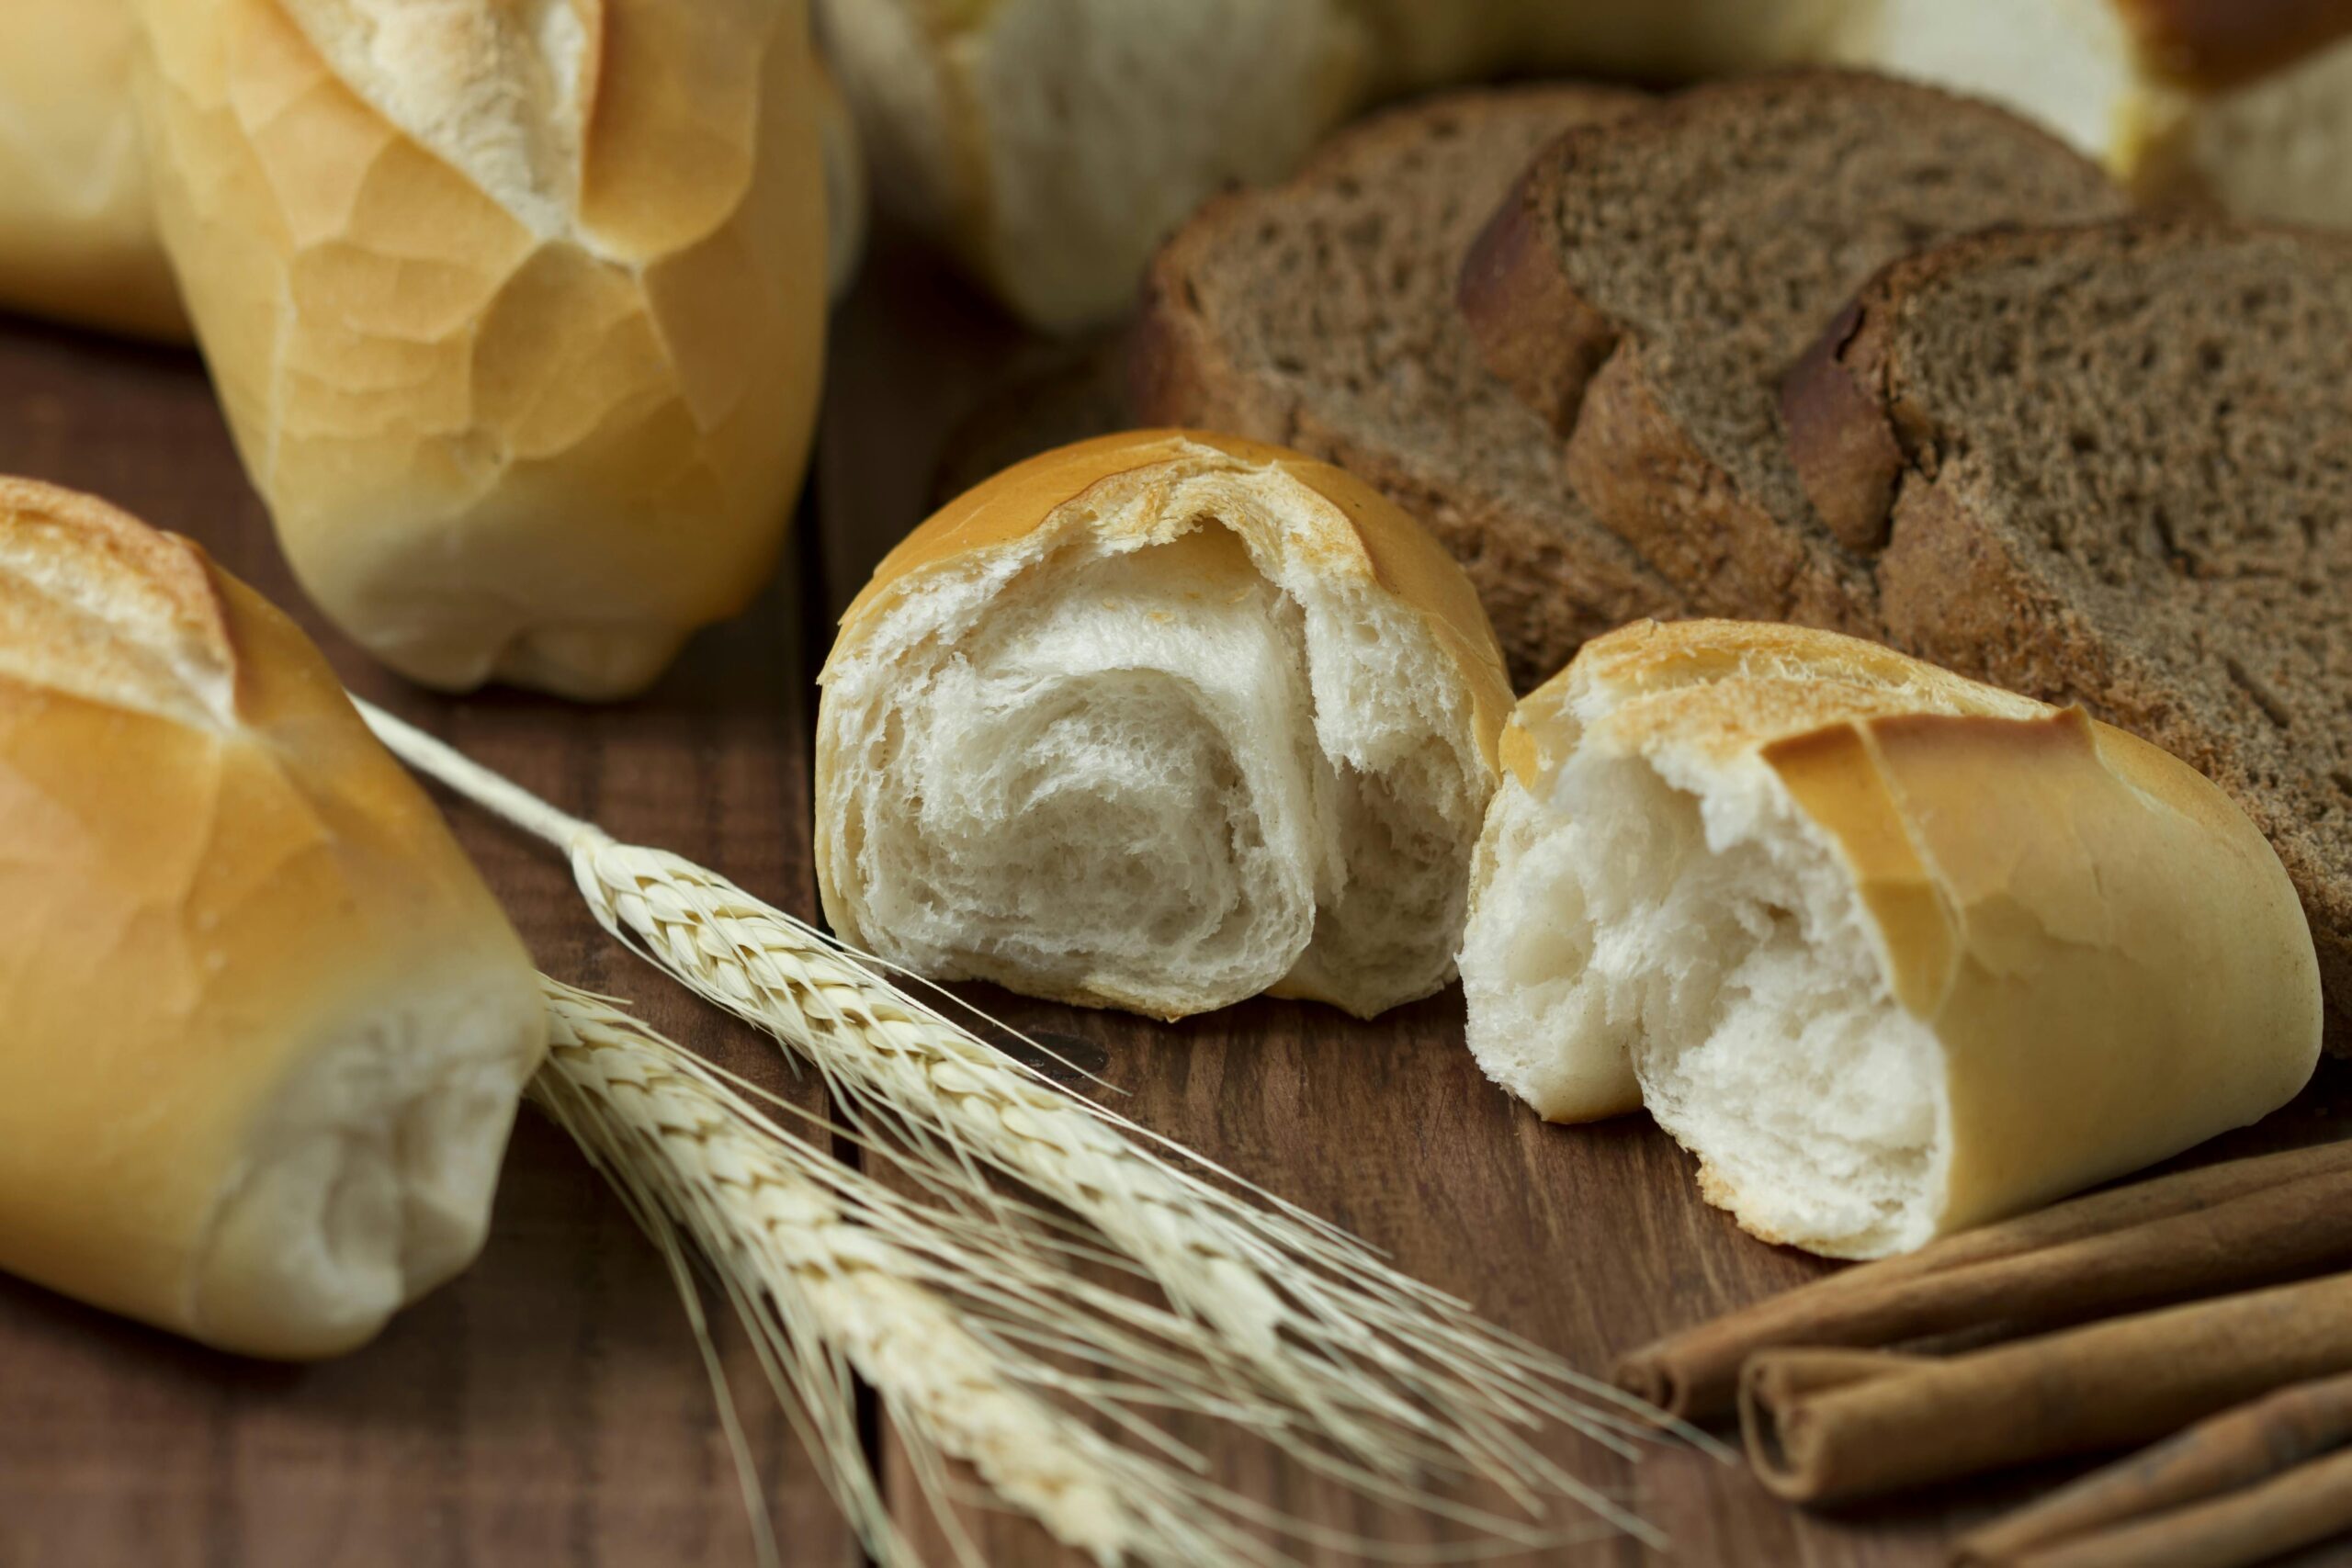
There is nothing quite like homemade dinner rolls. Soft, pillowy, slightly sweet, with a golden crust that tears open to reveal an impossibly tender interior. They are the kind of bread that makes people fight over the last one and ask for your recipe. And despite what you might think, they are not difficult to make.
This recipe produces bakery-quality dinner rolls with a tender crumb and rich buttery flavor. The dough comes together easily, requires minimal kneading, and is very forgiving. Even if your yeast baking skills are rusty, you can make these successfully.
Understanding Yeast Bread
Before we explore the recipe, let us talk about what makes yeast bread work. This knowledge will help you troubleshoot problems and bake with confidence.
Yeast
Yeast is a living organism that feeds on sugar and produces carbon dioxide gas, which makes bread rise. For best results, use instant yeast (also called rapid-rise or bread machine yeast). It can be mixed directly into the flour without proofing first and works faster than active dry yeast.
Make sure your yeast is fresh. Old yeast loses potency and produces flat, dense bread. Store yeast in the freezer for longest shelf life.
Temperature
Temperature is crucial. The liquid should be warm (about 110F) to activate the yeast but not hot or it will kill it. An instant-read thermometer is helpful. The dough should rise in a warm spot around 75F to 80F. Too cold and it rises slowly. Too warm and it rises too fast and develops off flavors.
Kneading
Kneading develops the gluten that gives bread its structure and chewy texture. However, enriched doughs like this one (containing butter, eggs, and milk) need less kneading because the fat inhibits gluten development. Over-kneading enriched dough makes it tough.
Proofing
Proofing is the final rise after shaping. The rolls should roughly double in size. Under-proofed rolls will be dense. Over-proofed rolls will collapse and be flat. The poke test helps: press your finger into the dough. If it springs back slowly, it is ready. If it springs back quickly, let it rise more. If it does not spring back at all, it is over-proofed.
The Essential Ingredients
Flour
All-purpose flour works perfectly for dinner rolls. Bread flour will work too but produces a slightly chewier texture. Do not use cake flour or whole wheat.
Butter
Butter makes these rolls rich and tender. Use softened unsalted butter in the dough and melted butter for brushing the tops.
Milk
Milk adds richness and helps create a tender crumb. Warm it to about 110F before adding to the yeast.
Eggs
Eggs add richness, color, and help bind the dough. Use room temperature eggs so they do not cool down the warm milk.
Sugar
Sugar feeds the yeast and adds a slight sweetness that makes these rolls irresistible.
The Complete Recipe
Ingredients
- 1 cup whole milk, warmed to 110F
- 1/3 cup sugar
- 2.25 teaspoons instant yeast (1 packet)
- 4 cups all-purpose flour, plus more for kneading
- 1 teaspoon salt
- 2 large eggs, at room temperature
- 6 tablespoons unsalted butter, softened
- 2 tablespoons melted butter, for brushing
Instructions
Step 1: Activate the yeast. In a small bowl, combine warm milk, sugar, and yeast. Let sit for 5 minutes until foamy. If it does not foam, your yeast is dead and you need to start over with fresh yeast.
Step 2: Mix the dough. In a large bowl, whisk together flour and salt. Add the yeast mixture, eggs, and softened butter. Stir with a wooden spoon until a shaggy dough forms.
Step 3: Knead. Turn the dough onto a lightly floured surface. Knead for 5 to 7 minutes until smooth and elastic. The dough should be soft and slightly tacky but not sticky. Add flour sparingly if needed.
Step 4: First rise. Place dough in a greased bowl, turning to coat. Cover with plastic wrap and let rise in a warm spot until doubled in size, about 1 to 1.5 hours.
Step 5: Shape the rolls. Punch down the dough to deflate. Divide into 12 equal pieces (a kitchen scale helps for even sizing). Roll each piece into a smooth ball by tucking the edges under and pinching closed. Place seam-side down in a greased 9×13 inch baking pan, spacing evenly.
Step 6: Second rise. Cover with plastic wrap and let rise until doubled, about 45 minutes to 1 hour. The rolls should be touching each other and look puffy.
Step 7: Bake. Preheat oven to 375F. Bake for 20 to 25 minutes until golden brown on top. The internal temperature should reach 190F.
Step 8: Finish. Brush hot rolls immediately with melted butter. Let cool for 10 minutes before serving.
Tips for Perfect Rolls
Check Your Yeast
If the yeast mixture does not foam in step 1, your yeast is dead. Do not proceed or you will waste all your ingredients on flat rolls.
Do Not Add Too Much Flour
The dough should be soft and slightly tacky. Too much flour makes dense, dry rolls. It is better to have slightly sticky dough that you can work with than stiff dough.
Shape Tightly
Tightly shaped balls with the seam pinched closed rise better and bake more evenly. Loose shaping leads to misshapen rolls.
The Poke Test
To test if the rolls are properly proofed, poke one with your finger. If the indent springs back slowly, they are ready. If it springs back quickly, let them rise longer. If it does not spring back at all, they may be slightly over-proofed but will still taste good.
Butter Immediately
Brushing the hot rolls with melted butter makes the crust soft and adds gorgeous shine. It also keeps them fresh longer.
Variations
Garlic Herb Rolls
Mix minced garlic, chopped fresh herbs (rosemary, thyme, parsley), and salt into the melted butter before brushing on top.
Honey Butter Rolls
Add 2 tablespoons honey to the dough and brush with honey butter after baking.
Parmesan Rolls
Sprinkle freshly grated parmesan over the buttered rolls right out of the oven.
Pull-Apart Loaf
Place the shaped balls in a loaf pan for pull-apart bread instead of individual rolls.
Make-Ahead Options
Refrigerator Rise
After shaping, cover the pan tightly and refrigerate overnight. The next day, let the rolls come to room temperature and rise for about an hour before baking. This develops more flavor and lets you do most of the work ahead.
Freezing
Freeze baked rolls in an airtight bag for up to 3 months. Thaw at room temperature and warm in a 350F oven for 5 minutes.
You can also freeze the dough balls before the second rise. Let them rise and then freeze on a baking sheet. Transfer to a freezer bag. To bake, place frozen balls in the pan, cover, and let thaw and rise at room temperature for 3 to 4 hours before baking.
Dinner Rolls Troubleshooting
Rolls Did Not Rise
Your yeast was dead. Make sure it foams in the warm milk before proceeding. Also make sure the milk was not too hot (above 120F) which kills yeast.
Rolls Are Dense
You used too much flour, or you did not let them rise long enough. The dough should double in size during both rises.
Rolls Are Tough
You kneaded too long or used too much flour. Enriched doughs need less kneading than lean breads.
Tops Burned Before Inside Was Done
Your oven is too hot. Use an oven thermometer to check. You can also tent with foil if they are browning too fast.
Pro Tips for Perfect Dinner Rolls
Creating fluffy dinner rolls that melt in your mouth is an art that can be perfected with a few expert tips. Here are some practical techniques to ensure your rolls turn out perfectly every time:
- Measure Ingredients Accurately: Use a kitchen scale for precise measurements, especially for flour. Too much flour can lead to dry rolls, while too little can result in flat ones.
- Use Fresh Ingredients: Always check the expiration dates on your yeast and baking powder. Fresh ingredients are key to achieving the best rise and flavor.
- Temperature Matters: Ensure your liquids are at the right temperature when mixing. Too hot can kill the yeast, while too cold can hinder its activation. Using a thermometer can help you gauge the temperature accurately.
- Don’t Rush Proofing: Allow your dough to rise until it has doubled in size. This may take longer in cooler environments, but patience is important for the best texture.
- Brush with Butter: For a golden, shiny crust, brush the tops of the rolls with melted butter before and after baking. This not only enhances flavor but also improves appearance.
- Experiment with Flavors: Consider adding herbs, cheese, or spices to the dough for a unique twist. Garlic powder, rosemary, or shredded cheese can elevate the flavor profile.
Common Mistakes to Avoid
Even seasoned bakers can encounter pitfalls when making dinner rolls. Here are some common mistakes to watch out for and how to avoid them:
- Using Old Yeast: Always check the freshness of your yeast. Old yeast can lead to flat rolls. If unsure, test it by mixing a small amount with warm water and sugar; it should foam up within a few minutes.
- Over-Kneading the Dough: While kneading is essential, too much can make the dough tough, especially in enriched recipes. Stop kneading once the dough is smooth and elastic.
- Skipping the Poke Test: Not performing the poke test can lead to over or under-proofed rolls. If the dough springs back quickly, it needs more time; if it maintains the indentation, it’s ready.
- Baking at the Wrong Temperature: Ensure your oven is preheated to the correct temperature before baking. An oven thermometer can help ensure accuracy, as many home ovens are off by several degrees.
- Neglecting to Cover the Dough: When proofing, always cover your dough with a damp cloth or plastic wrap to prevent it from drying out. This helps maintain moisture and achieves a better rise.
| Step | Temperature (°F) | Time |
|---|---|---|
| Activate Yeast | 110 | 5 mins |
| First Rise | 75-80 | 1-2 hours |
| Bake Rolls | 375 | 15-20 mins |
| Rest After Baking | Room Temp | 10 mins |
Frequently Asked Questions
What type of yeast is best for dinner rolls?
Instant yeast is preferred for making dinner rolls because it acts quickly and can be mixed directly with dry ingredients without proofing. It ensures a faster rise and more reliable results.
How can I tell if my dough has risen enough?
Use the poke test: gently press your finger into the dough. If the indentation remains and does not spring back, it’s ready to shape. If it springs back, it needs more time to rise.
Can I use whole wheat flour instead of all-purpose flour?
Yes, you can substitute whole wheat flour, but it may make the rolls denser. For best results, consider using a mix of all-purpose and whole wheat flour to maintain fluffiness.
How do I store leftover dinner rolls?
To store leftover dinner rolls, place them in an airtight container or wrap them in plastic wrap. They can be kept at room temperature for up to two days or frozen for longer storage.
Final Thoughts
Homemade dinner rolls are one of those things that seem intimidating but are actually quite simple once you understand the basics. This recipe is forgiving and produces incredibly soft, buttery rolls that will impress everyone at your table.
There is something deeply satisfying about baking bread from scratch. The smell of yeast, the feel of the dough in your hands, the golden rolls coming out of the oven. It connects you to generations of bakers who came before and reminds you that the best things in life are often the simplest.
Explore more bread recipes to continue your baking journey.
Sources & References
Understanding Yeast: A Complete Guide for Bakers
Yeast is the single ingredient that determines whether your dinner rolls rise into fluffy pillows or remain dense, flat discs. Understanding the three types of yeast available to home bakers, and how to use each one correctly, removes much of the mystery from bread baking.
Active dry yeast is the traditional choice that requires activation in warm water between 105-115F before adding to the dough. The warm water dissolves the protective coating of dead yeast cells surrounding the living ones, allowing them to begin feeding on sugars and producing carbon dioxide. If your yeast does not foam within 10 minutes, it is either dead or the water temperature was wrong. Discard and start over rather than risking a batch of rolls that will not rise.
Instant yeast, also called rapid-rise or bread machine yeast, can be mixed directly into dry ingredients without proofing. Its smaller granule size and higher percentage of living cells mean it dissolves and activates faster. Instant yeast typically produces a first rise that is 50 percent faster than active dry yeast. For dinner rolls on a time crunch, instant yeast is the practical choice. Use about 25 percent less instant yeast than the recipe calls for in active dry.
Fresh yeast, also known as cake yeast or compressed yeast, is preferred by professional bakers for its reliable, vigorous rise and slightly superior flavor. It is highly perishable, lasting only two weeks refrigerated, which limits its availability in most grocery stores. If you can find it, use roughly twice the weight called for in dried yeast. Crumble it directly into warm liquid and stir until dissolved.
Dinner Roll Troubleshooting Guide
Even experienced bakers encounter issues with dinner rolls. The table below covers the most common problems and their science-based solutions.
| Problem | Root Cause | Solution | How to Prevent Next Time |
|---|---|---|---|
| Rolls did not rise | Dead yeast or water too hot/cold | Start over with fresh yeast; test in warm water first | Always proof yeast; check water temperature |
| Dense, heavy texture | Insufficient kneading or rising time | Knead until windowpane test passes; allow full rise | Set timer; knead 8-10 minutes by hand minimum |
| Too dry and crumbly | Too much flour or overbaked | Add liquid 1 tbsp at a time; reduce bake time | Measure flour by weight; check rolls early |
| Tough and chewy | Overworked dough or too much flour | Handle gently during shaping; use less flour | Knead just until smooth; use oil on surface |
| Uneven sizes | Inconsistent portioning | Use a kitchen scale to weigh each dough ball | Divide total weight by number of rolls |
| Pale crust, no browning | Oven too low or missing egg wash | Brush with egg wash; increase oven to 375F | Calibrate oven; always apply egg wash |
| Crust too hard | Overbaked or oven too hot | Reduce temp by 25F; brush with butter after baking | Tent with foil; use oven thermometer |
Make-Ahead Strategies for Dinner Rolls
One of the greatest advantages of dinner rolls is their adaptability to make-ahead preparation. When you are planning for a holiday dinner or simply want fresh bread on a weeknight, these strategies ensure warm rolls whenever you want them.
The overnight refrigerator rise is the most popular make-ahead method. Prepare the dough through the first rise, punch it down, shape into rolls, place them on a baking sheet, cover tightly with plastic wrap, and refrigerate for 8-16 hours. The cold slows yeast activity dramatically without stopping it, producing a slow fermentation that develops superior flavor. Remove the pan from the refrigerator 60-90 minutes before baking to allow rolls to finish rising and come to room temperature.
Freezing unbaked rolls extends your timeline to up to one month. Shape the dough into rolls, place on a parchment-lined sheet pan, and freeze until solid, about 2 hours. Transfer frozen rolls to a freezer bag. To bake, place frozen rolls on a baking sheet, cover with a towel, and thaw at room temperature for 3-4 hours or overnight in the refrigerator. Bake as directed once risen.
Parbaking is the professional approach: bake rolls at 275F for 20 minutes until set but not browned, cool completely, then freeze in airtight bags. To serve, bake parbaked rolls at 400F for 8-10 minutes until golden. This method produces rolls that taste virtually identical to fresh-baked and is how many restaurants serve their house-made bread service.
Pro Tips for Better Results
Preparation matters to success in the kitchen. Read the entire recipe before starting and gather all ingredients. This mise en place approach prevents surprises mid-cooking.
Taste as you cook and adjust seasonings throughout the process. Your palate is the best guide to creating delicious food.
Do not be afraid to make mistakes. Every attempt teaches something valuable about technique and flavor.
Quality ingredients make a noticeable difference. When possible, choose fresh, seasonal produce and high-quality proteins for the best results.

Rachel Summers
Rachel grew up in a Pacific Northwest kitchen, learning Sunday roasts from her mother and pie crust from a grandmother who never wrote a recipe down. CookingZone began as a way to save her family's cooking before it was forgotten, and grew when her cousins started sending in their own. Her work covers foundational American, Italian, French, and Mexican recipes, with an emphasis on weekend baking, comfort food, and the techniques that span both European and American home kitchens.
Please note: Nutritional estimates in our recipes are derived from the USDA FoodData Central database and may vary based on specific brands and ingredient sizes. If you have food allergies, dietary restrictions, or medical conditions, consult a registered dietitian or healthcare provider before preparing this recipe. Always follow safe food-handling guidelines, including proper cooking temperatures for meat, poultry, fish, and eggs. Nothing in this article should be interpreted as medical, nutritional, or dietary advice.