Hello, fellow home bakers! I’m Chef Marcus Chen. If you’ve ever felt like your sourdough starter was plotting against you, take a deep breath—don’t panic, we can fix this. Here’s the secret: understanding your starter is the first step. I’ve been down this road myself, and every mistake is a lesson that can help you bake a masterpiece.
Understanding Your Sourdough Starter: What’s Normal?
The Signs of a Healthy, Active Starter
A healthy sourdough starter is like a loyal friend—it bubbles with excitement and doubles or even triples in volume within 6-8 hours of feeding. I remember the first time I saw my starter reach for the stars. I was like a proud parent watching a child take their first steps. This activity signals that the yeast and bacteria are thriving, which is what you want for that perfect loaf.
Hooch: Friend or Foe?
Ah, hooch. It sounds like trouble, but it’s actually just a sign that your starter is hungry. This watery layer can be clear, brown, grey, or black. I used to freak out at the sight of it, thinking my starter was done for. But hooch is simply a reminder to feed your starter more regularly. Just pour it off or stir it back in, and give your starter a good meal.
Why Your Starter Might Be Sluggish: Common Culprits
Inconsistent Feeding Schedules
Let’s talk about feeding schedules. A starter is like a pet; it needs regular care. Inconsistent feeding is a common culprit for sluggishness. In my early days, I’d forget to feed my starter, leaving it neglected like a houseplant in the corner. Keeping a consistent feeding schedule, preferably every 12 hours, can bring your starter back to life.
Temperature Troubles
Temperature plays a huge role in starter health. Ideally, you’ll want an environment that’s between 70-75°F (20-24°C). I’ve made the mistake of leaving my starter in a too-cold kitchen, wondering why it wasn’t bubbling. A simple move to the warmer top of the fridge did wonders. Remember, too cold can slow it down, and too warm can make it overly acidic.
Flour and Water Quality
Quality matters. Using unbleached or organic flour, along with filtered water, helps avoid any chemicals that could interfere with your starter’s health. I once switched to a cheaper flour, and my starter became sluggish. Switching back to quality ingredients made all the difference. As I always say, good inputs create good outputs.
Reviving a Dormant or Weak Starter
The Double-Feeding Method
If your starter has fallen into a deep sleep, it’s time to wake it up with some TLC. The double-feeding method is one of my go-tos. Feed your starter every 12 hours to kickstart its activity. I’ve seen even the most lethargic starters bounce back with this approach. Adding whole wheat or rye flour can also give it a nutrient boost.
Finding the Sweet Spot: Ideal Temperatures
Getting the temperature right can be a game-changer. Once, during a particularly cold winter, my starter struggled, and it took me a while to realize it just needed a warmer spot. I found that moving it to a warm corner of the kitchen, or even using a proofing box, worked wonders. Your starter will thrive best around the 70-75°F (20-24°C) range.
Switching Up Your Flour
Sometimes variety is the spice of life. If your starter is sluggish, try changing up its diet. I wrote about this before in my guide to transforming sourdough discard. Incorporating different flours like whole wheat or rye can introduce new nutrients and help revitalize your starter.
Dealing with Unpleasant Smells
Acetone (Nail Polish Remover) Aroma
The dreaded acetone smell—I’ve been there, too. This often signals extreme hunger or an imbalance in your starter. It usually happens when you’ve been a bit neglectful, like I was during a busy work week. Feeding your starter more frequently and ensuring it’s at the right temperature can help eliminate this odor.
Sour or Yeasty, But Not Offensive
A sour or yeasty smell is perfectly normal. It should smell tangy, like a good sourdough should. If it smells off, that’s when you need to tweak your feeding routine. A regular 1:1:1 ratio of starter, flour, and water by weight usually keeps mine in check.
Identifying and Handling Mold
When to Discard (and When Not To)
Mold can be a heartbreak, but it’s not always the end. If you see fuzzy growth in colors like white, green, blue, or black, it’s best to discard and start anew. I’ve had to say goodbye to a few starters this way. However, if you just have a bit of surface dryness or hooch, you can usually recover it with some care.
Preventing Future Mold Growth
Prevention is key. Always use clean jars and utensils, and keep the jar covered. I learned this the hard way when I found mold after leaving mine uncovered overnight. A simple cloth or loose lid can prevent dust and spores from contaminating your starter.
Storage Solutions for a Happy Starter
Countertop Care
If you’re feeding your starter daily, leaving it on the countertop is fine. Just be mindful of temperature fluctuations. I like to keep mine in a corner that’s not prone to drafts or direct sunlight.
Refrigeration for Longer Breaks
If life gets busy, refrigeration is your friend. It slows down fermentation, cutting feeding needs to once a week. I mentioned this in my article about mastering yeast. Just remember to let it warm up to room temperature and feed it well when you’re ready to bake again.
Troubleshooting Common Baking Issues Linked to Starter Health
Dense Crumb or No Rise
Sometimes, despite all efforts, your bread may come out dense. In my experience, this often ties back to a weak starter. Make sure your starter is active and bubbly before using it. Feeding it until it peaks can also provide the boost needed for a good rise.
Gummy Texture
Gummy bread can be a real downer. This issue often arises from over-hydration or under-baking. Check your dough’s hydration level and ensure your oven is at the right temperature. I’ve avoided many gummy loaves by giving my starter some extra TLC before the bake.
Maintaining a Robust Starter for Consistent Bakes
Establishing a Regular Feeding Routine
A strong feeding routine is the backbone of a healthy starter. I’ve found that feeding mine every 12-24 hours keeps it in peak condition. Remember, consistency is key.
Listening to Your Starter’s Needs
Your starter communicates in its own way. By observing its rise and fall, you can learn its rhythms. Making adjustments based on its activity levels has saved me from many mishaps. Every mistake is a lesson, and in time, you’ll find your groove.
And there you have it, bakers! With these tips, your starter will be as lively as ever, ready to help you bake delicious bread. Remember, every challenge is just a step toward becoming a better baker. Happy baking!
The Science Behind Sourdough Fermentation
Understanding the microbiology of your sourdough starter transforms you from a recipe follower into a confident bread baker who can diagnose and fix problems on the fly. A mature sourdough culture is a complex ecosystem containing dozens of species of wild yeast and lactic acid bacteria (LAB), all working together in a carefully balanced symbiosis.
The Microbial Players
The dominant yeast in most sourdough starters is Kazachstania humilis (formerly classified as Candida humilis), though Saccharomyces cerevisiae and other species also appear depending on your flour and environment. These yeasts ferment simple sugars and produce carbon dioxide gas, which is what makes your bread rise. They also generate small amounts of ethanol, contributing subtle flavor complexity.
The bacterial side is dominated by various Lactobacillus species, particularly Lactobacillus sanfranciscensis (recently renamed Fructilactobacillus sanfranciscensis). These bacteria produce lactic acid and acetic acid, which give sourdough its characteristic tang. The ratio of these two acids determines whether your bread tastes mildly sour or aggressively tangy.
Temperature and Acid Production
Temperature has a direct impact on which acids your starter produces. Warmer fermentation temperatures (above 80F) favor lactic acid production, resulting in a milder, more yogurt-like sourness. Cooler temperatures (below 70F) promote acetic acid, which delivers a sharper, more vinegary tang. This is why refrigerated doughs often taste more sour than those proofed at room temperature.
| Fermentation Temperature | Dominant Acid | Flavor Profile | Fermentation Speed |
|---|---|---|---|
| 60-65F (15-18C) | Acetic acid | Sharp, vinegary tang | Very slow (16-24 hours) |
| 70-75F (21-24C) | Balanced mix | Moderate, complex sourness | Moderate (8-12 hours) |
| 76-82F (24-28C) | Lactic acid | Mild, creamy tang | Fast (4-8 hours) |
| Above 85F (29C) | Lactic acid dominant | Mild but risk of off-flavors | Very fast (3-6 hours) |
The Flour Connection
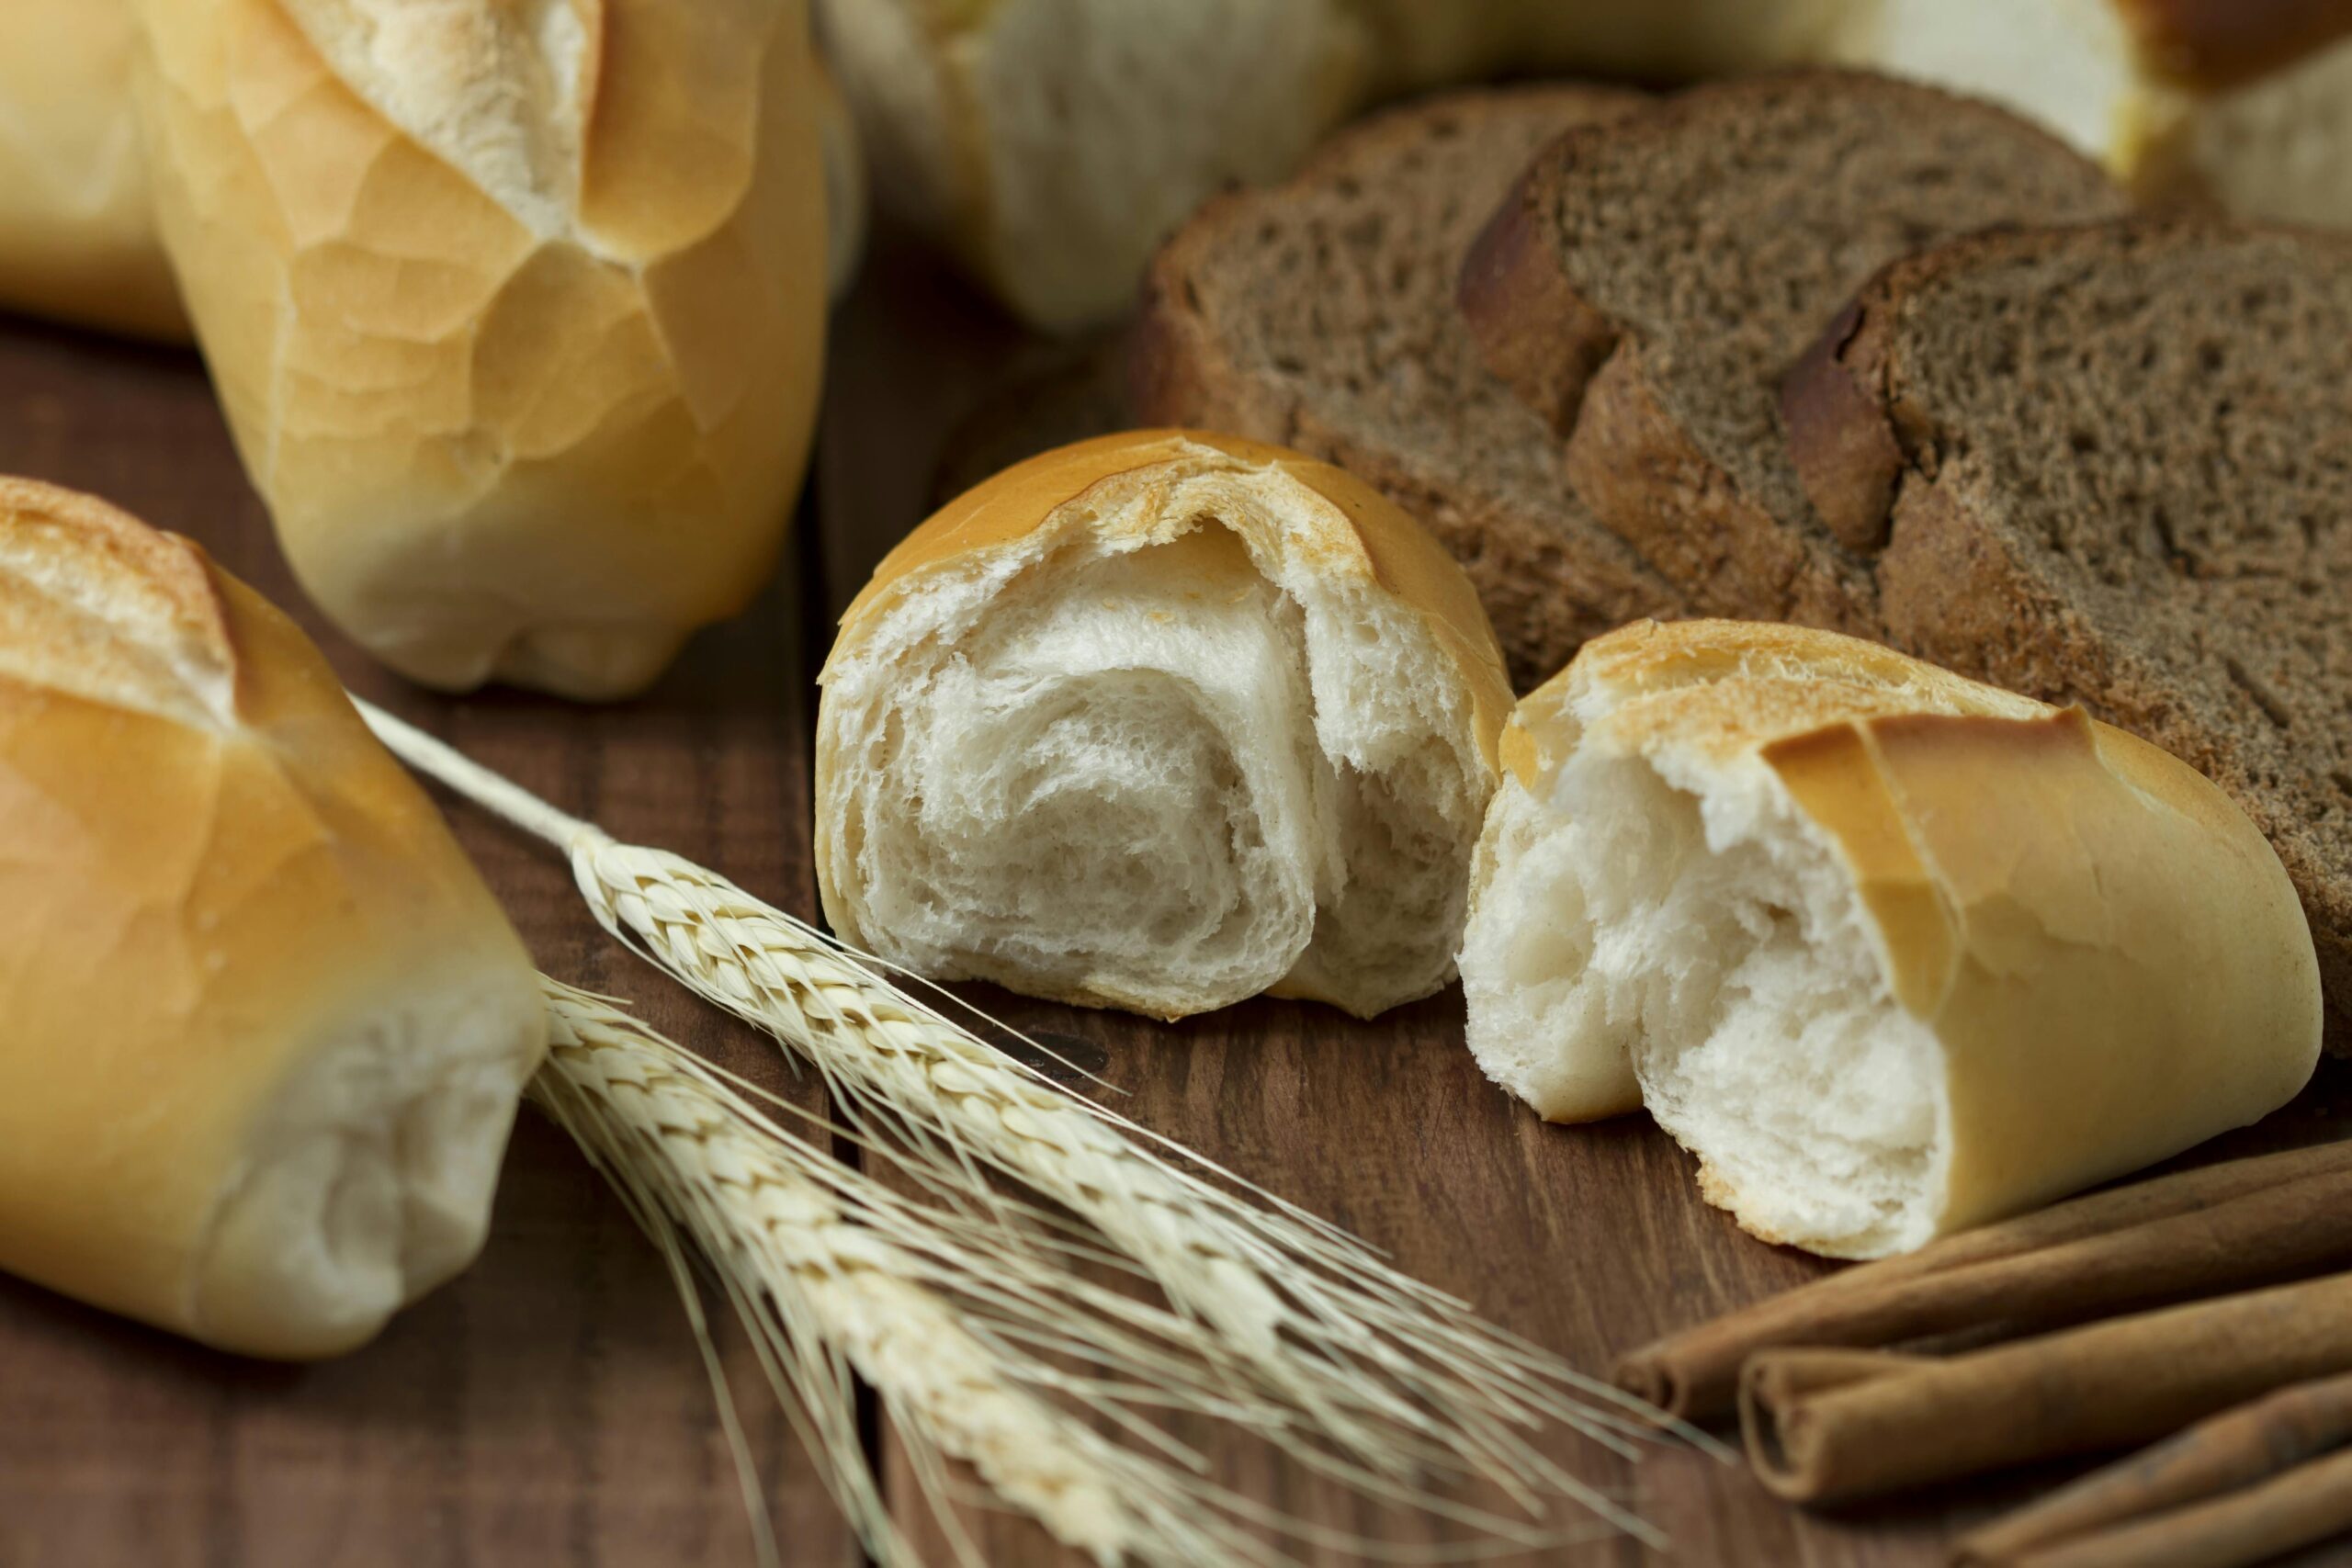
Different flours feed your starter differently. Whole grain flours (whole wheat, rye) contain more wild yeast, more natural enzymes, and more minerals than white flour. Rye flour in particular is exceptionally effective at boosting a sluggish starter because it contains higher levels of free sugars that yeast can access immediately. Even adding just 10-20 percent rye flour to your feeding routine can dramatically increase fermentation activity.
The amylase enzymes naturally present in flour break down starches into simpler sugars that yeast and bacteria can consume. Whole grain flours have more amylase activity, which is why whole wheat starters tend to ferment faster and more vigorously than those maintained on white flour alone.
The pH Factor
A healthy, mature starter maintains a pH between 3.5 and 4.5. When the pH drops too low (below 3.5), the environment becomes hostile even to acid-tolerant organisms, and fermentation slows dramatically. This is often the underlying cause when a previously healthy starter suddenly becomes sluggish. Regular feeding dilutes the accumulated acid and resets the pH to a range where microorganisms can thrive again.
Troubleshooting Common Starter Problems
Even experienced bakers encounter starter issues from time to time. The following table covers the most frequent problems, their root causes, and straightforward fixes that work reliably.
| Problem | Likely Cause | Fix |
|---|---|---|
| Starter doubles but collapses quickly | Overfermentation between feedings; yeast exhausts available food | Feed more frequently or increase flour ratio (try 1:2:2 starter-to-flour-to-water) |
| Thick layer of hooch (liquid) on top | Starter is very hungry; extended time between feedings | Pour off hooch, discard most of the starter, and resume twice-daily feedings |
| Strong acetone or nail polish smell | Extreme hunger; starter has consumed all available sugars and is producing excess acetic acid | Discard all but 1 tablespoon, feed generously with whole wheat flour, and feed every 8-12 hours |
| No bubbles at all after feeding | Yeast is dead or dormant from extreme heat, contamination, or very long neglect | Try feeding with rye flour for 3-5 consecutive days; if no response, start a new culture |
| Starter rises but bread is dense | Starter is not at peak activity when mixed into dough | Use starter within 1-2 hours of its peak rise; perform the float test (a spoonful should float in water) |
| Pink, orange, or red discoloration | Contamination by harmful bacteria or mold (possibly Serratia marcescens) | Discard the entire starter, sanitize the jar, and begin fresh |
| Starter smells like cheese or vomit | Imbalance favoring certain bacteria, often from high-protein flour or warm storage | Switch to unbleached all-purpose flour, feed at 1:3:3 ratio for several days at 72-75F |
| Thin, runny consistency that does not hold shape | Too much water relative to flour, or excessive enzyme activity breaking down gluten | Reduce hydration to 80-90% (by weight), or switch to bread flour which has more protein |
The Float Test Explained
The float test is one of the simplest ways to check if your starter is ready to leaven bread. Drop a small spoonful of starter into a glass of room-temperature water. If it floats, the starter has trapped enough carbon dioxide gas to be buoyant, indicating it has enough leavening power for baking. If it sinks, the starter needs more time to ferment or has already passed its peak and should be fed again before use.
When to Start Over
Sometimes a starter is beyond saving. If you see fuzzy mold growth in any color (green, black, white, or pink), persistent foul odors that do not improve after three consecutive feedings, or complete absence of any activity after seven days of consistent feeding, it is time to start fresh. Creating a new starter from scratch takes about 7-14 days, and the resulting culture will be perfectly adapted to your kitchen environment and flour.
Frequently Asked Questions
How long does it take to revive a neglected sourdough starter?
Most neglected starters can be revived within 3 to 7 days of consistent twice-daily feedings at room temperature. Starters that have been refrigerated for months may take up to 10 days. Use whole grain flour like rye to accelerate the revival process, and be patient as the microbial population gradually rebuilds.
Can I use tap water for my sourdough starter?
It depends on your local water quality. Chlorinated tap water can inhibit yeast and bacterial growth. If your water is chlorinated, let it sit uncovered for 24 hours to allow chlorine to evaporate, or use filtered water. Chloramine, which is used in some municipal systems, does not evaporate and requires a carbon filter to remove.
Why does my sourdough starter smell like alcohol?
An alcohol smell indicates that the yeast in your starter has consumed the available sugars and is producing ethanol as a byproduct. This is a sign that your starter is hungry and needs to be fed. Increase your feeding frequency or the ratio of flour to starter, and the smell should resolve within two to three feeding cycles.
Is the liquid on top of my starter harmful?
The liquid, called hooch, is not harmful. It is a mixture of water and alcohol that separates when the starter has gone too long without feeding. You can either stir it back in for a more sour flavor or pour it off for a milder taste. Either way, feed your starter promptly after dealing with the hooch.
By: Clara Bell
Clara is a home baker and cooking enthusiast dedicated to making delicious food approachable for everyone. She loves experimenting with sourdough and sharing her kitchen wisdom.
Sourdough Starter Health Checklist
- Healthy starter: Doubles in size, pleasant tangy smell, bubbles throughout
- Needs feeding: Hasn’t risen, liquid on top (hooch), weak activity
- Concerning signs: Pink/orange color, fuzzy mold, extremely foul smell
- Dead starter: No activity after multiple feedings, persistent mold
Starter Revival Steps
- Discard all but 1 tablespoon of starter
- Feed with equal parts flour and water by weight
- Keep at warm temperature (75-80°F)
- Feed every 12 hours until activity returns
- Be patient – revival can take 3-7 days
Understanding Starter Biology
Sourdough starters contain wild yeast and lactic acid bacteria in symbiotic balance. The yeast produces carbon dioxide for rise while bacteria create the tangy flavor. When this balance shifts, starters can become sluggish or overly acidic. Understanding this biology helps diagnose and fix problems.
Signs Your Starter Needs Help
A healthy starter doubles in size within 4-8 hours of feeding and develops a pleasantly sour smell. Warning signs include no activity after feeding, excessive liquid on top (called hooch), unpleasant odors beyond mild sourness, or discoloration. Most struggling starters can be revived with proper care.
The Revival Process
To revive a sluggish starter, discard all but a tablespoon and feed with equal parts flour and water by weight. Use warm filtered water around 75-80F to encourage yeast activity. Feed twice daily until consistent rising returns. The process typically takes 3-7 days, sometimes longer for severely neglected starters.