Six short ribs sit browned in a Dutch oven and the recipe says to add stock. Most people pour until the ribs are covered, because covered looks like braising and because a dry-looking pot feels like a mistake waiting to happen. That single decision is what separates short ribs that hold together on a plate from short ribs that arrive as a pile of shreds in gray liquid.
A braise is meant to be two cooking environments at once. Below the waterline the meat is in a wet, gentle heat that converts connective tissue. Above it, the exposed surface is in hot air, browning further and being basted by condensation running back down off the lid. Fill the pot and you delete half of that and are left with a boil.
So the liquid line is the decision the whole dish turns on. Around it sit four others that matter almost as much: the oven temperature that keeps the pot from ever bubbling hard, the single turn at the halfway mark, the narrow window between tender and shredded, and the overnight chill that turns a greasy braising liquid into a clean sauce.
- Cut: bone-in English cut, 2 to 3 inches thick, about 5 pounds for six people
- Liquid level: halfway up the ribs, roughly 2 to 3 cups in a 6-quart pot
- Oven: 300 degrees, lid on, with the pot never bubbling above a lazy blip
- Time: 2 hours 30 minutes to 3 hours 15 minutes, judged by a probe rather than a clock
- Done at: a skewer sliding out with almost no drag, around 200 to 205 degrees internal
- Best made: a full day ahead, chilled overnight, fat lifted off cold
- Do this the night before: salt the ribs and leave them uncovered in the refrigerator
A submerged braise is a boil with extra steps
Water and stock cannot go above 212 degrees at sea level. Cover a piece of meat entirely and every part of it is capped at that temperature, in constant contact with liquid, with nothing to distinguish it from a piece of meat in a stockpot.
Two things follow. The exterior never develops any further color or flavor once the sear is finished, because browning reactions need a surface that is dry and hotter than boiling water. And the meat gives its flavor to the liquid rather than the other way around, so you finish with a large volume of weak broth and a rib that tastes washed out.
Volume is the second problem. Three quarts of liquid takes an hour of hard reducing to become a sauce, and by then it has concentrated everything, including the salt. Two cups reduces to a sauce in ten minutes because it was never diluted in the first place.
What the exposed surface is doing up there
The part of the rib standing above the liquid sits in a small, humid oven of its own. The air inside a covered pot at 300 degrees is well above boiling, and the surface it touches stays dry enough for browning to continue slowly throughout the cook. Lift the lid at two hours and the tops of the ribs are darker than they were coming out of the sear.
At the same time the lid is doing the basting. Steam rises, hits the cool underside of a heavy lid, condenses, and drips back down onto the meat. That cycle runs for the whole cook, which is why the exposed surface never dries out despite being out of the liquid.
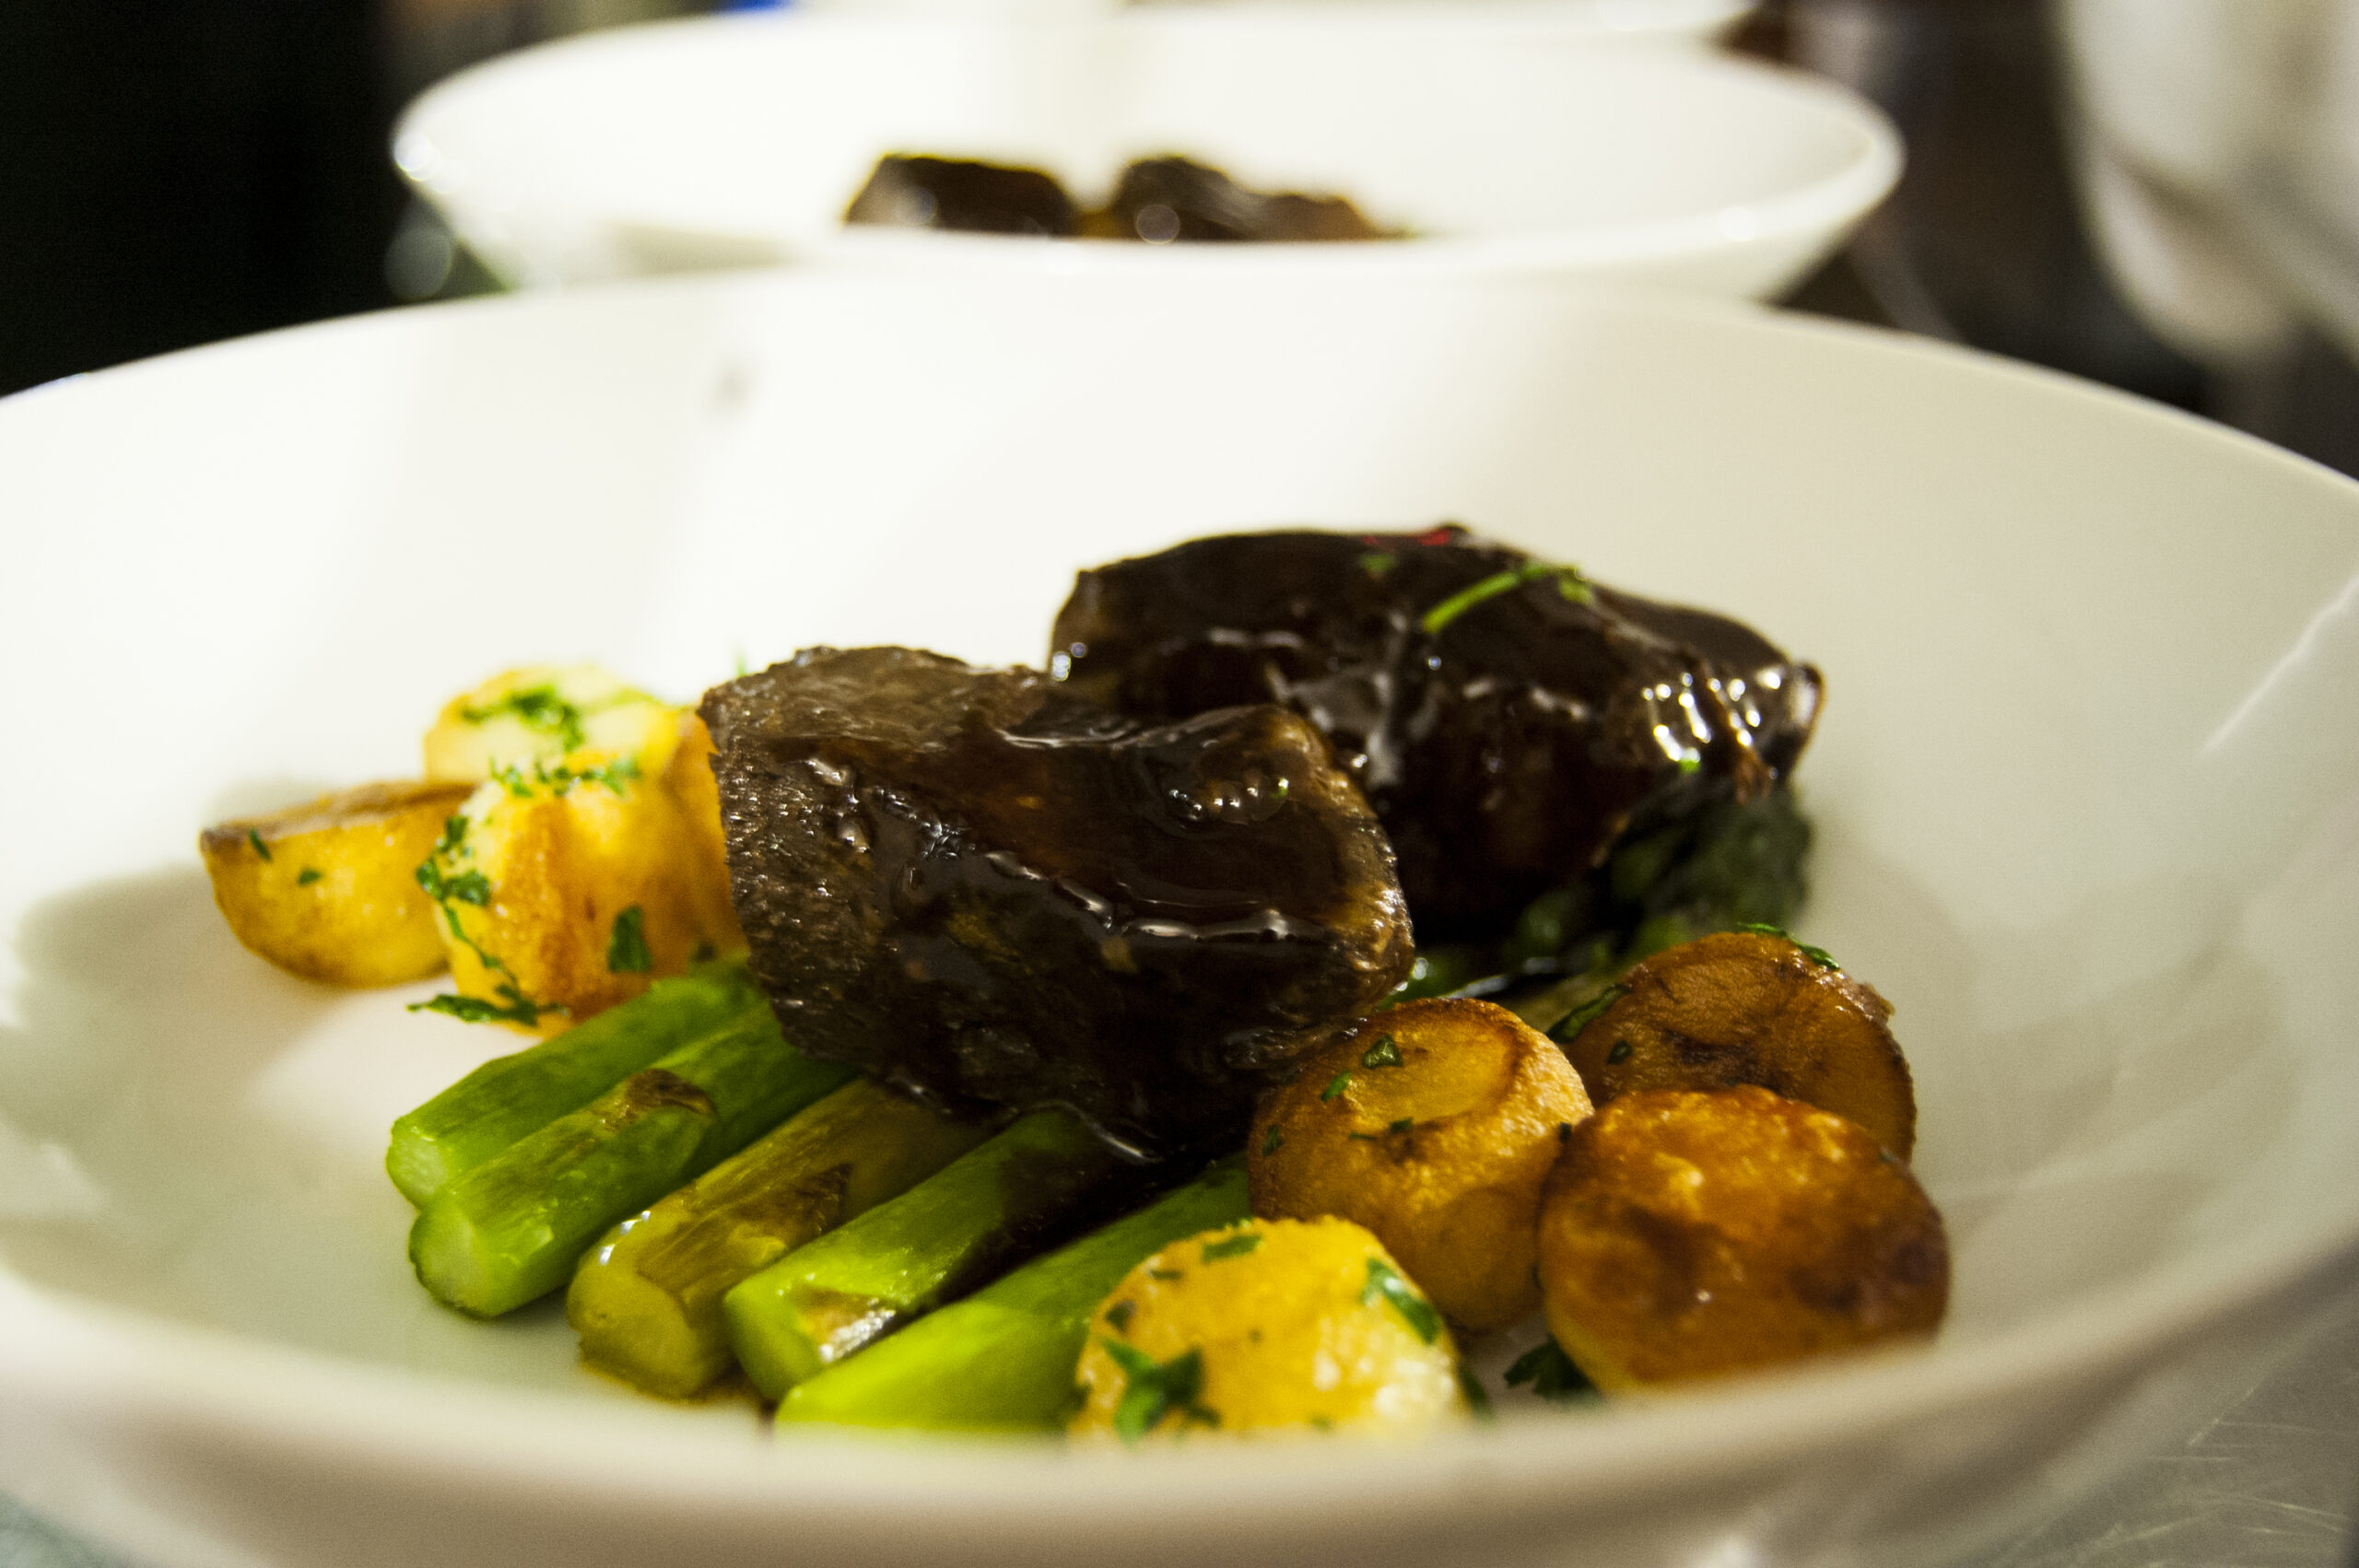
The result is a rib with two textures on the same piece. The submerged half is uniformly soft and takes the flavor of the braising liquid. The exposed half is darker, denser and more intensely beefy. That contrast is most of what makes a braised short rib worth the three hours.
English cut or flanken, and how much bone you are buying
| Cut | Description | Suits | Notes |
|---|---|---|---|
| English cut, bone-in | single bone, 2 to 3 inches of meat on top | this method exactly | the default; buy by the piece, not by weight |
| Boneless short rib | the same muscle, bone removed | works, cooks 30 minutes faster | less gelatin in the sauce, and it costs more per usable pound |
| Flanken cut | sliced across several bones, half an inch thick | grilling, not braising | too thin, and it falls apart in under an hour |
| Chuck short rib | from further forward on the animal | good, slightly leaner | the usual supermarket option, often mislabeled |
| Plate short rib | the big three-bone slab | excellent, needs a longer cook | sold as beef ribs; allow four hours |
Bone is roughly a third of the weight of an English cut rib, so five pounds feeds six rather than eight. Pay for it anyway. Bone and the connective tissue around it release gelatin into the braising liquid, and that gelatin is what makes the finished sauce coat a spoon without any flour. Short ribs come from a heavily worked part of the animal, which is exactly why they suit this treatment and why they are inedible cooked any other way.
The braised short ribs method, from cold pan to cold fat cap
- Salt the ribs the night before and leave them uncovered in the refrigerator. About a teaspoon of kosher salt per pound. The surface dries out, which makes the sear faster and better.
- Pat dry, then sear in batches over medium-high heat. Three or four minutes a side until each face is properly brown. Crowding the pot is the difference between browning and steaming.
- Take the ribs out and cook the aromatics in the fat. Onion, carrot and celery, eight to ten minutes until they take on color. Tomato paste for the last two minutes, cooked until it darkens.
- Deglaze with wine and reduce it by half. A cup and a half, scraped hard off the bottom, boiled down until the raw alcohol smell is gone. This takes about five minutes and it is not optional.
- Return the ribs and add stock only to the halfway line. Stand the ribs bone-down and pour until the liquid reaches the middle of the meat. Usually two to three cups. Stop there even if it looks wrong.
- Bring it to a bare simmer on the stove, then lid on and into a 300 degree oven. Getting it to temperature on the burner first means the oven only has to hold it there.
- Check at 90 minutes and turn each rib once. The dry half goes down, the wet half comes up. Then leave it alone.
- Start testing at 2 hours 30 minutes. A metal skewer into the thickest part should meet almost no resistance. If it drags, give it another twenty minutes and test again.
- Cool, then refrigerate the whole pot overnight. Ribs stay in the liquid. This is where the dish improves most.
- Lift the fat cap off cold, reheat gently, and reduce the strained liquid into a sauce. Covered, at 300 degrees, for about 40 minutes from cold.
The sear has to happen while the pot is dry
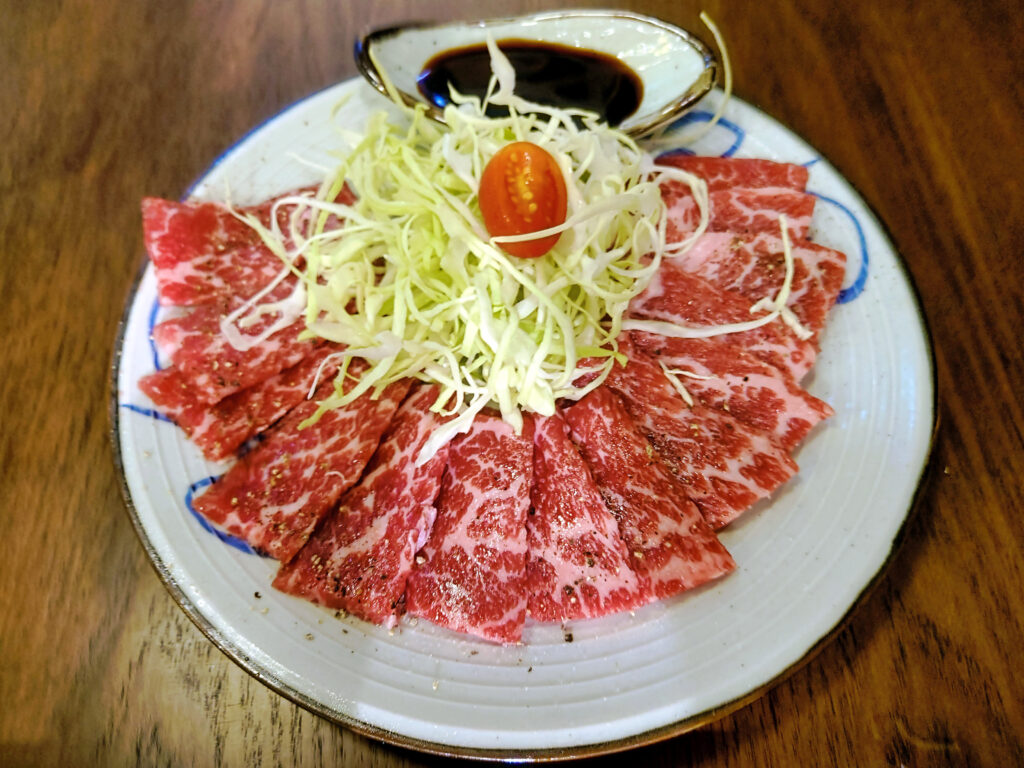
Everything the braise tastes of downstream comes from the fond built in this first ten minutes. A pale sear gives a pale braise, and no amount of wine or stock later puts back what was never created.
Two conditions have to hold. The surface of the meat has to be dry, which is what the overnight salting achieves and what a paper towel achieves in a hurry. And there has to be space around each piece, which usually means searing five pounds of ribs in three batches rather than two.
Use medium-high rather than the highest setting. Short ribs carry enough fat to render into the pan and burn if the heat is too aggressive, and a scorched base turns the whole braise bitter. Aim for a deep brown that takes three or four minutes a side, not a black crust in ninety seconds.
Where the halfway line actually falls
Halfway means halfway up the meat, not halfway up the pot. Stand the ribs on their bones in a single layer and pour stock until it reaches the middle of the meat above the bone. In a six-quart round Dutch oven holding six ribs, that is two to three cups.
Pot shape moves the number a great deal. A narrow, tall pot needs far more liquid to reach the same height and packs the ribs against each other. A wide oval, which is the right shape for this, lets six ribs sit in one layer and reaches halfway with much less. If everything will not fit in a single layer, use two pots or cook in two batches rather than stacking.
The liquid does rise during the cook, by a small amount, as the ribs release moisture and fat. Starting at halfway usually ends somewhere near two thirds, which is still correct. Starting at three quarters ends submerged.
300 degrees, and a pot that never bubbles hard
The oven is set to 300 but the number that matters is what the liquid is doing inside the pot, which should be somewhere around 190 to 200 degrees. At that temperature the surface shows an occasional lazy bubble and nothing more.
The reason is mechanical. Collagen in the connective tissue converts into gelatin over time, and time is the main variable rather than temperature. Meanwhile the muscle fibers themselves keep contracting and squeezing out moisture the hotter they get. A hard boil accelerates the second process without meaningfully accelerating the first, so the meat dries out internally while still sitting in liquid. This is the specific reason boiled meat is stringy.
An oven does this better than a burner because the heat surrounds the pot instead of hammering the base. If the pot is bubbling steadily at 300, drop the oven to 275 and check again in twenty minutes. Cooking on the stovetop instead means the lowest possible flame and a heat diffuser, and it still runs hotter at the bottom.
The window between tender and shredded
Short ribs go from tough to perfect over about twenty minutes and from perfect to shredded over the next forty. The window is narrow enough that a clock will not find it reliably.
Test with a thin metal skewer rather than a fork. Push it into the thickest part of the meat and pull it back out. Resistance going in means it needs more time. A clean slide in and out with a slight cling means it is ready. If the skewer meets nothing at all and the meat sags off the bone as the pot moves, it has gone past.
Internally that lands around 200 to 205 degrees, though the probe is less useful here than in a roast because the target is a texture rather than a temperature. What is past it looks like this: meat that will not lift with tongs, that separates into strands the moment it is touched, and that tastes dry despite being wet. There is no fixing it, so plate it as a ragu over pasta and call it that.
Turning the ribs once, and when
At ninety minutes, open the pot and turn each rib over so the exposed face goes under the liquid and the submerged face comes up. It takes a minute and it changes the finished dish more than the effort suggests.
Without it, one face has spent three hours in liquid and the other has spent three hours in steam, and the difference at the table is visible. With one turn, both faces get both environments and the color evens out. The rib still keeps the two-texture quality; it just carries it on all sides.
Once is enough. Every time the lid comes off, the pot loses heat and steam, and the oven spends fifteen minutes recovering. Turn at the halfway point, put the lid back on, and leave it until the first skewer test.
The overnight chill that makes everything easier
Cook it the day before. This is not a make-ahead convenience note, it is the step that most improves the dish.
Fat rendered out of short ribs is substantial, and skimming it hot means chasing a moving slick with a spoon and getting maybe half of it. Chilled overnight, the same fat sets into a solid cap that lifts off in one or two pieces, leaving a braising liquid that is clean and, if the bones did their job, set to a wobble. Keep the fat in a jar; it is excellent for roasting potatoes.
The meat also improves. It reabsorbs some of the liquid it gave up as it cools in the pot, so it reheats juicier than it was when it came out of the oven. Reheat covered at 300 degrees for about forty minutes from cold, with the ribs sitting in the liquid.
To finish, lift the ribs out, strain the liquid, and boil it down until it coats a spoon, which takes eight to fifteen minutes depending on how much there is. No flour, no cornstarch: the gelatin from the bones does the work. Spoon it over the ribs and serve them on something that will take the sauce, which usually means a bowl of mashed potatoes or soft polenta.
Where a good braise gets ruined
The liquid went over the top. The failure this article exists for. Half the flavor development is gone and the sauce is thin. Reduce it hard at the end and accept a lesser dish.
The pot boiled instead of blipping. Usually an oven that runs hot. An oven thermometer settles it, and dropping the setting 25 degrees usually fixes it.
The wine was not reduced. Raw wine added and immediately covered stays raw, and the finished braise tastes sharp and thin. Boil it down by half before the stock goes in.
The ribs were stacked. Two layers cook at two different rates, and the bottom layer is submerged whatever the top layer is doing. One layer, or two pots.
It was served straight out of the oven. Edible, and greasy, and the sauce is a slick. The overnight rest is worth more than any ingredient on the list.
The same rules carry across most large braises. A red wine beef braise and a slow-cooked bean and duck stew both want the meat proud of the liquid, a pot that barely moves, and a night in the refrigerator before anyone eats.
Look into the pot before it goes in the oven. If the tops of the ribs are dry and standing above a shallow pool of dark liquid, it is going to be good. If they have disappeared under stock, pour some out.
Frequently Asked Questions
Can I do this in a slow cooker?
Yes, with one adjustment. Sear and build the base in a skillet first, then transfer, and use about half the liquid you would in an oven because a slow cooker loses almost no moisture. Eight hours on low. The result is softer and less complex, since the sealed lid means no browning happens above the waterline.
How much wine, and can I leave it out?
A cup and a half of dry red for six ribs, reduced by half before the stock goes in. Without it, use an extra cup of beef stock plus a tablespoon of red wine vinegar added at the end, which restores the acidity that keeps a rich braise from feeling heavy.
Why did my sauce not thicken?
Almost always too much liquid to start with, or boneless ribs. Reduce it further, and taste as you go, because salt concentrates along with everything else. If it still will not coat a spoon, a small piece of powdered gelatin bloomed in cold water and whisked in gives the body the bones did not.
How far ahead can I make them?
Three days refrigerated in the braising liquid, or three months frozen. Freeze the ribs sitting in the liquid rather than separately, since the liquid protects them from drying out. Thaw overnight in the refrigerator and reheat covered at 300 degrees.
Can I use this method for lamb shanks or pork shoulder?
Shanks yes, and the liquid line is the same. Whole pork shoulder is too large to stand halfway out of a domestic pot, so cut it into three-inch chunks and treat them as you would the ribs. The principle holds for any collagen-rich cut: liquid to halfway, lid on, and a pot that never boils.