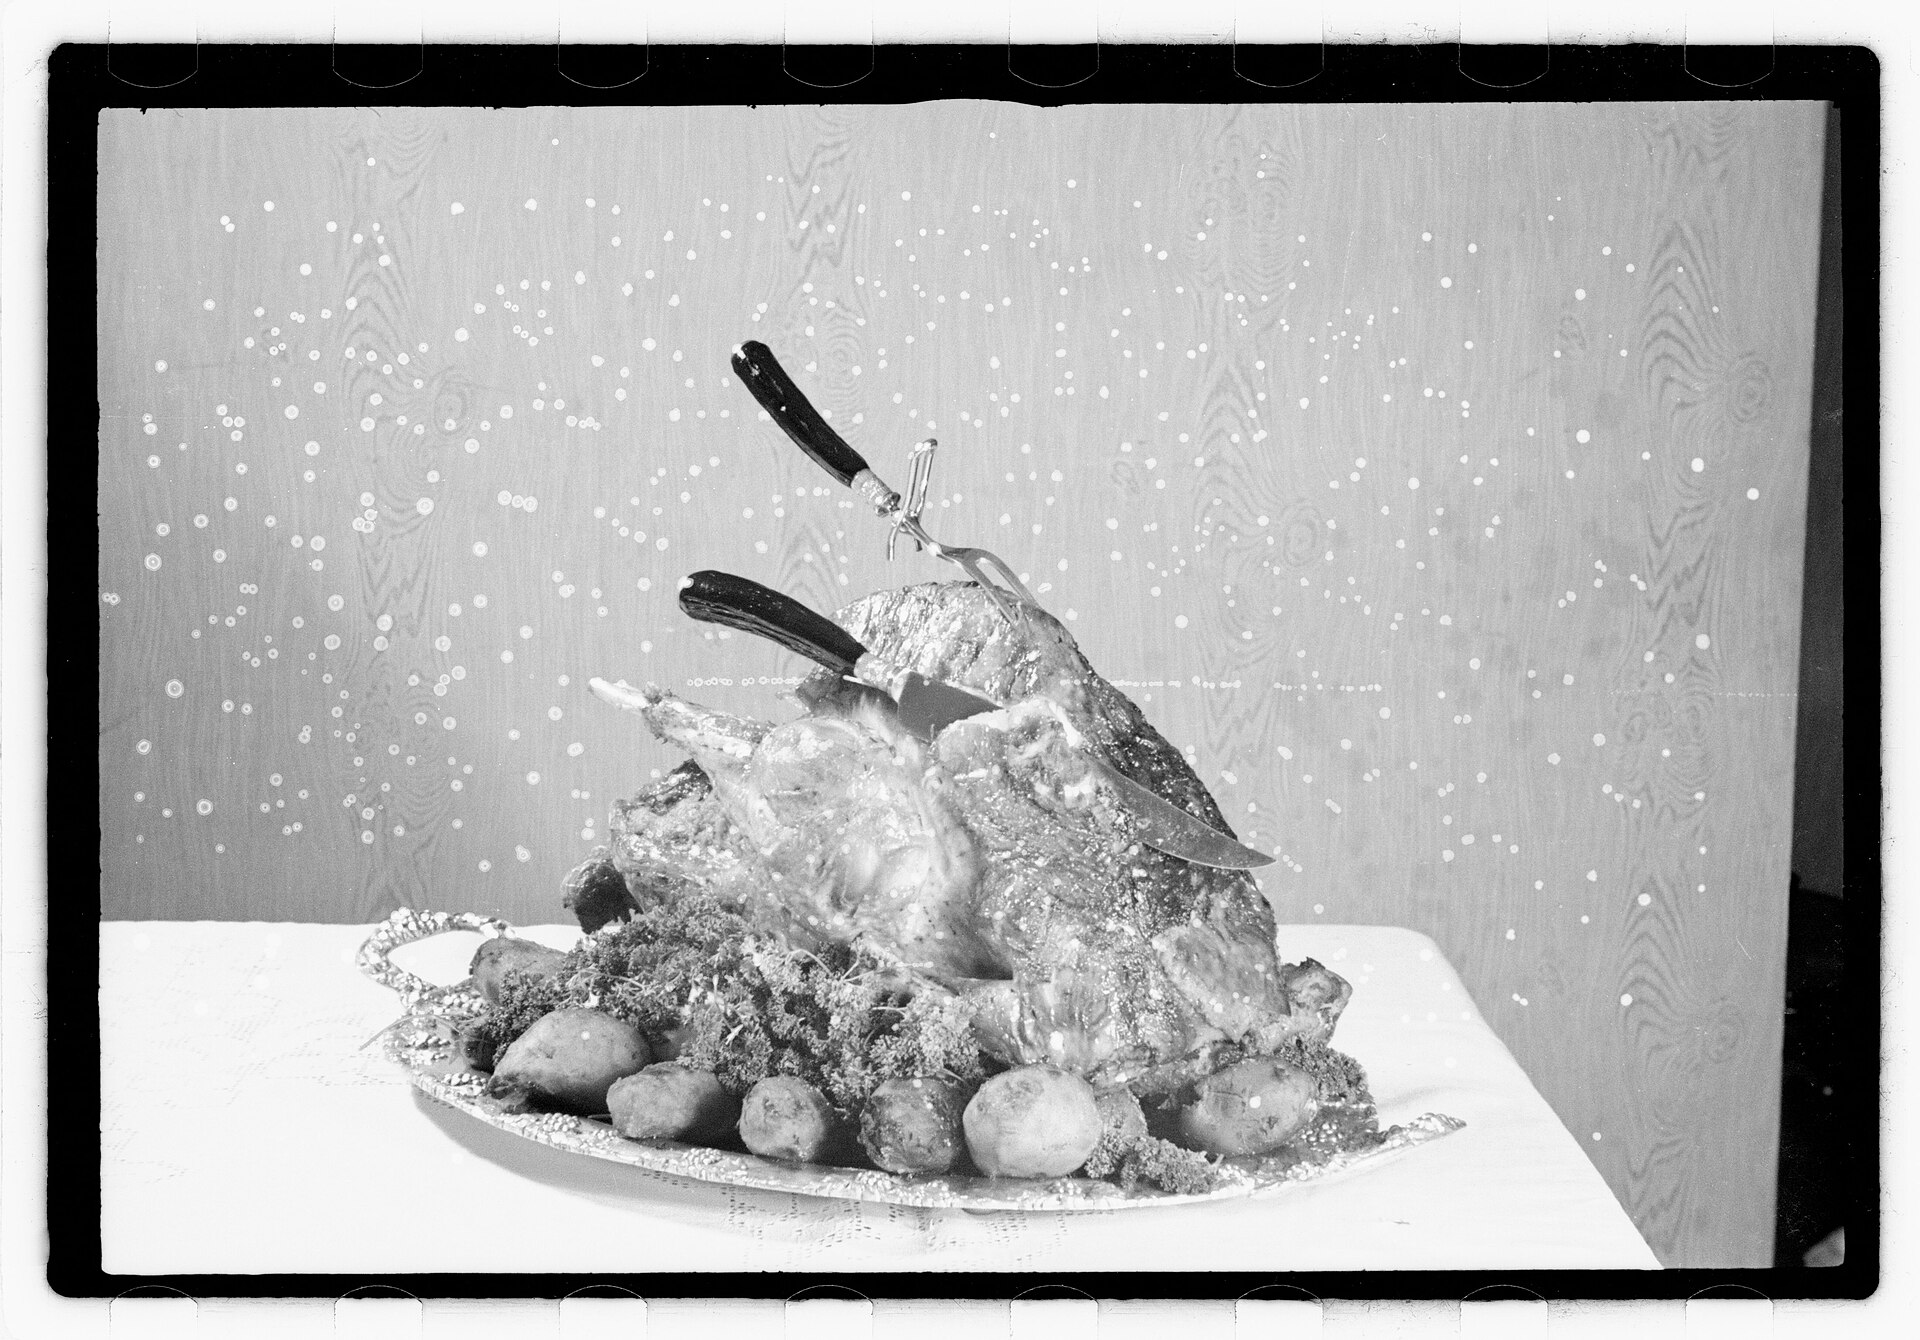
Carving at the table, in front of everyone, with a bird still balanced on its serving platter, is where most turkeys fall apart into ragged chunks instead of clean slices. It is not a skill problem so much as a setup problem: a whole roasted turkey resting on a shallow platter gives a knife almost nowhere stable to work.
The fix most professional kitchens use is simple and rarely done at home: take the whole breast off the bone in one or two pieces first, move it to a separate cutting board, and slice it there, away from the carcass, the platter, and the audience. The legs and thighs come off the same way, in whole pieces, before any final slicing happens.
What follows is the joint-by-joint sequence that frees the breast cleanly, how to slice it afterward without tearing the meat, and why a cold cutting board actively works against a good result even though almost nobody thinks about board temperature.
- The core idea: remove whole muscle groups from the bone first, slice them separately afterward
- Tools: a sharp carving knife, a sturdy fork or bird lifter, and a large cutting board with a juice groove
- Rest time: at least 20 minutes before the first cut, whole bird still intact
- Slicing direction: always across the grain, never along the length of the muscle fiber
- Board temperature: room temperature, not cold from the refrigerator
- Order: legs and wings off first, then the whole breast, then slice
Why the whole bird should rest before any knife touches it
A turkey carved immediately after coming out of the oven loses far more juice across the cutting board than one given a proper rest, since the muscle fibers are still contracted tightly around hot juices that have not had time to redistribute. Cutting into that tension releases most of it at once, straight onto the board rather than staying in the meat.
A minimum of 20 minutes, tented loosely with foil, gives the internal temperature time to even out and the muscle fibers time to relax slightly, both of which mean less liquid escapes once the knife goes in. A larger bird benefits from closer to 30 minutes.
This rest period is also when carryover cooking finishes the last few degrees, which is why a turkey pulled at 160F in the thickest part of the breast reaches a safe 165F during this same rest rather than needing to hit that mark directly in the oven.
Removing the legs and wings first
With the turkey breast-side up on a stable board, pulling one leg gently away from the body reveals the hip joint connecting it to the carcass. A short cut through the skin between the leg and the breast, followed by pressing the leg outward until the joint pops, separates it cleanly with almost no sawing required.
Cutting through the now-exposed joint, rather than through bone, takes minimal force once the joint is popped and visible. The same process removes the second leg, and the wings come off the same way at their own shoulder joint, close to where the wing meets the breast.
Removing these pieces first does two things: it lightens the carcass considerably, making the next step easier to manage, and it gets the dark meat off the bird and ready to be served or further carved on its own, separately from the breast.
How to carve a turkey breast off the bone in one piece
With the legs and wings gone, a long cut down one side of the breastbone, following the bone’s natural curve as a guide, separates the meat from the ribcage. Working the knife along the ribs in long, steady strokes rather than short sawing motions keeps the breast meat in one intact piece rather than shredding it against the bone.
Once the first side lifts away, moving to a separate cutting board immediately, rather than trying to slice on the same platter still holding the carcass, gives the next step room to work without fighting the bones and the platter’s shallow rim.
The second breast half comes off the same way, following the opposite side of the breastbone. At this point the carcass, now stripped of both legs, wings, and breasts, can move aside or go directly toward a stockpot rather than staying center stage for the rest of the meal.
Slicing against the grain, and why a cold board matters
Muscle fiber runs in one clear direction through a piece of breast meat, and slicing across that direction, rather than along it, cuts the individual fibers short instead of leaving them in long, chewy strands. This single detail affects how tender a slice feels in the mouth more than almost anything done earlier in the cooking process.
Working from one end of the freed breast piece toward the other, in even slices roughly a third of an inch thick, gives clean, presentable pieces that hold together well when moved to a serving platter. A very sharp knife matters more here than a large one; a dull blade tears rather than slices, regardless of technique.
A cutting board pulled cold from the refrigerator or a cold countertop pulls heat out of the just-rested meat noticeably faster than a room-temperature board does, which matters because a turkey slice loses warmth quickly once it is this thin and exposed. Using a board that has been sitting at room temperature keeps the sliced meat warmer for longer once it reaches the table.
Comparing the two approaches side by side
| Approach | Result | Best for |
|---|---|---|
| Carve directly on the serving platter | ragged slices, more torn meat, more spilled juice | a very informal, no-audience meal |
| Remove whole pieces first, slice on a separate board | clean, even slices, less waste | most Thanksgiving tables, especially with guests watching |
The time difference between the two methods is small, generally under five extra minutes, which makes the cleaner result close to free once the sequence is familiar.
Handling the drippings and juice that collect
Whatever juice collects in a cutting board’s groove during carving is worth pouring back over the sliced meat or straight into the gravy rather than letting it run off and get wiped away. It carries concentrated flavor that a dry, pre-sliced platter loses entirely.
Any surface, knife, or hand that touched the raw or partially cooked bird earlier needs to be kept separate from this stage, where the meat is fully cooked and being handled for serving. Using a clean cutting board for carving, rather than the same board used to prep the raw bird before it went in the oven, avoids cross-contaminating cooked meat with anything the raw turkey touched hours earlier.
Hands and any utensils used during carving should be clean going in, the same basic care that applies to any knife work with raw or recently cooked meat, since a bird sitting out at the table for an extended stretch during a long meal is also subject to the same two-hour room-temperature limit as any other cooked food.
What to do with the dark meat once it is off the bone
Leg and thigh meat can be served on the bone as a whole piece for anyone who wants it that way, or pulled and sliced off the bone into smaller pieces for a platter that mixes light and dark meat together. Both are legitimate presentations; the choice mostly comes down to what the table expects to see.
Thigh meat in particular carries more connective tissue than breast meat and benefits from being pulled apart along its natural seams rather than sliced straight across, which avoids leaving tough strands of tissue in an otherwise good piece of meat.
Wings, often overlooked at the carving stage, hold enough meat to be worth serving rather than setting aside entirely, and they are a natural candidate for the stockpot alongside the picked-clean carcass if nobody at the table specifically wants them.
Step by step, joint by joint
- Rest the whole turkey, tented loosely with foil, for at least 20 minutes. Do not skip this even under time pressure.
- Pull one leg outward and cut through the skin at the hip joint. Press outward until the joint pops free.
- Cut through the now-exposed, popped joint to remove the leg. Repeat on the second leg.
- Remove both wings at their shoulder joint the same way. A short cut, then a pop, then a clean separation.
- Cut along one side of the breastbone to free the whole breast half. Long, steady strokes, not short sawing motions.
- Move the freed breast to a room-temperature cutting board. Repeat on the second breast half.
- Slice each breast piece across the grain, roughly a third of an inch thick. A sharp knife matters more than a large one.
- Pull or slice the dark meat separately and arrange everything on a serving platter. Pour any collected juice back over the meat.
Tools worth having on hand before you start
Beyond a sharp knife and a second board, a sturdy carving fork or a bird lifter with two prongs makes the job of steadying the carcass and lifting freed pieces considerably easier than trying to manage everything with just one hand and the knife itself.
A large cutting board with a built-in juice groove around its edge catches the liquid that escapes during carving, which matters both for keeping the counter clean and for reclaiming that liquid for gravy rather than letting it run off the edge of a flat board. A board without a groove works fine too, just with a towel folded underneath to catch overflow.
Kitchen shears are a reasonable substitute for a knife when separating the wings, since the smaller joints there can be easier to cut through with shears than to navigate with a blade, particularly for anyone still building confidence with the rest of the sequence.
A honing steel, used on the carving knife just before starting, straightens a blade edge that has drifted out of true alignment between sharpenings, which restores much of a knife’s cutting performance without the time or equipment a full sharpening session requires. Thirty seconds with a honing steel before carving is a habit worth building regardless of how confident the rest of the technique feels.
None of this requires special equipment beyond a sharp knife and a second cutting board. It requires doing the joint work first, away from the table, and saving the slicing itself for meat that is no longer fighting a carcass underneath it.
Frequently Asked Questions
Do I need a special carving knife, or will a regular chef’s knife work?
A long, thin, sharp knife works better than a short or thick one, since it moves through meat in fewer strokes with less tearing. A dedicated carving knife is nice to have but a well-sharpened chef’s knife of reasonable length does the job fine.
Is it safe to carve the turkey ahead of time and reheat the slices later?
Yes, if the sliced meat is refrigerated within two hours of carving and reheated to 165F before serving. Pre-slicing ahead can actually dry meat out faster than carving closer to serving time, so this works better for leftovers than for the main meal itself.
Why does my turkey breast always shred instead of slicing cleanly?
Usually a dull knife, cutting with the grain instead of against it, or slicing before the meat has rested long enough to firm up slightly. All three are easy to fix and account for nearly every shredding complaint.
Should I carve in front of guests or in the kitchen beforehand?
Either works. Carving in the kitchen and arranging a platter avoids any pressure of an audience and lets you fix mistakes privately, while carving at the table is a longstanding tradition some households specifically want to keep.
What is the fastest way to get usable meat off a turkey if I am short on time?
Removing the whole breast and both legs as described here, without slicing them further, is faster than full presentation-style carving and still gives clean, usable pieces for serving or storing as leftovers.