A shell goes into the oven with its edge standing a quarter inch above the rim of the pan. Twenty minutes later the edge is level with the rim, the sides have slid down and thickened, and there is a shallow dish where a deep one used to be. The filling that was measured for it now overflows.
Almost every version of this failure is a gluten problem, a fat temperature problem, or a weight problem, and the finished shell tells you which one. A shell that shrank evenly all the way around was not rested. A shell that slumped on one side and not the other was stretched into the pan. A shell with a puffed floor and buckled walls was underweighted.
Below: how to read the damage, the two rests that matter and where they belong in the schedule, how much weight a nine-inch pan actually needs, and the freezer step that lets you stop pricking holes in the base.
- Rest after mixing: at least 30 minutes in the refrigerator, 2 hours is better
- Rest after fitting the pan: 30 minutes in the freezer, non-negotiable
- Dough temperature entering the oven: hard to the touch, near freezing
- Pie weights for a 9-inch shell: about 2 pounds, filled to the rim
- Blind bake: 400F, 20 minutes with weights, 10 to 15 minutes without
- The step that replaces docking: freezing the shell solid before it goes in
- What shrinking is not: a flour problem, an oven problem, or bad luck
What a slumped shell looks like from the side
Take the pan out and look at it at eye level rather than from above. A shell that has shrunk uniformly sits lower all the way around and the walls are visibly thicker than they were raw, because the dough contracted horizontally and had nowhere to go but inward and downward.
A shell that slumped unevenly usually has one long stretch of low wall and the rest intact. That pattern points at handling rather than chemistry: dough that was pulled to reach the far side of the pan snaps back exactly where it was stretched.
A third pattern is different again. The walls are fine but the floor has lifted into a dome, sometimes with the whole base separated from the pan. That is steam, not gluten, and it is solved with weight rather than with rest.
Gluten is a spring, and it needs time to stop pulling
When flour meets water, two proteins link into the elastic network called gluten. Rolling stretches that network and holds it under tension, and a stretched network wants to return to where it started. Put it in a hot oven while it is still under tension and it does exactly that.
Rest lets the bonds rearrange so the dough holds the shape it has been given rather than the shape it remembers. The mechanism is time-dependent and temperature-dependent: cold dough relaxes more slowly than warm dough, which is why a thirty-minute refrigerator rest is a minimum rather than a target.
Two other habits load the network unnecessarily. Adding water a tablespoon at a time and mixing after each addition works the dough far more than adding it in one go and folding. And rerolling scraps produces the tightest dough in the kitchen, which is why a shell made from second-roll trimmings shrinks worst of all.
The rest that actually works, and where it happens
There are two rests and skipping the second is the more common mistake. The first comes after mixing, before rolling: wrap the disc and refrigerate it for at least half an hour, ideally two, which also gives the flour time to hydrate evenly.
The second comes after the dough has been rolled, lifted, and eased into the pan. This is the rest that decides whether the walls hold, because rolling and fitting are where most of the tension is introduced. Thirty minutes in the freezer or an hour in the refrigerator, uncovered is fine.
Order matters more than total time. An hour of rest split evenly across both stages outperforms three hours all taken before rolling. If you have to choose one, keep the second.
Fat temperature is the second variable
The flake in a short pastry comes from pieces of solid fat trapped between sheets of dough. In the oven those pieces melt, their water turns to steam, and the sheets separate. Fat that has already melted into the flour before baking cannot do any of that.
Butter softens well below body temperature and starts flowing not far above 90 degrees. A warm kitchen, warm hands and a long rolling session are enough to get there. The signs are a dough that feels tacky rather than firm, that leaves grease on the counter, and that bakes into something dense and slightly greasy rather than layered.
Practical fixes are unglamorous. Freeze the butter in cubes and work quickly. Roll on a cold surface if you have stone or steel. If the dough starts sticking or looking shiny at any point, stop, slide it onto a tray, and put it in the refrigerator for fifteen minutes. There is no penalty for that pause and a real one for pushing through.
How to blind bake pie crust so the sides stay put
- Roll to about an eighth of an inch, a couple of inches wider than the pan. Work from the center outward and turn the dough a quarter turn between passes so it does not stretch in one direction.
- Lift the round in and let it fall into the corners. Never stretch it to fit. Ease the excess down the walls with your knuckles so the dough settles rather than being pulled.
- Trim to a half-inch overhang, fold it under, and crimp. A doubled edge is sturdier and slumps less than a single thickness.
- Freeze the fitted shell for 30 minutes, until it is hard to the touch. This is the step people skip and it is the one that holds the walls up.
- Line the frozen shell with parchment or foil, pressed right into the corners. Leave enough overhang to lift the weights out cleanly.
- Fill with weights all the way to the rim, not just the floor. The weight has to press against the walls, which is where the collapse happens.
- Bake at 400F for 20 minutes, on the lower third rack. The edges should be set and just starting to color.
- Lift the weights out and return the shell for 10 to 15 minutes. Bake until the floor looks dry and matte and the color is pale gold for a shell that bakes again, or a full golden brown for one that will not.
Pie weights: two pounds, not a handful
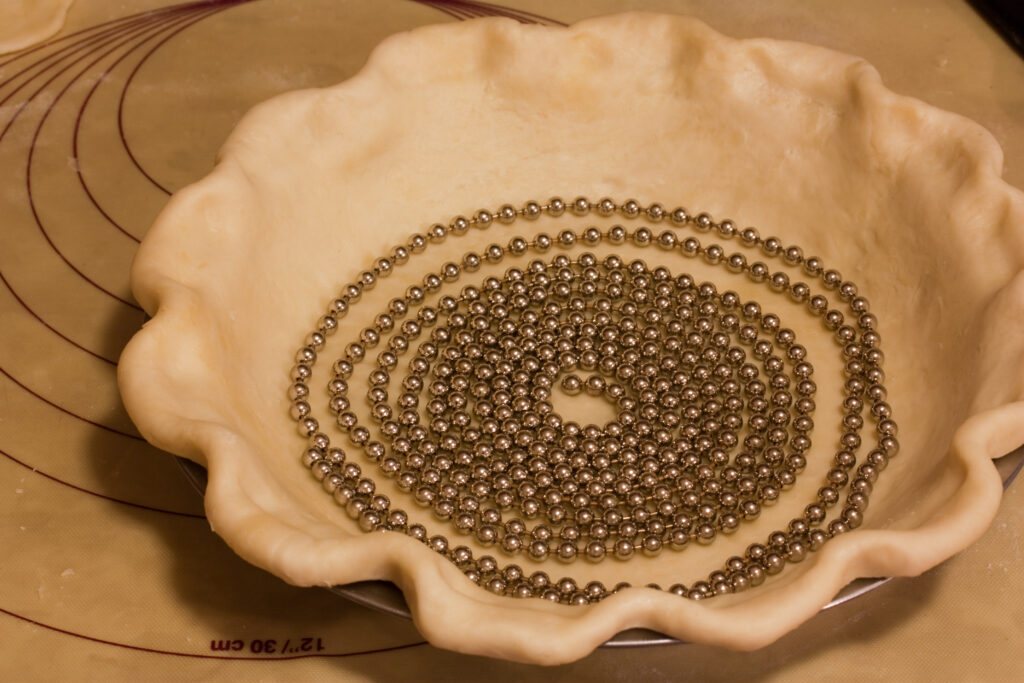
A scattering of ceramic beads across the bottom does nothing for the walls, and the walls are the problem. A nine-inch shell wants roughly two pounds of weight, packed to the top of the crimped edge so the lining and its contents lean outward against the sides.
Dried beans and short-grain rice both work and are cheaper than purpose-made weights, though they lose their usefulness for eating after a couple of rounds in the oven. Granulated sugar is the best of the improvised options: it packs into the corners better than anything else, conducts heat well, and afterward it is toasted sugar rather than waste.
Chain-style metal weights are easy to lift out but tend to sit in a heap in the middle. If you use them, add rice around the edges. Whatever you use, the test is whether the lining is pressed firmly into the angle where the floor meets the wall.
The freezer step that replaces docking
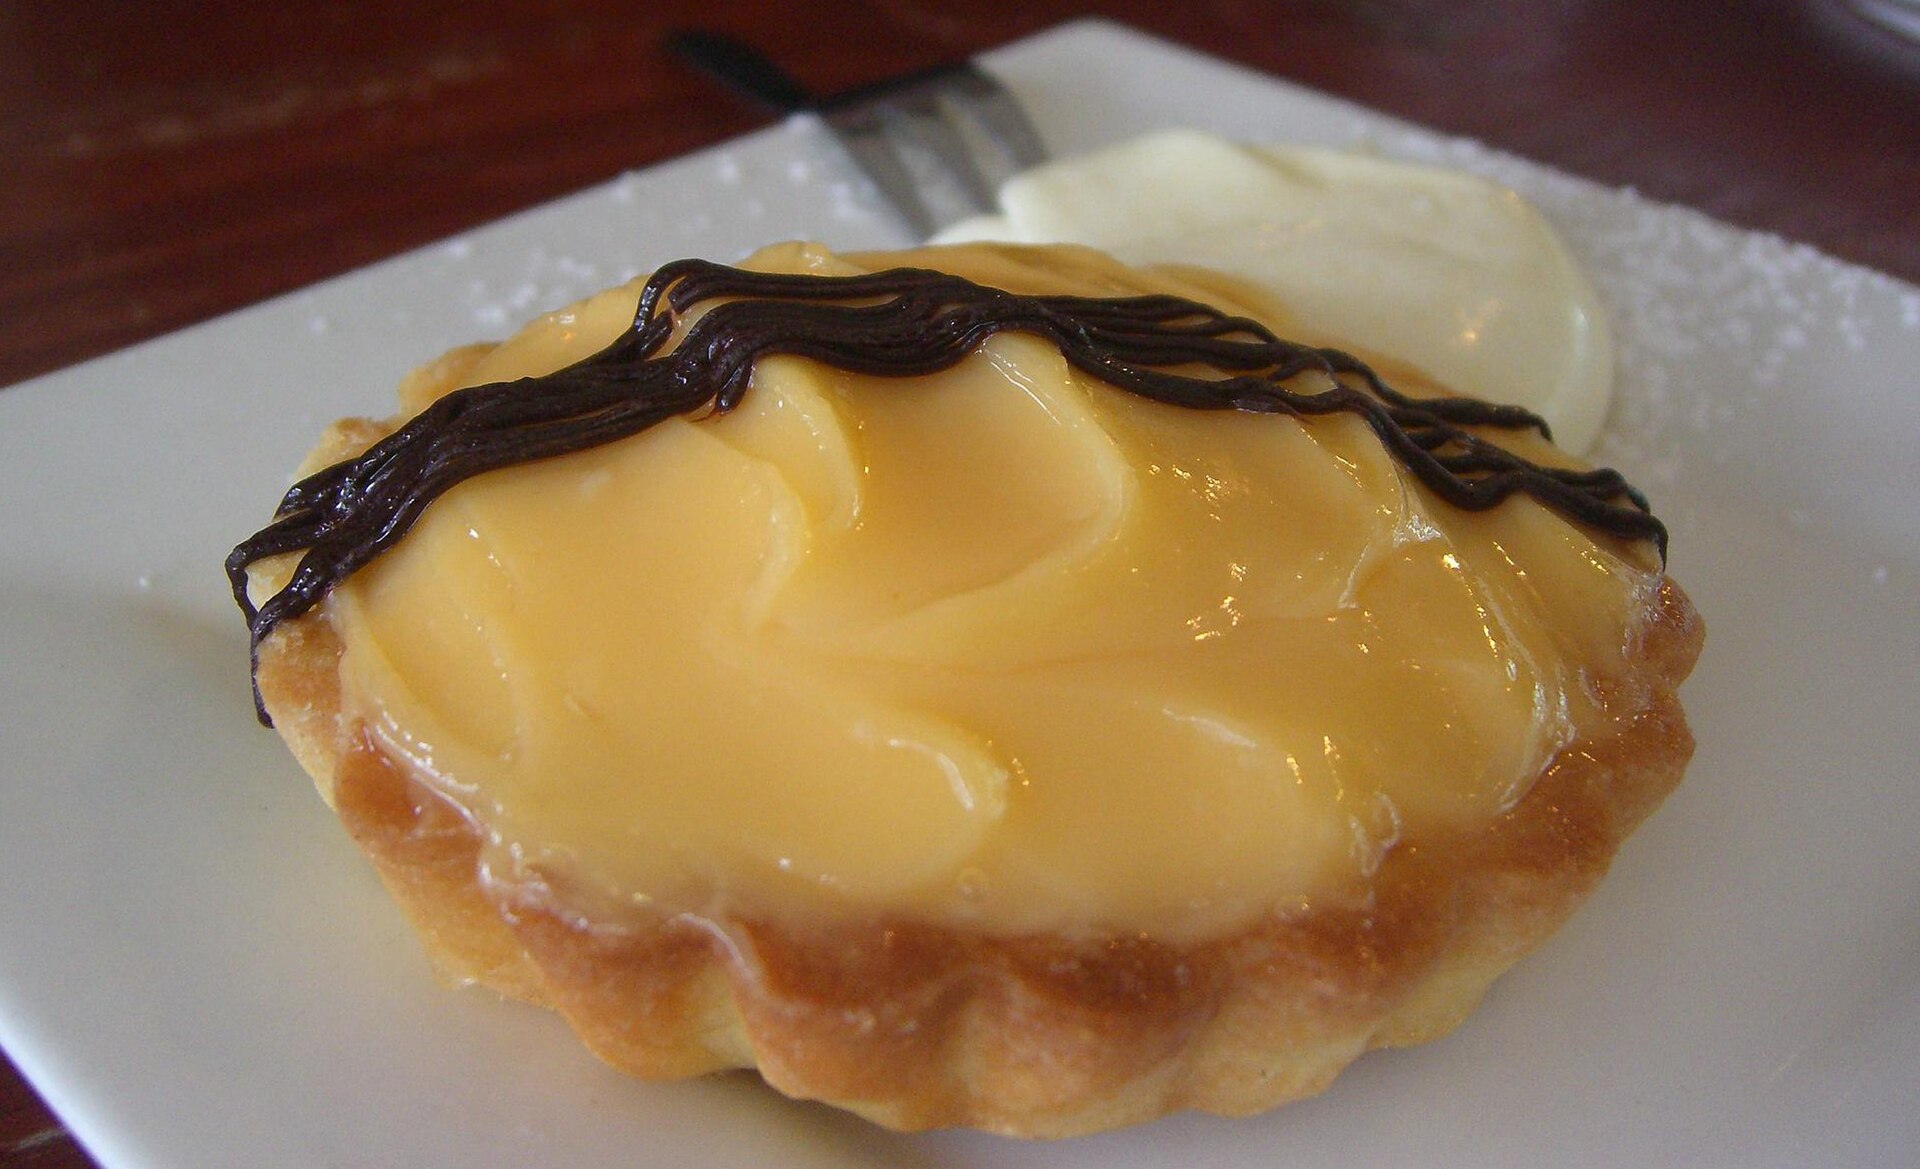
Docking, which is pricking the base with a fork, exists to let steam escape so the floor does not lift. It works, and it also puts holes in a shell that may later hold a liquid filling. Custards and curds find every one of them.
A shell frozen solid before baking sets its structure before enough steam builds to lift it, and combined with weights filled to the rim it rarely needs docking at all. For a shell that gets a wet filling and a second bake, skip the fork entirely and rely on the freeze.
For a fully baked shell that will hold something cold and set, a few pricks are harmless insurance and the base will be sealed anyway by the filling. A savory shell under a wet filling is the clearest case for leaving the fork in the drawer.
Reading the finished shell
| What you see | Most likely cause | The fix next time |
|---|---|---|
| Even shrinkage all around, thick walls | no rest after fitting the pan | 30 minutes in the freezer before it bakes |
| One side low, the rest fine | dough stretched to reach the pan | roll wider, ease it in, never pull |
| Floor domed or lifted off the pan | not enough weight, or weight only on the base | 2 pounds, filled to the rim |
| Walls slid down and pooled with fat | butter melted before baking | colder dough, faster handling, a mid-roll chill |
| Tough, cracker-like texture | overworked dough or rerolled scraps | less mixing, and use scraps for something else |
| Pale wet floor under a set edge | rack too high, or weights left in too long | lower third rack, weights out at 20 minutes |
| Cracks in the baked floor | dough rolled too thin or patched dry | an eighth of an inch, patch with dough and water |
The useful habit is to look before you fill. Cracks and small holes can be sealed while the shell is still hot, and a floor that is still pale can go back in. Once a custard is in the pan neither is fixable.
Oven position, temperature, and the first fifteen minutes
Blind baking wants heat from below. The lower third rack puts the floor closer to the element and sets the base before the top edge overbakes. A stone or a heavy sheet pan preheated on that rack helps further, since the shell lands on a hot surface rather than heating up with the oven.
Four hundred degrees is a good default. Lower and the fat melts and runs before the structure sets, which is the same failure as warm dough by a different route. Much higher and the crimped edge browns before the floor is dry.
The first fifteen minutes decide everything. Do not open the door, do not check, and do not move the pan. That window is when the fat melts, the steam does its work, and the proteins and starch set the shape the shell will keep.
Metal, glass, ceramic: the pan changes the schedule
Metal conducts heat fastest and gives the driest floor, which is why professional kitchens use it. A dull or dark metal pan browns faster than a shiny one. This is the easiest pan to get a crisp base from and the hardest to see the base through.
Glass conducts more slowly but lets you look at the underside, which is worth a great deal when you are learning. Expect to add five minutes to the second stage, and use the color of the floor rather than the clock.
Ceramic is the slowest and holds heat longest, which suits fillings that bake for an hour but works against a quick blind bake. With ceramic, extend the weighted stage by about five minutes and preheat a sheet pan underneath. A free-form tart on a flat sheet sidesteps the whole question, which is part of why it is a forgiving place to start.
Egg wash, and the seal that stops a soggy bottom
A shell that will hold something wet benefits from a seal applied the moment it comes out of the oven. Beat one egg white with a teaspoon of water, brush a thin layer over the hot floor and walls, and return the shell to the oven for two minutes. The white sets into a thin waterproof film.
Whole egg works and adds color. Egg yolk alone gives the deepest color and the most flavor but is more prone to scorching at the crimped edge, so shield the rim with foil if you use it.
Two alternatives are worth knowing. A thin layer of melted chocolate brushed on a cooled shell seals it completely and suits cream fillings. A tablespoon of fine breadcrumbs or ground almonds scattered on the floor absorbs juice from fruit that gives up a lot of liquid, without the seal.
Raw dough, raw egg, and the fillings that need a temperature
Two things in this process are worth handling as raw ingredients rather than as snacks. Raw flour is not a ready-to-eat food. It has not been treated to kill bacteria, and outbreaks traced to uncooked dough and batter are the reason food safety agencies say plainly not to taste it. Raw eggs in a wash carry the same standard caution about salmonella. Neither is a reason for alarm; both are a reason to keep tasting until after the bake and to wash hands, bowls and the counter after handling either.
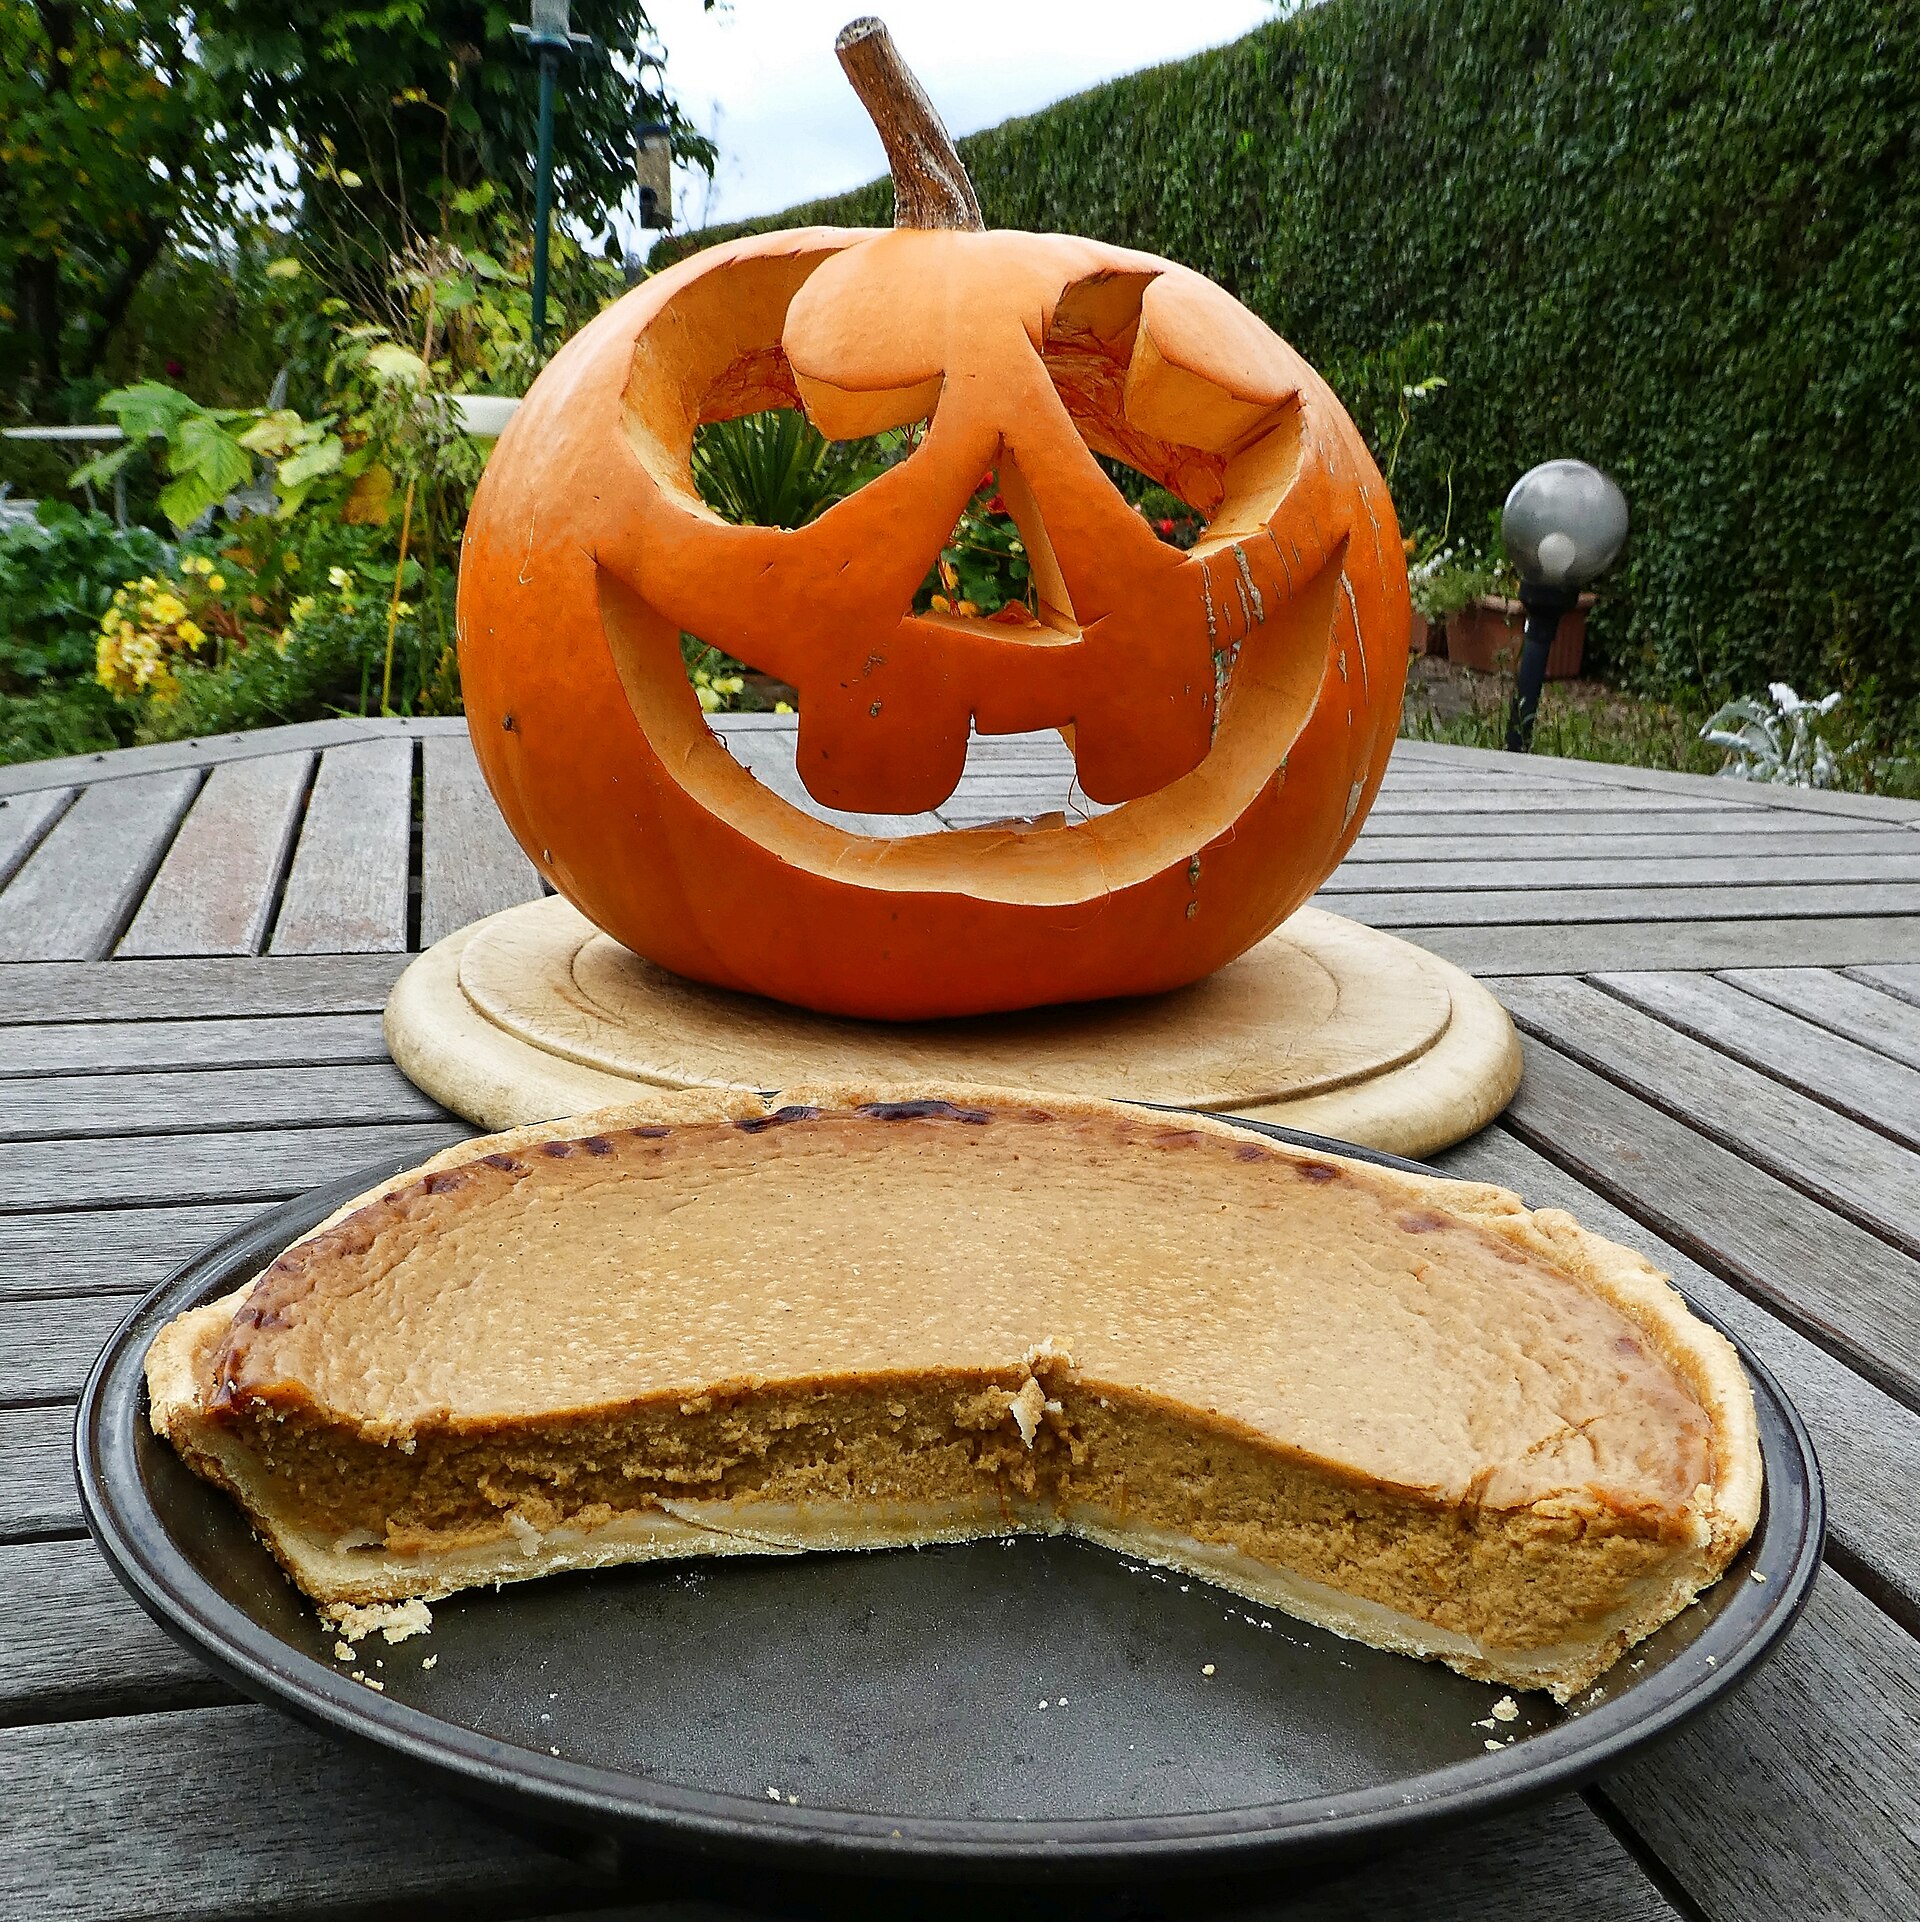
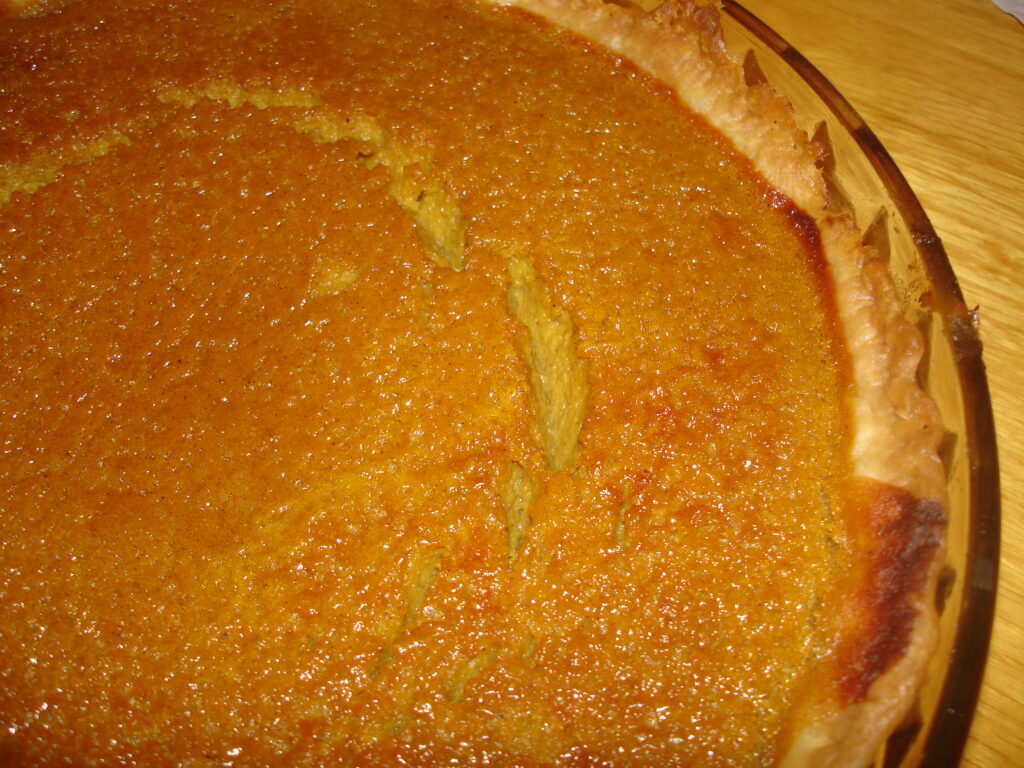
Fillings have their own numbers. Egg-thickened custards and pumpkin fillings should reach roughly 170 to 175 degrees at the center, checked with an instant-read thermometer rather than by the wobble, and they will carry on setting as they cool. A curd cooked on the stove wants the same range.
Storage is where finished pies get mishandled. Anything containing egg or dairy, including pumpkin and custard pies, belongs in the refrigerator once it has cooled, within about two hours of coming out of the oven, and it keeps three to four days. Fruit pies with no egg or dairy are stable at room temperature for a couple of days and keep longer chilled. The most expensive baking mistakes tend to be the ones made after the oven is off.
Rest the dough twice, keep the fat solid, and fill the weights to the rim. Three habits, none of them difficult, and the shell that comes out of the oven is the same size as the one that went in.
Frequently Asked Questions
Can I fix a shell that already shrank?
Partly. Once it has cooled you can press a little raw dough into the low spots, brush the join with water, and bake for another ten minutes to set the patch. It will not be invisible. The more useful adjustment is to reduce the filling to match the shallower shell rather than to fill it to the point of overflowing.
Does vodka in the dough really help?
It helps a little and for a specific reason. Alcohol hydrates flour without contributing to gluten formation the way water does, so a dough made partly with spirits is more forgiving to roll. It is not a substitute for resting, and the difference is smaller than the amount of internet attention it gets.
How long can I keep unbaked dough?
Three days wrapped in the refrigerator, or about three months in the freezer, either as a disc or already fitted into the pan. A shell frozen in its pan can go straight into the oven from frozen, which is convenient and also happens to be the ideal state for blind baking.
Why is my crimped edge always darker than the rest?
It is thinner in cross-section relative to its exposure and it sits closest to the oven walls. Shield it with a ring of foil or a purpose-made band once it reaches the color you want, usually around the twenty-minute mark, and let the floor catch up underneath.
Do I need to blind bake for every pie?
No. A double-crust fruit pie baking for an hour sets its own base, especially on a hot lower rack. Blind baking is for shells holding fillings that cook quickly or not at all: custards, curds, cream fillings and quiche, where the crust would otherwise still be raw when the filling is done.