The Joy of Baking Bread
Why Bake Bread at Home?
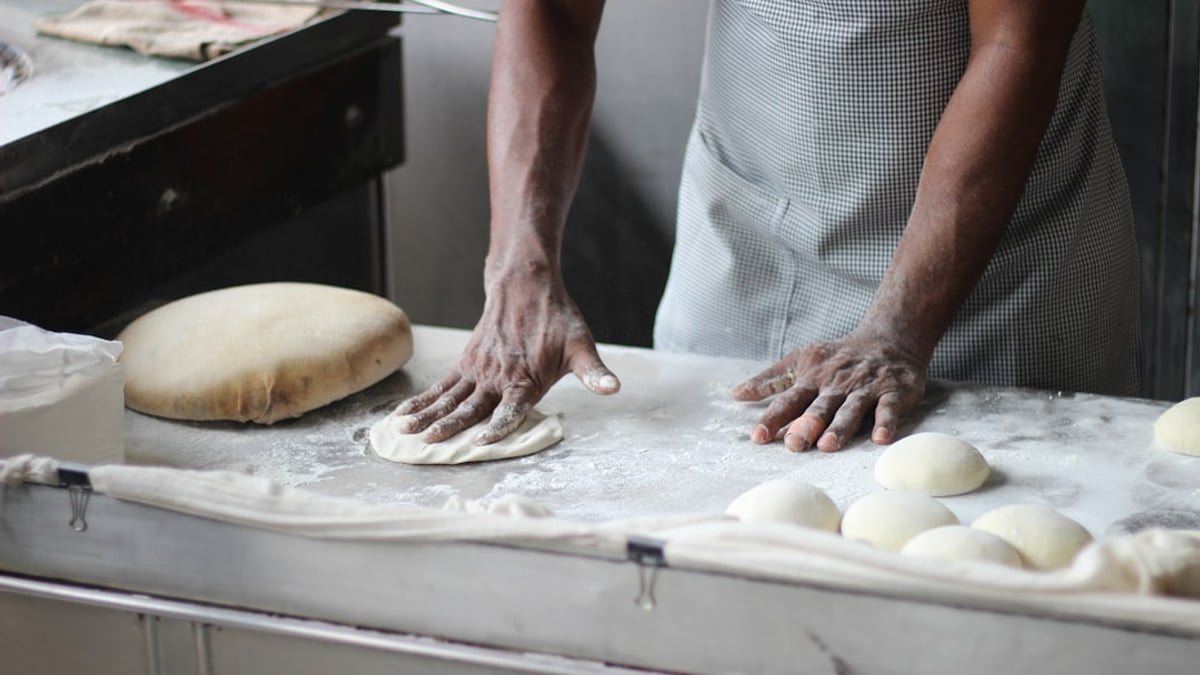
Perfect to bread requires patience and the right technique. You know, there’s something almost magical about baking bread at home. It’s like this humble act—flour, water, yeast—coming together to create something warm and comforting that fills your kitchen with an aroma that just can’t be beat. Honestly, I started in my tiny home kitchen simply because I wanted that fresh bread smell without having to rush to a bakery every morning. Plus, homemade bread? It’s fresher, more satisfying, and well — cheaper in the long run if you bake often enough (which I do… maybe too much). And let me tell you — it’s a skill anyone can learn! You don’t need fancy machines or years of experience. With some patience and these 9 tricks I’m about to share, you’ll go from “I don’t even know where to start” to proudly pulling golden loaves out of your oven.
Dispelling the Myths of Bread Making
Now before you get overwhelmed—because I was there too—I want to bust a couple myths right off the bat. First: bread making is not rocket science. Sure it has chemistry involved (gluten development is real!) but it’s accessible. Another myth: you have to knead forever. Nope! Actually, over-kneading can make your bread tough—not good! Also — and here comes a controversial opinion — not everything needs to be made from scratch every single time. There are shortcuts like no-knead breads that work amazingly well for beginners (and lazy bakers alike). You’ll see what I mean soon enough. Anyway, let’s get into the nitty-gritty so you can start baking confidently.
Essential Tools and Ingredients
Must-have Tools for Beginner Bakers
Okay first things first: mise en place! Setting up all your tools and ingredients before starting saves headaches later (trust me on this). Here’s what you really need:
- A large mixing bowl (preferably glass or stainless steel)
- Measuring cups and spoons – precise measurements matter here!
- A bench scraper or dough scraper (a lifesaver when handling sticky dough)
- A sturdy wooden spoon or spatula
- Kitchen scale (if you want pro-level accuracy — but honestly measuring cups work fine too)
- Dutch oven or heavy oven-safe pot with lid (here’s the secret for crispy crusts!)
- Sharp knife or lame for scoring I remember once forgetting my bench scraper during a sourdough attempt in my tiny home kitchen… ended up using my hands—and then flour everywhere—it was chaos but also kind of fun.
Understanding Different Types of Flour
Alright, flours are where it gets interesting because protein content affects gluten formation which basically means how chewy or fluffy your bread turns out. For beginners:
- All-purpose flour is versatile; great for simple loaves.
- Bread flour has higher protein; better for chewy crusts.
- Whole wheat flour adds nuttiness but tends to produce denser loaves. Mixing flours can give great results! For instance, half all-purpose half whole wheat balances flavor and texture nicely. Side note: Once I accidentally bought pastry flour instead of bread flour—my loaf looked cute but crumbled like crazy. Don’t ask how many slices were sacrificed learning from that one!
The Role of Yeast and Other Leavening Agents
Yeast is alive! Yes—that means it needs the right environment—warmth, food (sugar), moisture—to wake up and do its magic by producing carbon dioxide which makes dough rise. Quick tip: Always check expiration dates on yeast packets; old yeast = sad dense bread. There are different types:
- Active dry yeast requires proofing in warm water first.
- Instant yeast mixes directly into dry ingredients. Besides yeast, some recipes use sourdough starters—a wild culture naturally capturing wild yeasts—but we’ll touch on sourdough later because it deserves its own spotlight. Don’t panic if yeast behaves unpredictably early on—we’ve all been there!

Step-by-Step Guide to Your First Loaf
Choosing a Simple Recipe (e.g., No-Knead Bread)
If you’re totally new… trust me on this one: start with no-knead bread. It’s forgiving, minimal effort with maximum reward. Here’s a quick recipe straight from my notes scribbled after many trial-and-error sessions: No-Knead Artisan Bread:
- Flour – 400g (about 3¼ cups) all-purpose or bread flour
- Water – 300ml lukewarm (~80°F / 27°C)
- Salt – 1½ tsp
- Instant yeast – ¼ tsp
Easy peasy. Let me walk you through…
Mixing, Kneading, and Proofing Techniques
- Mix all ingredients in a large bowl until shaggy dough forms; no kneading needed!
- Cover tightly with plastic wrap or damp towel.
- Let rest at room temperature for about 12–18 hours — yep overnight — until surface bubbles form and dough doubles in size. In my tiny home kitchen days this was literally life-changing; I’d prepare before bed then bake fresh morning bread while sipping coffee… pure bliss! Bonus tip: Use warm-ish spot around ~75°F/24°C if possible for proofing since yeast loves warmth—but avoid hot spots as they might kill it. Hmmm… forgot momentarily there why this works so well—the long fermentation develops flavor naturally without much fuss—pretty neat huh? After first rise: 4. Lightly flour counter & turn dough out gently.
- Fold over itself once or twice — no harsh handling needed.
- Shape into round loaf; cover loosely again & proof another hour until puffy but not doubled further. Some say “proof till doubled” here but honestly slight puffiness is fine; over-proofed leads us down a messy path I’ll cover shortly…
Baking and Cooling Your Bread
Preheat your oven with Dutch oven inside at full temp — usually 450°F /230°C—for at least 30 minutes before baking; Carefully place shaped dough inside hot Dutch oven,
Cover,
Bake covered for ~30 minutes,
Remove lid,
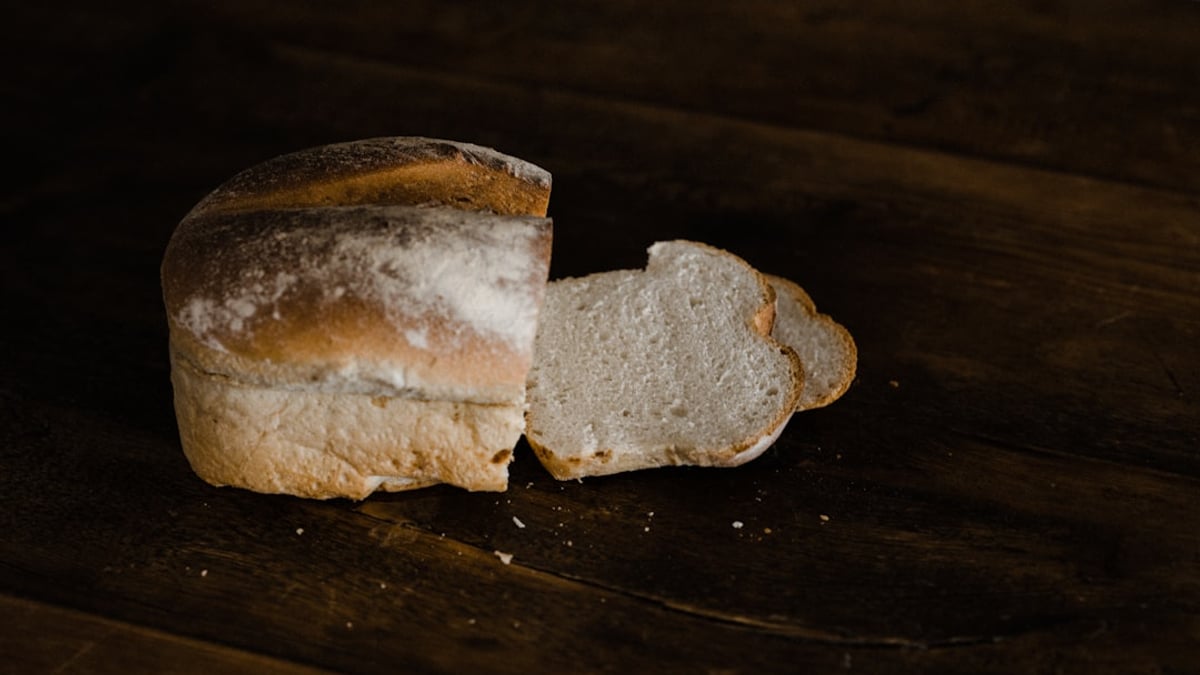
Bake uncovered additional ~10–15 mins till crust is deeply golden-brown & crackly, Then cool on wire rack completely before slicing! Every mistake is a lesson—they say don’t slice warm bread… guess who sliced warm once? That crumb collapsed instantly (#rookiemove). Letting it cool helps set structure inside so crumbs stay intact when cutting. By now you’re probably ready for step two…
Troubleshooting Common Bread-Making Problems
Dense or Flat Loaves?
This is super common—been there myself plenty times especially early on—or when rushing proof times cause impatience wins sometimes… Possible causes:
- Under-proofed dough hasn’t risen fully;
- Yeast inactive due old age;
- Not enough gluten development; Solution?
Patience + correct temperatures always help,
Check your yeast freshness next batch,
Try folding/stretching dough gently during bulk fermentation if not doing no-knead style— It really took me months fiddling until got consistent springy loaves instead of flat pancakes masquerading as bread haha! Oh—and don’t forget humidity plays role too—in dry kitchens add small bowl water near proving area sometimes boosts rise magically!
Over-proofed or Under-proofed Dough?
Under-proofed = dense crumb,
Over-proofed = collapses after baking; Here’s the trick:
Use finger poke test—
Gently press fingertip into dough—
If indentation springs back slowly = perfect proof
If springs back quickly = underproof
If indentation stays = overproof My disaster story? Left batch too long once trying sourdough starter revival experiment – result? Pancake flat disk with sad crust…don’t repeat please! Don’t panic though—you can fix some over-proof issues by shaping gently again & giving short second rise but best practice is getting familiar with signs early on.
Burnt Crust or Uneven Baking?
Ovens vary wildly—even mine here in my tiny home kitchen runs hotter near top rack sometimes… Tips:
Preheat fully;
Use middle rack unless using Dutch oven which traps steam beautifully aiding even bake;
Rotate loaf halfway through bake if browning unevenly;
Watch last few minutes carefully since crust color changes fast then, If burnt outside soft inside happens often try lowering temp by ~25°F /15°C next bake, And hey—sometimes burnt bits are tasty anyway just scrape them off later 😉 (hmm… how do I put this—I’m kinda relaxed about minor flaws now compared to day one freak-outs)
Exploring Different Bread Types
Whole Wheat and Multigrain Breads
Once comfy with basics try adding whole grains/nuts/seeds… Whole wheat adds earthiness & fiber though heavier so combining with white/bread flour keeps crumb lighter, Multigrain blends bring delightful textures plus nutrition boost— Like last autumn when experimenting using rye flakes & sunflower seeds from local market—it smelled incredible while baking despite initial sticky mess! Pro tip: Soak hard grains overnight beforehand improves hydration & chewiness Check out also “Effortless Artisan Loaf: Master No-Knead Bread at Home” where I delve deeper into rustic styles perfect for multi-grain experiments!
Sweet Breads and Rolls
Bread doesn’t always have to be savory— Add sugar/honey + butter + eggs → rich brioche-type treats; My childhood fave memory was baking cinnamon rolls following grandma’s handwritten recipe filled with cinnamon-sugar layers slathered in cream cheese frosting—the house smelled heavenly all day long— Sidenote: sweet breads often require more careful monitoring as sugars feed yeast differently leading faster rises They’re fantastic party pleasers BTW—I swear guests love them more than any fancy dessert oddly enough! Speaking of party pleasers…, butter candles might be next thing on your appetizer game list 😉 (Sorry tangent alert!) Back to breads…
to Sourdough Bread Making
Sourdough might seem intimidating initially—it did intimidate me—but here’s what changed everything: Sourdough starter isn’t mystical witchcraft—it’s natural wild yeasts living happily fermenting nearby dust bunnies 😉 Starting yours takes days/weeks feeding regular mix of flour/water waiting bubbles show active fermentation, The payoff? Deep tangy flavor + airy crumb + artisan vibe unmatched by commercial yeast breads Warning though: patience truly required…and mishaps happen aplenty such as mold growths—which taught me better cleaning routines than any cooking manual could provide… If intrigued check detailed posts dedicated entirely like this guide covers basics well before diving headfirst 🙂 I still keep my starter jar proudly sitting beside herbs window sill near morning sun spot warming it gently daily. You know what? If sourdough seems overwhelming right now just nail classic no-knead breads first—we can circle back anytime!
Embracing the Art of Bread Making
Resources for Further Learning
Learning never stops—and thank goodness! Books like “Flour Water Salt Yeast” by Ken Forkish were instrumental during my transition from fumbling beginner baker in my tiny home kitchen into somewhat confident artisan baker today— Also online communities forums where fellow bakers share struggles & triumphs—they helped normalize failures so much because every mistake truly is a lesson . And oh! Check out other helpful articles such as “Global Kitchen Adventures” exploring spices that can elevate simple breads beyond ordinary flavors—a little adventurous twist whenever bored 🙂 Finally bookmarking “The Art of Plating” transformed how I present finished loaves making everyday meals feel special without extra fuss—you’ll love those ideas… No wait—that’s not quite right… perhaps I’ve rambled too much? Sorry! Passion strikes strong when talking baking 🙂 But seriously keep digging around these gems—the internet’s vast resources will keep inspiring
endlessly while growing skills steadily at own pace.
Encouragement to Continue Baking
Look—I won’t pretend every loaf will come out perfect every time because even after ten years sometimes things flop spectacularly…but that’s part beauty here: Baking homemade bread teaches patience more than anything else — Being gentle yet firm, Listening closely via sight/touch/smell signals, Getting comfortable messing up occasionally, Improving gradually through repeated tries… So don’t panic if today wasn’t flawless—we can fix this tomorrow weekend evening after work shift whatever fits your rhythm best okay? Just keep practicing these tips step-by-step whether aiming basic sandwich toasties ora gorgeous boule showing off crisp score marks proudly atop– Bread making isn’t just culinary skill—it becomes therapy,a hobby,a form expression connecting tradition family memories(ohhh those moments sharing fresh loaf butter laughter)… Trust me as Amelia Baker who learned countless times sitting cross-legged floor beside grandma watching her fold sticky lumps patiently turning magic
happening nothing less than love baked into each bite~ Ready now? Then grab apron rolling pin heat oven let’s create beautiful homemade breads filling homes warmth joy endless deliciousness– Happy baking y’all 🌾❤️ By: Amelia Baker
Food Safety Resources
Why You Can Trust Me: I’m a Bread making, especially sourdough and artisanal breads and have been exploring 9 tricks for the ultimate guide to bread making for beginners from simple loaf to artisanal masterpieces in my tiny home kitchen for years. Everything I share comes from personal experience—real kitchens and hands-on practice—not just theory.