For centuries, a powerful, almost magical, ingredient has been the secret behind the most savory and complex flavors in Japanese cuisine. It’s not a rare spice or an exotic herb, but a humble mold: **koji**. This is *Aspergillus oryzae*, a culinary fungus that has been the cornerstone of everything from soy sauce and miso to sake. Today, this ancient tradition is experiencing a global renaissance, moving beyond the confines of traditional Japanese kitchens and into the hands of innovative chefs and curious home cooks worldwide. If you’ve ever wondered what gives your favorite ramen broth its profound depth or what makes a miso marinade so irresistibly savory, the answer is very likely koji.
But what exactly is this “noble mold,” and how can it revolutionize the way you cook at home? This guide will demystify the art and science of koji fermentation, showing you how to harness its power to create extraordinary flavors in your own kitchen.
The Ancient Roots of a Modern Trend
Koji’s history is deeply intertwined with the culinary history of Asia, dating back thousands of years. It is believed to have originated in China and was introduced to Japan during the Yayoi period (300 BC – 300 AD). Japanese artisans, with their characteristic precision and dedication, refined the cultivation of koji, elevating it to an art form. They discovered that by growing this specific mold on steamed grains like rice, barley, or soybeans, they could unlock a world of flavor.
This process, known as **koji-kin**, is the first and most critical step in producing many of Japan’s most iconic foods. Without koji, there would be no soy sauce (shoyu), no miso paste, no rice vinegar, and no sake. It is the silent workhorse that lays the foundation for umami, the fifth taste.
The Science of Flavor: How Koji Works
At its core, koji is an enzyme factory. When the *Aspergillus oryzae* spores are inoculated onto a starchy substrate and held in a warm, humid environment, the mold begins to grow, producing a vast array of powerful enzymes. These enzymes are the catalysts for incredible culinary transformations.
There are two primary types of enzymes that do the heavy lifting:
1. **Amylase:** This enzyme breaks down long-chain starches in the grains into simple sugars (like glucose). This is the fundamental process for creating alcohol in sake, as the sugars provide food for yeast. It also creates a subtle sweetness in products like amazake, a sweet, non-alcoholic fermented rice drink.
2. **Protease:** This is where the magic of umami happens. Protease enzymes break down complex proteins into their constituent amino acids, most notably **glutamic acid**. Glutamic acid is the compound responsible for the savory, brothy, and deeply satisfying taste known as umami. This is why miso and soy sauce are such powerful flavor enhancers.
This enzymatic process not only creates flavor but also makes nutrients more bioavailable and easier to digest. It’s a natural, time-honored method of food processing that enhances both taste and nutritional value.
Mastering the Art: Making Koji at Home
While the process may sound scientific, making koji at home is surprisingly achievable with a bit of precision and patience. It requires creating the perfect environment for the mold to thrive. Think of it as building a cozy home for your spores.
**What You’ll Need:**
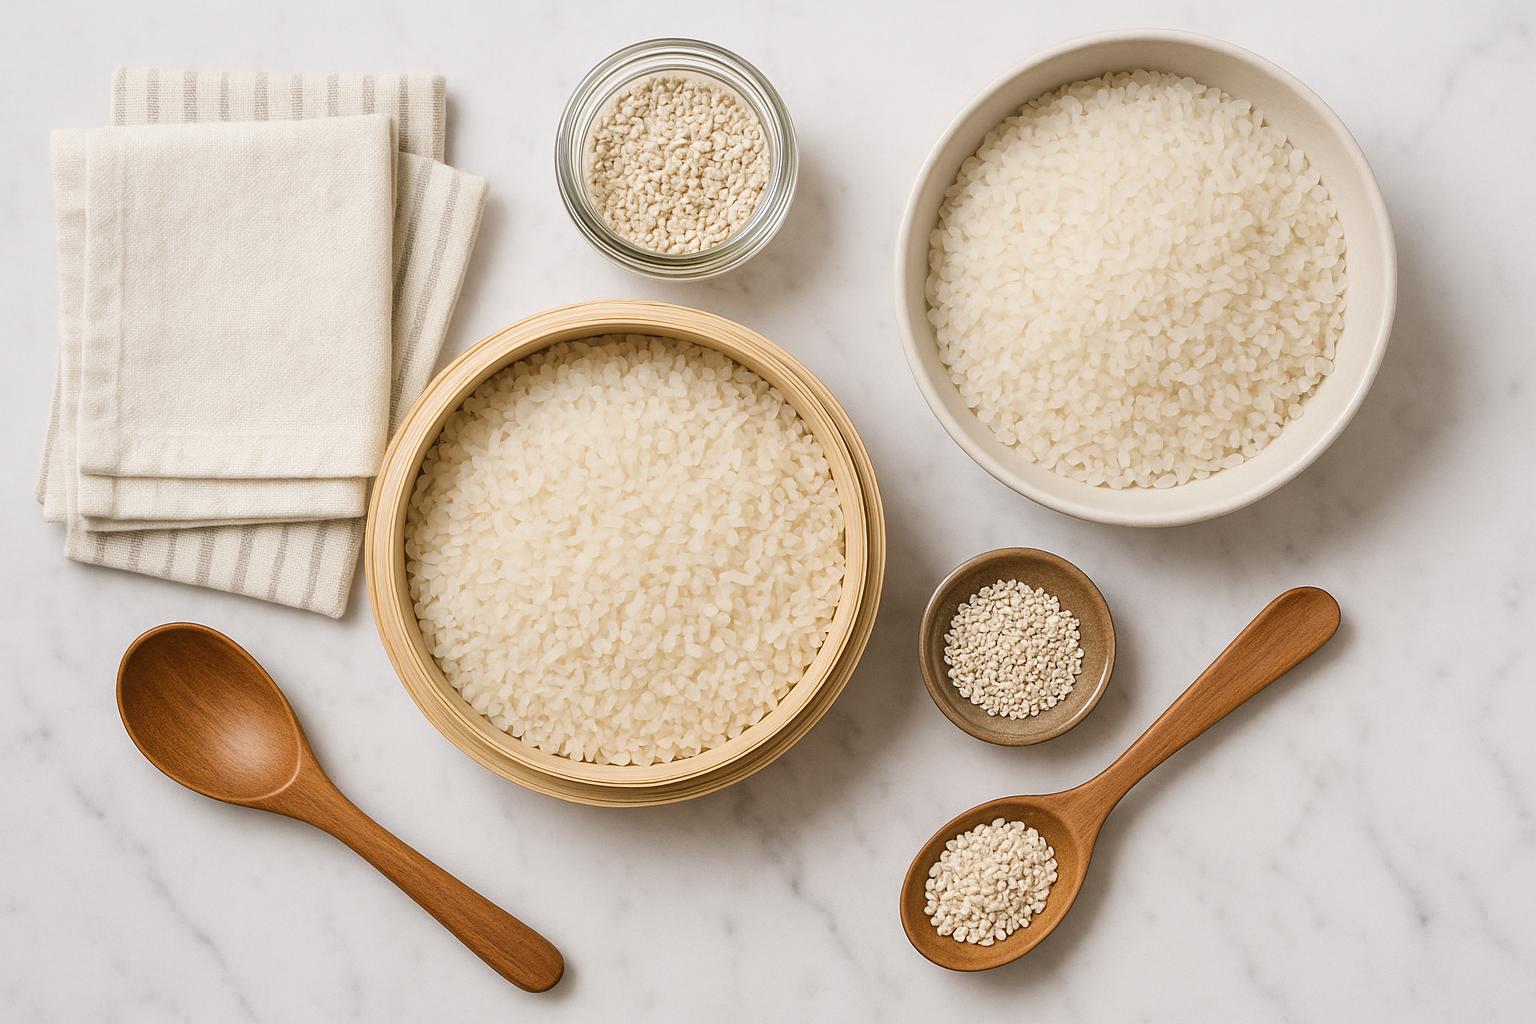
- Substrate: Polished white rice (sushi or jasmine rice works well) is the best starting point.
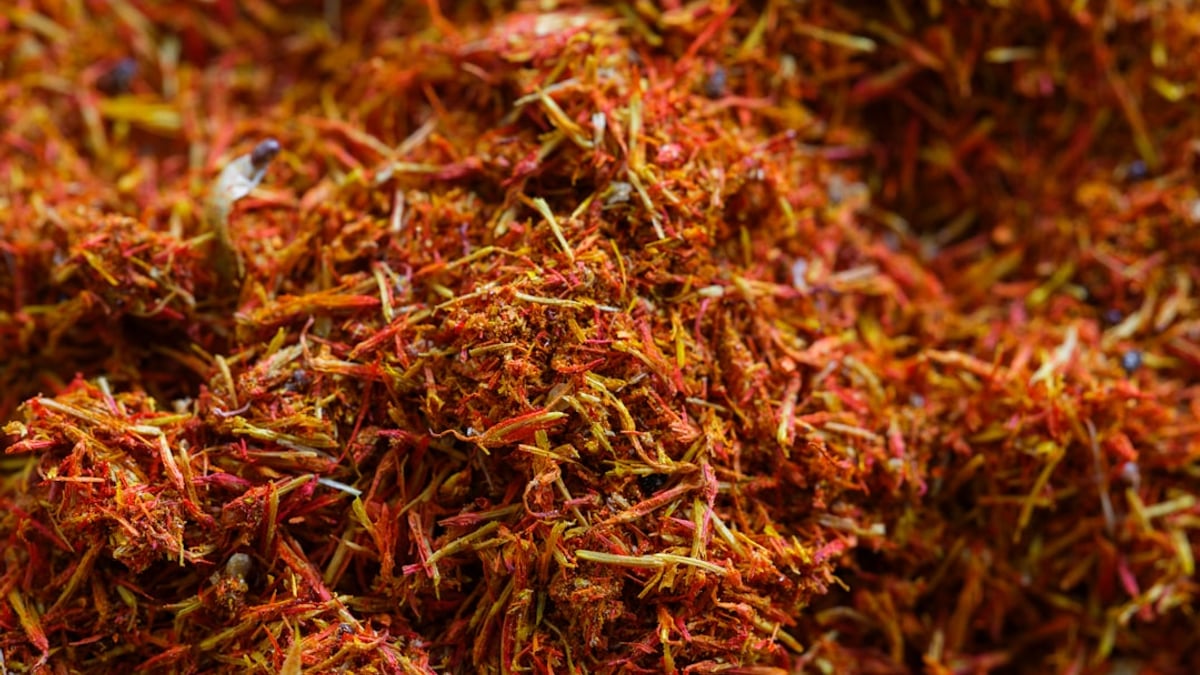
- Koji-kin (Spores): You can purchase *Aspergillus oryzae* spores online from specialty fermentation suppliers.
- Incubator: A dedicated fermentation chamber is ideal, but you can create a DIY setup using a cooler with a seedling heating mat, or even an oven with just the light on. The key is maintaining a consistent temperature.
- Steamer: For cooking the rice.
- Shallow Trays: To spread the rice for inoculation and incubation.
- Clean Cloths: To cover the rice and maintain humidity.
**The Basic Process (48-Hour Journey):**
- Wash and Soak: Thoroughly wash the rice until the water runs clear, then soak it for several hours or overnight.
- Steam: Steam the rice until it is cooked through but still firm and distinct—not mushy. This is crucial. Overly wet rice can lead to bad bacteria growth.
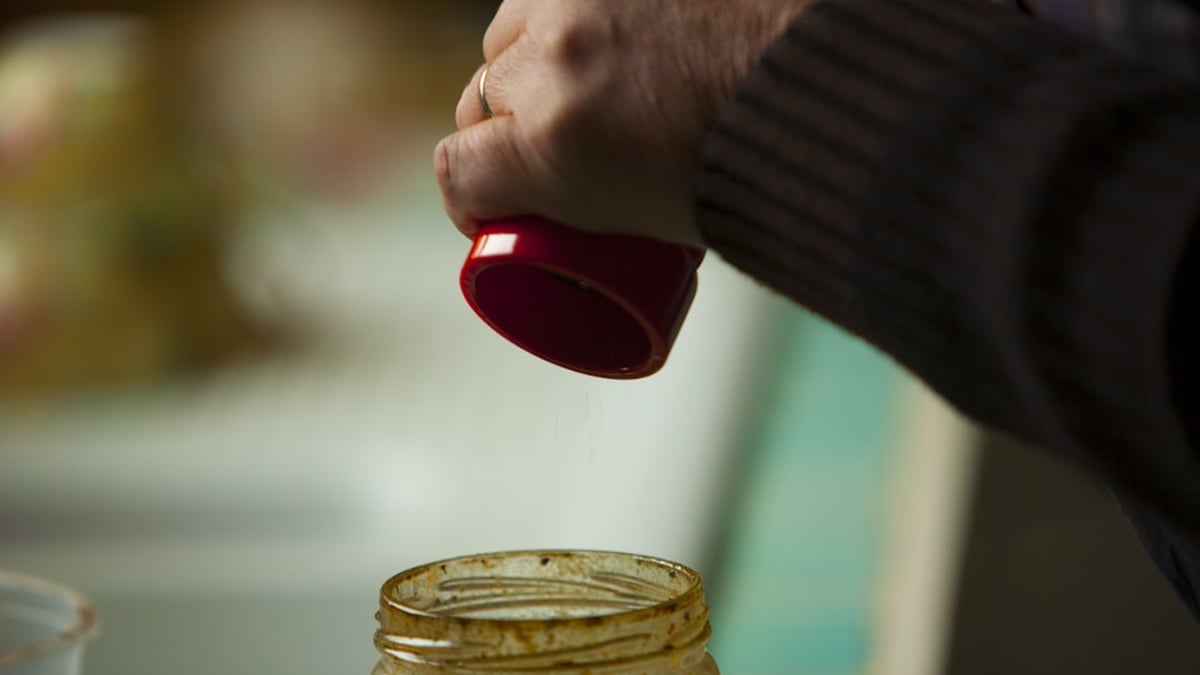
- Cool and Inoculate: Spread the steamed rice on a clean tray and let it cool to body temperature (around 95°F or 35°C). Once cooled, lightly dust the koji-kin spores over the rice and mix thoroughly to ensure even distribution.
- Incubate: Place the inoculated rice in your incubator, covered with a damp cloth. Maintain a temperature between 80-95°F (27-35°C) and high humidity. The koji will start generating its own heat as it grows.
- Maintain and Monitor: Over the next 48 hours, you will need to check on your koji every 8-12 hours. Break up any clumps to ensure even growth and regulate the temperature. As the mycelium grows, it will generate significant heat, and you may need to lower the incubator’s temperature to prevent it from overheating and dying.
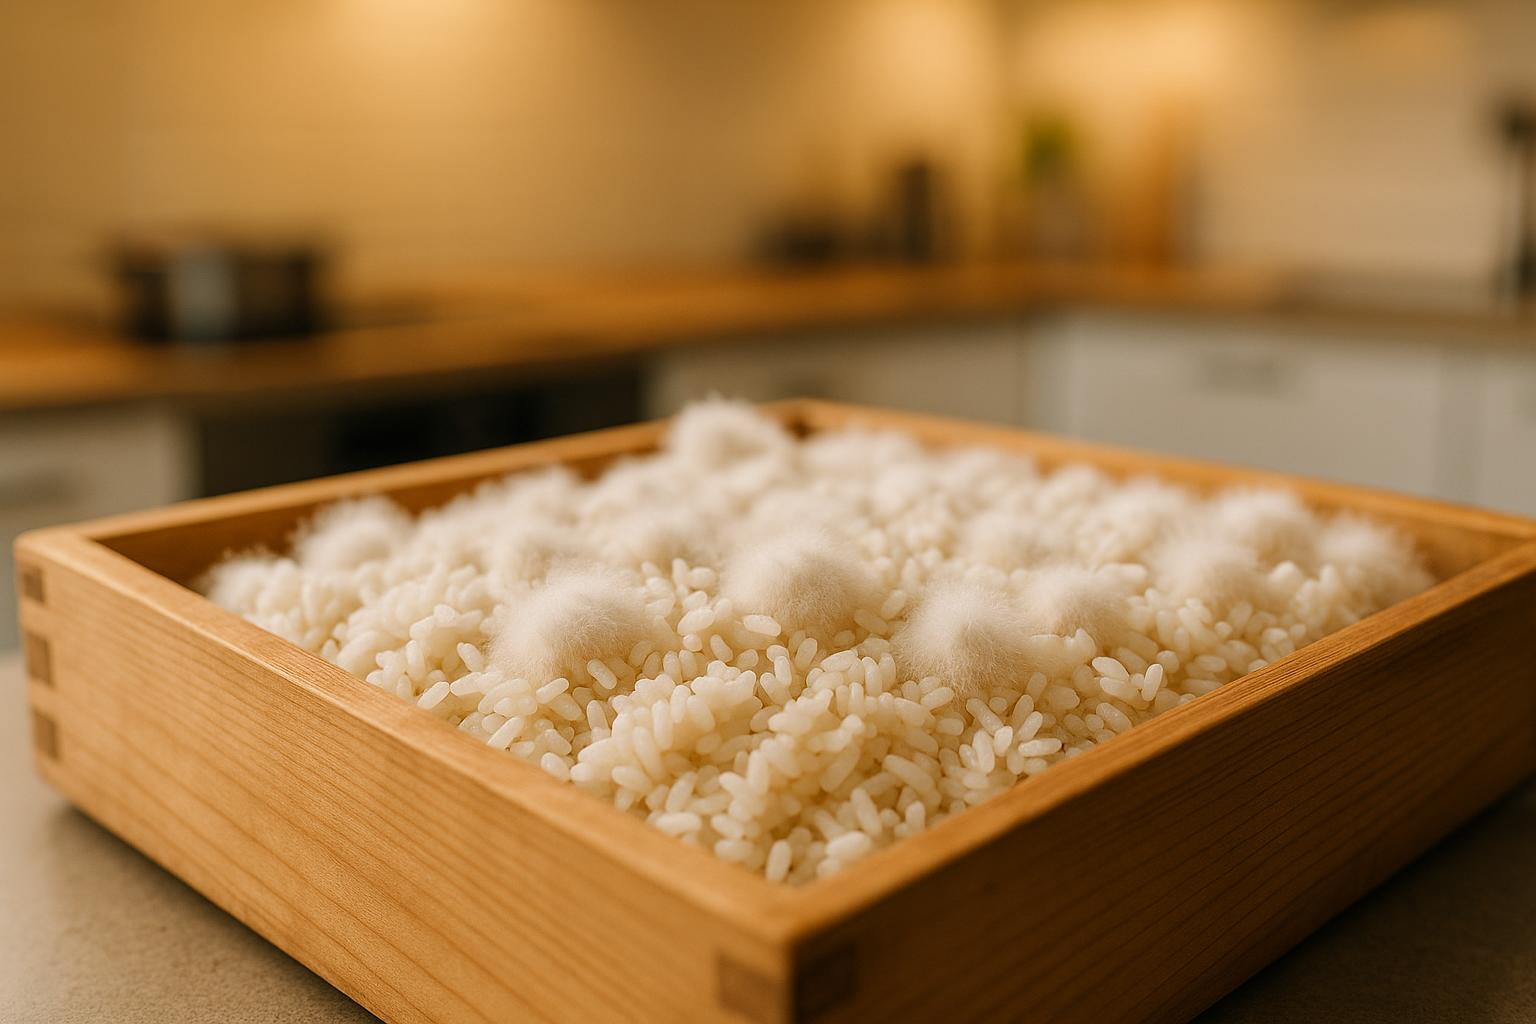
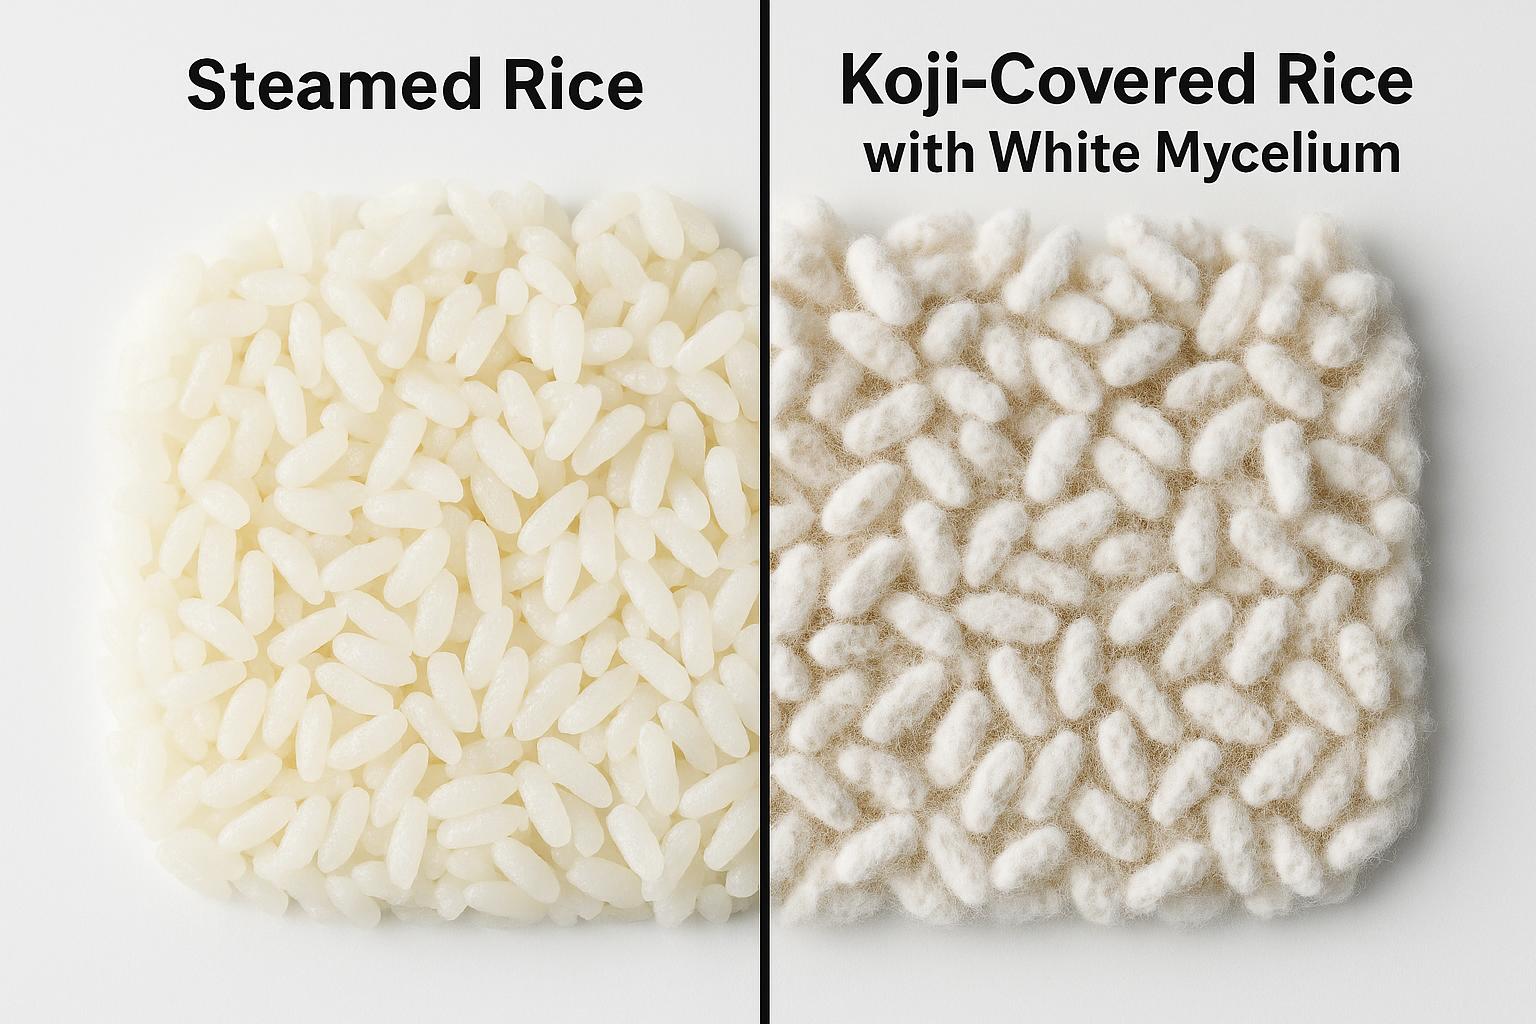
- Harvest: After about 48 hours, the rice should be covered in a dense, white, fragrant mat of mycelium. It will have a sweet, floral, and slightly fruity aroma, often compared to grapefruit or chestnuts. This is your finished koji.
From Koji to Culinary Gold: Simple Applications
Once you have your homemade koji, a world of culinary possibilities opens up. Here are two of the simplest and most versatile preparations to start with:
1. **Shio Koji (Salt Koji)**
This is a creamy, porridge-like marinade that acts as a powerful flavor enhancer and tenderizer. Simply mix your finished rice koji with salt and water (typically a 1:1:2 ratio by weight of koji, salt, and water) and let it ferment at room temperature for about a week, stirring daily. The resulting paste can be used to marinate meat, fish, or vegetables, imparting a deep umami flavor and incredible tenderness.
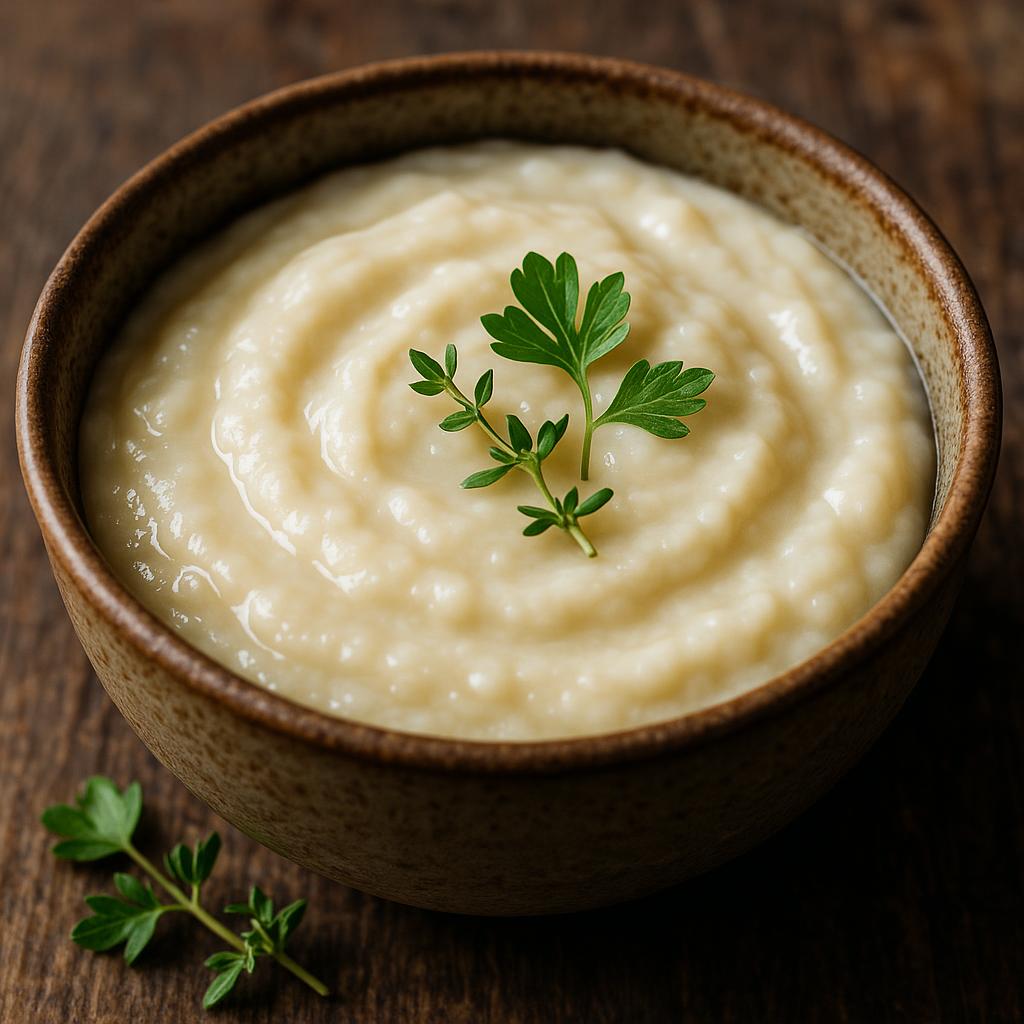
2. **Amazake**
This sweet, thick, and creamy rice porridge is a delicious and healthy treat on its own, and a versatile ingredient. To make it, combine your finished koji with more cooked rice and water, and hold it at a warm temperature (around 140°F or 60°C) for 8-12 hours. The amylase enzymes will break down the starches into sugars, creating a naturally sweet and complex flavor. Enjoy it as a drink, a natural sweetener, or a base for smoothies and desserts.
The Future of Flavor is Fermented
The resurgence of koji is more than just a passing trend; it represents a fundamental shift in how we think about flavor. It’s a move away from artificial enhancers and toward natural, biological processes that create unparalleled depth and complexity. By learning the art of koji fermentation, you are not just adopting a new cooking technique; you are connecting with an ancient tradition and unlocking a new dimension of taste in your home kitchen. The journey requires patience and precision, but the reward is a pantry filled with some of the most powerful and delicious ingredients you’ve ever worked with.
Frequently Asked Questions
Is it safe to make koji at home?
Yes, it is safe as long as you maintain a clean environment and proper temperature control. Use high-quality spores from a reputable source and ensure your rice does not develop any off-smells or colors other than the intended white mycelium.
My koji developed green or black spots. Is it ruined?
Green or black spots indicate that the koji has started to sporulate (produce more spores) or that a competing mold has taken hold. While some light green sporulation is normal if you let it go too long, any black, orange, or slimy patches mean the batch is contaminated and should be discarded.
Can I use koji on things other than rice?
Absolutely. Koji can be grown on barley (for mugi miso), soybeans, and even other grains and legumes. Adventurous chefs are even experimenting with “koji-curing” meats directly by applying the spores to the surface, a technique known as “charcuterie” on steroids.
References
1. Revolution Fermentation – How to Make Homemade Koji
2. Nordic Food Lab – Koji: History and Process
3. ScienceDirect – Koji Overview