Uncover the Must-Try Cooking Techniques That Will Elevate Any Recipe
Cooking can sometimes feel like an endless cycle of the same old recipes, the same old techniques. You know the drill: chop, sauté, simmer, serve. But what if I told you that a few simple cooking techniques could completely transform your culinary game? Yes, indeed! Whether you’re a novice in the kitchen or a seasoned chef, there’s always something new to learn that can elevate your dishes from mundane to magnificent.
The Art of Searing
Searing is one of those magical techniques that can bring out the best in meats and vegetables alike. The science behind it lies in the Maillard reaction, which occurs when proteins and sugars in food are exposed to high heat. This reaction not only enhances flavor but also creates a beautiful crust that adds texture to your dishes.
Imagine biting into a perfectly seared steak—the exterior is a deep, rich brown, while the inside remains juicy and tender. It’s a culinary paradox that every home cook should master. Start by preheating your pan until it’s smoking hot, then add a bit of oil (a high smoke point oil like canola or grapeseed works best). Lay your meat in the pan and resist the urge to move it around. Let it sit for a few minutes to develop that glorious crust.
Don’t just limit this technique to meats! Vegetables can benefit from searing too. Think about Brussels sprouts or asparagus—when you give them a good sear, their natural sugars caramelize, resulting in a dish that’s bursting with flavor.
Pro Tip:
Always ensure your food is dry before searing. A moist surface prevents that coveted crust from forming. When I first started cooking, I was confused by this concept, but trust me, it makes all the difference!
Embracing Sous Vide
If you haven’t given sous vide a whirl yet, you might want to reconsider. This technique, which involves vacuum-sealing food in a bag and cooking it to a very precise temperature in a water bath, sounds fancy, but it’s surprisingly accessible for home cooks. The beauty of sous vide is that it guarantees perfectly cooked food every single time.
Imagine a steak cooked to exactly medium-rare throughout—no more overcooked edges! You can set your sous vide machine (or a large pot with an immersion circulator) to your desired temperature, toss in your seasoned meat, and walk away. It’s like having a personal chef at your beck and call. Just remember to finish with a quick sear for that all-important crust.
Why I Love It:
When I first tried sous vide, I was skeptical. Wouldn’t it be boring? But I quickly learned that it’s a game-changer, especially for meal prep. You can cook in bulk and have perfectly cooked proteins ready to use throughout the week. Plus, it frees up your stove for other dishes. Talk about multitasking!
The Power of Brining
Brining is a technique that involves soaking meat—typically poultry or pork—in a saltwater solution before cooking. This process not only seasons the meat but also helps it retain moisture during cooking. The result? Juicy, flavorful bites that’ll make you the star of any dinner party.
When I first attempted to brine a turkey, I was a little intimidated. It seemed like an extra step, but let me tell you, it was well worth it. The turkey was so moist and flavorful that my guests were raving about it long after the last piece had been carved. A simple brine can be a mixture of water, salt, and sugar, but feel free to get creative—add herbs, spices, or citrus to enhance the flavors.
Quick Brining Tips:
- Use a ratio of about 1 cup of salt to 1 gallon of water for a basic brine.
- Brine for at least a few hours, but overnight is even better.
- Don’t forget to rinse your meat after brining to avoid excessive saltiness.
Mastering the Technique of Emulsification
Have you ever wondered how chefs create those luscious, creamy salad dressings or sauces that cling perfectly to your greens? The secret often lies in emulsification. This technique combines two liquids that don’t naturally mix—like oil and vinegar—into a harmonious, creamy blend.
The most common method is to whisk the oil into the vinegar slowly, allowing the oil to disperse evenly. However, if you’re feeling fancy, you can use a blender or food processor to create a stable emulsion. Think about classic vinaigrettes or homemade mayonnaise; mastering this technique will elevate your salads and sides to gourmet status.
My Emulsification Revelation:
There was a time when I thought store-bought dressings were just fine. But after whipping up my first homemade vinaigrette, I was hooked. It’s amazing how a simple mixture of oil, vinegar, and a few spices can elevate a dish. Plus, you can customize it to suit your taste. A dash of honey for sweetness? Yes, please!
Understanding the Magic of Deglazing
Let’s talk about deglazing—one of those techniques that sounds sophisticated but is truly accessible to any home cook. After searing meat, you’ll often notice those delicious brown bits stuck to the bottom of your pan. Don’t waste those! Deglazing involves adding liquid (like wine, broth, or even water) to the hot pan and scraping up those bits to create a flavorful sauce.
The beauty of deglazing lies not only in its ability to enhance flavors but also in the way it transforms a simple meal into something special. Picture this: you’ve just cooked a steak, and instead of tossing the drippings, you pour in some red wine, let it simmer, and voilà! You’ve just created a rich sauce to drizzle over your meat. It’s like magic!
Deglazing Tips:
- Choose a liquid that complements your dish; for beef, go for red wine; for chicken, white wine or broth works beautifully.
- Be sure to scrape the bottom of the pan to capture all those flavorful bits.
- Let the sauce reduce for a few minutes to concentrate the flavors.
Utilizing the Benefits of Roasting
Roasting is a technique that brings out the natural sweetness in vegetables and infuses meats with deep flavors. It’s simple and requires minimal hands-on time, which is a win-win in my book. The process involves cooking food in an oven at high temperatures, allowing it to caramelize and develop a depth of flavor that is hard to beat.
When I first started roasting vegetables, I was amazed by how a little olive oil, salt, and pepper could transform humble carrots or Brussels sprouts into something incredibly delicious. The key is to use high heat—typically around 400°F to 425°F—and to make sure your vegetables are cut into uniform pieces for even cooking.
Roasting Pro Tips:
- Don’t overcrowd the pan; give each piece some space to ensure even roasting.
- Experiment with different seasonings—herbs, spices, and even citrus zest can add a delightful twist.
- For meats, consider starting them at a high temperature and then lowering it to finish cooking.
The Technique of Blanching
Blanching is a cooking technique that involves briefly immersing food in boiling water, followed by an immediate plunge into ice water. This method is perfect for vegetables, as it brightens their color and preserves their nutrients while also making them tender-crisp.
Think about the last time you enjoyed a vibrant green bean or a perfectly cooked carrot. Odds are, blanching was involved! The process also makes peeling fruits and vegetables easier—hello, tomato skins! Just score the skin with a small ‘X’, blanch, and watch as the skin slips right off.
Blanching Basics:
- Prepare an ice bath before you start; this will halt the cooking process.
- Blanch for 1-3 minutes, depending on the vegetable.
- Immediately transfer to the ice bath to maintain that bright color and crisp texture.
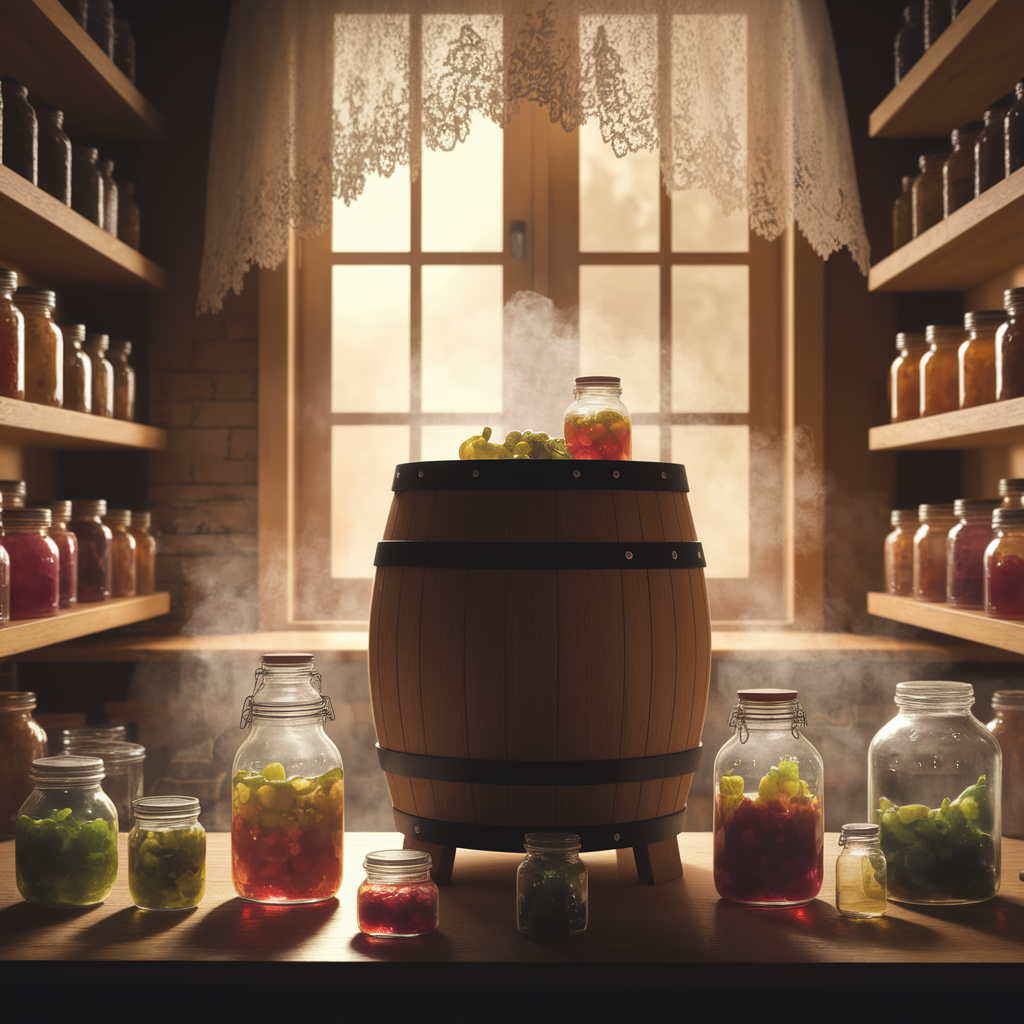
Exploring the World of Fermentation
Fermentation might sound like a daunting task reserved for the pros, but it’s simpler than it appears. Not only does fermentation enhance flavors, but it also adds nutritional benefits by introducing probiotics to your meals. Foods like kimchi, sauerkraut, and yogurt are all products of this ancient technique.
My foray into fermentation began with making pickles. I was pleasantly surprised by how easy it was to transform cucumbers into tangy, crunchy delights. A simple brine of water, vinegar, salt, and spices does the trick. Just give them time—usually a few days to a week—and you’ll have a batch of homemade pickles that will blow your friends away.
Fermentation Tips:
- Use non-iodized salt; iodized salt can inhibit fermentation.
- Keep everything clean to avoid unwanted bacteria.
- Experiment with flavors—garlic, dill, and red pepper flakes can add unique twists.
Understanding the Importance of Resting
After cooking, many people are eager to dig in, but patience is indeed a virtue when it comes to resting. Allowing meats to rest for a few minutes after cooking is crucial for juicy results. This period lets the juices redistribute throughout the meat, resulting in tender bites that won’t leave you feeling disappointed.
I learned this lesson the hard way after slicing into a roast too soon—what a mess! All those delicious juices flowed right onto the cutting board instead of remaining in the meat. Now, I always set a timer for resting. For smaller cuts, around 5-10 minutes works wonders, while larger roasts might benefit from 15-30 minutes.
Quick Resting Tips:
- Cover the meat loosely with foil to keep it warm.
- Use this time to prepare your sides or sauces.
- Don’t skip this step—it’s worth the wait!
Conclusion: Putting it All Together
As you can see, there are myriad cooking techniques out there just waiting to be explored. Whether it’s searing, sous vide, or mastering the art of emulsification, each method offers a unique way to elevate your recipes. And the best part? They’re all accessible to anyone willing to give them a try. Cooking should be a joyful experience—filled with creativity and, yes, even a little bit of playfulness. So, roll up your sleeves, get into that kitchen, and embrace these techniques. You might just discover a new favorite way to prepare your meals!
Who knows? With a little practice, you might just become the culinary wizard of your household. Happy cooking!